
Unconventional Sourdough
Complex flavours and minimal fuss.
Traditional sourdough's fussy. Use a hybrid: biga + starter. Big flavour, shorter proofs, flexible timing. Bake by feel—no scales.
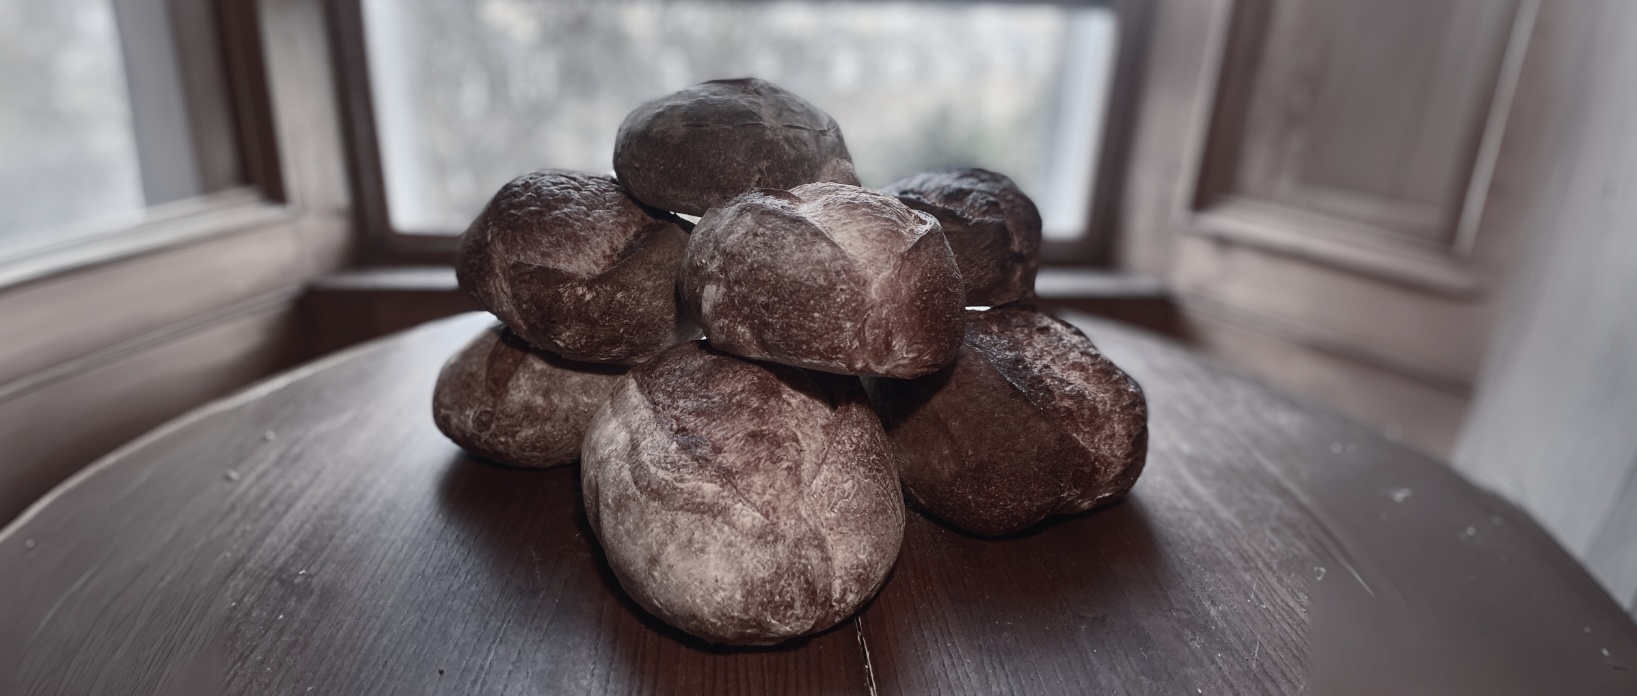
About five active minutes per-day.
Why this works:
- Long, slow fermentation builds layered flavour
- Parallel ferments create complementary profiles
- Flexible timing
You'll need:
Ingredients
- Unrefined sea salt
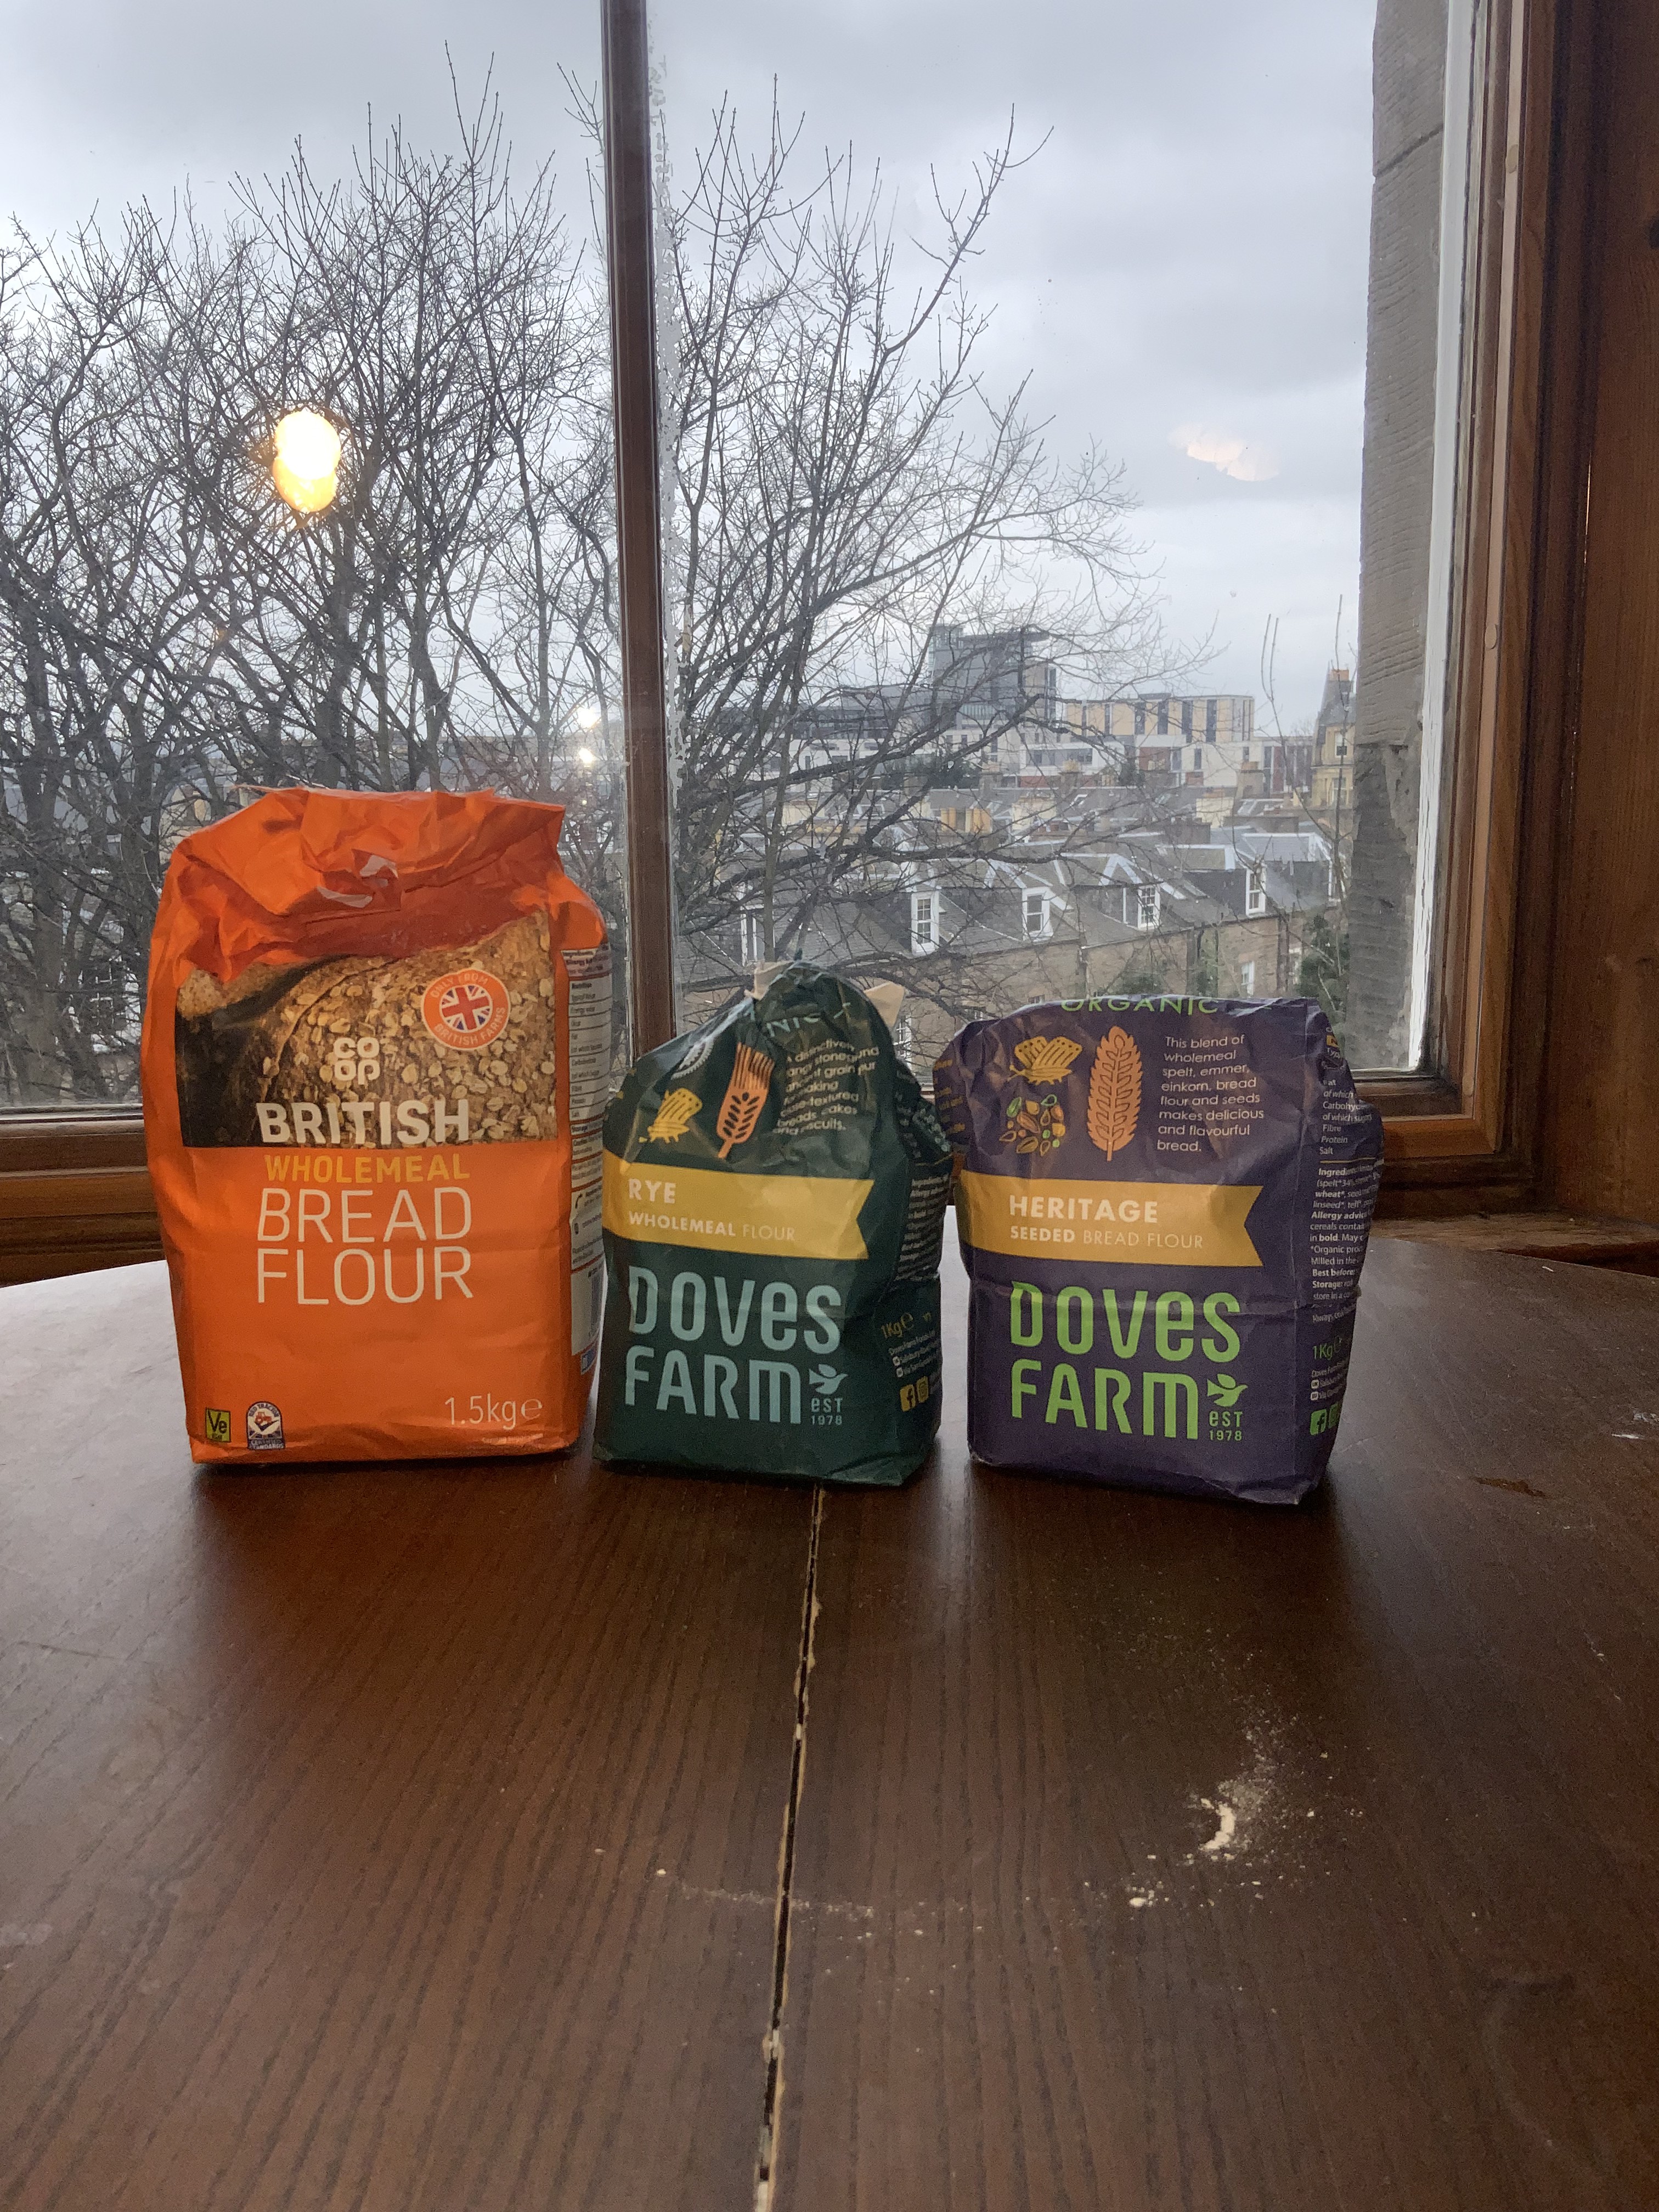
- Bread flour (1.5kg bag)
- Whole-grain flour
- Active sourdough starter
- Water
- Diastatic malt powder
- Brown sugar or natural sweetener (honey, malt syrup, maple…)
Equipment
- Large mixing container
- Measuring cup for water
- Danish dough whisk
- Baking steel
- Shallow tray
- Sharp blade or lame
Recipe assumes 1.5kg bag of strong white bread flour (common in Scotland).
Diastatic malt boosts yeast activity.
Day One: Setting Up The Ferments
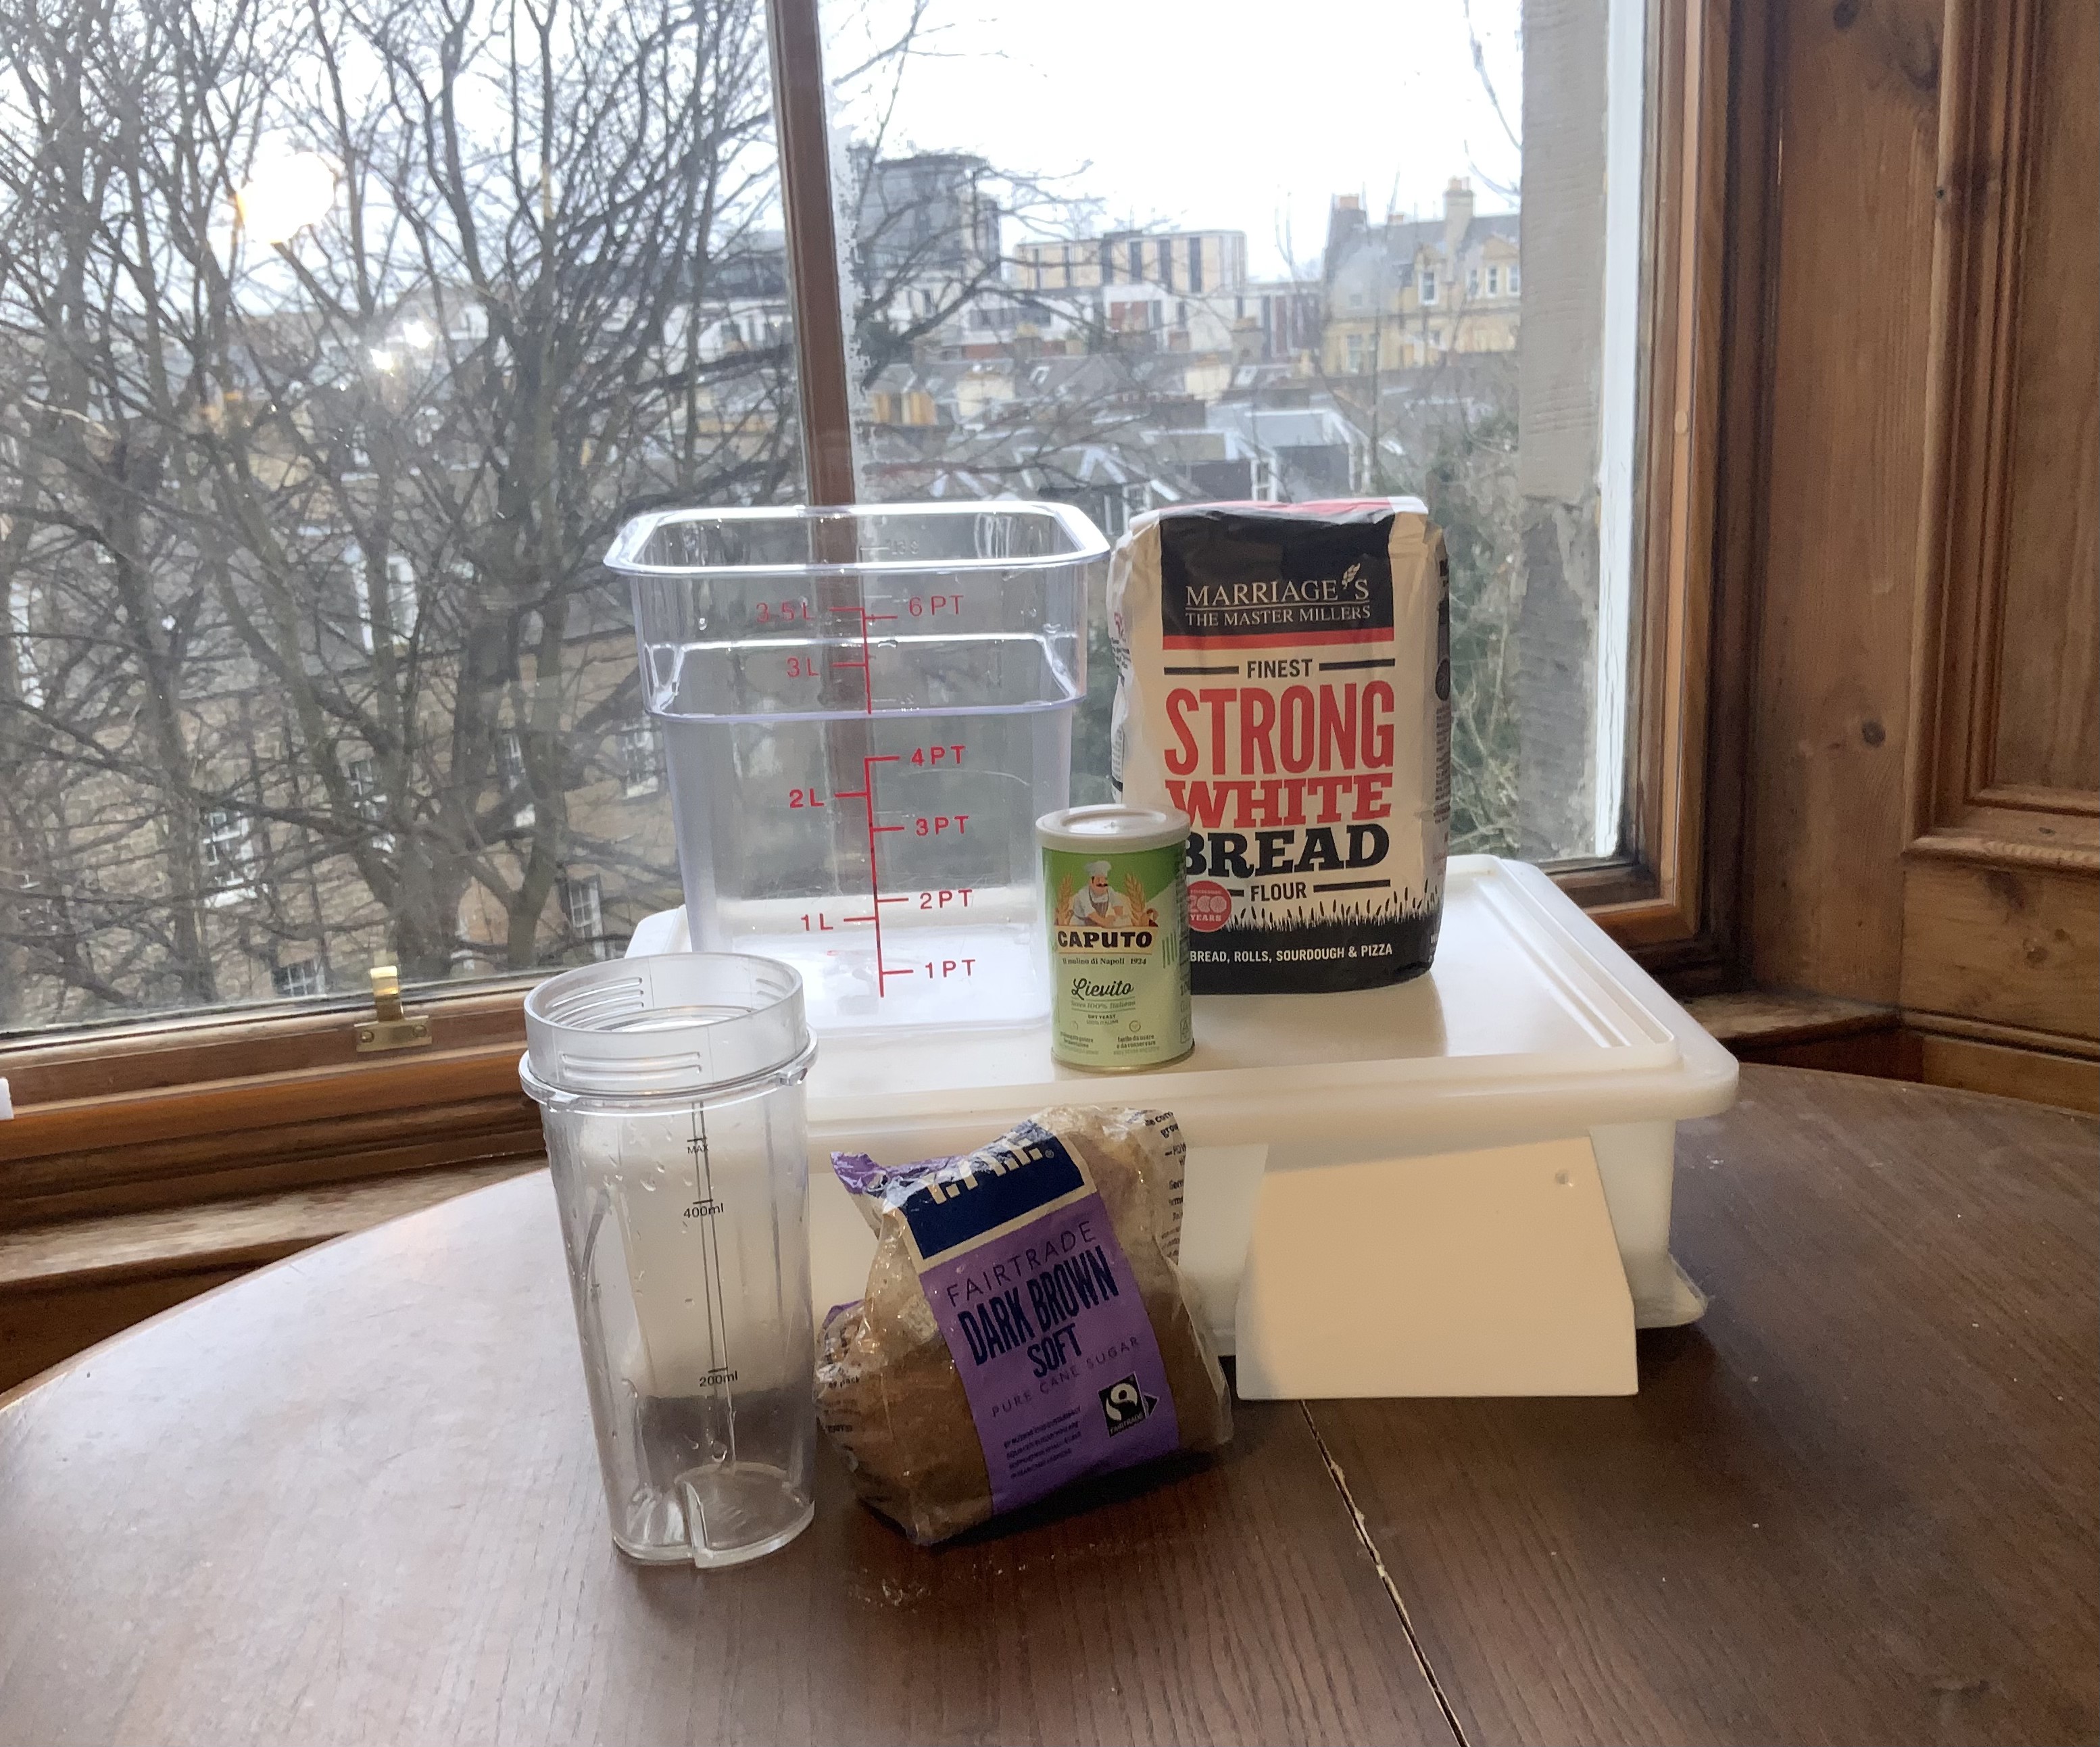
Everything starts with biga:
Biga needs:
- 750g flour (half your bag)
- 450g water (60% hydration)
- ¼ teaspoon dry yeast
- ¼ teaspoon brown sugar or a splash of natural syrup
Dissolve the sugar and yeast in water.
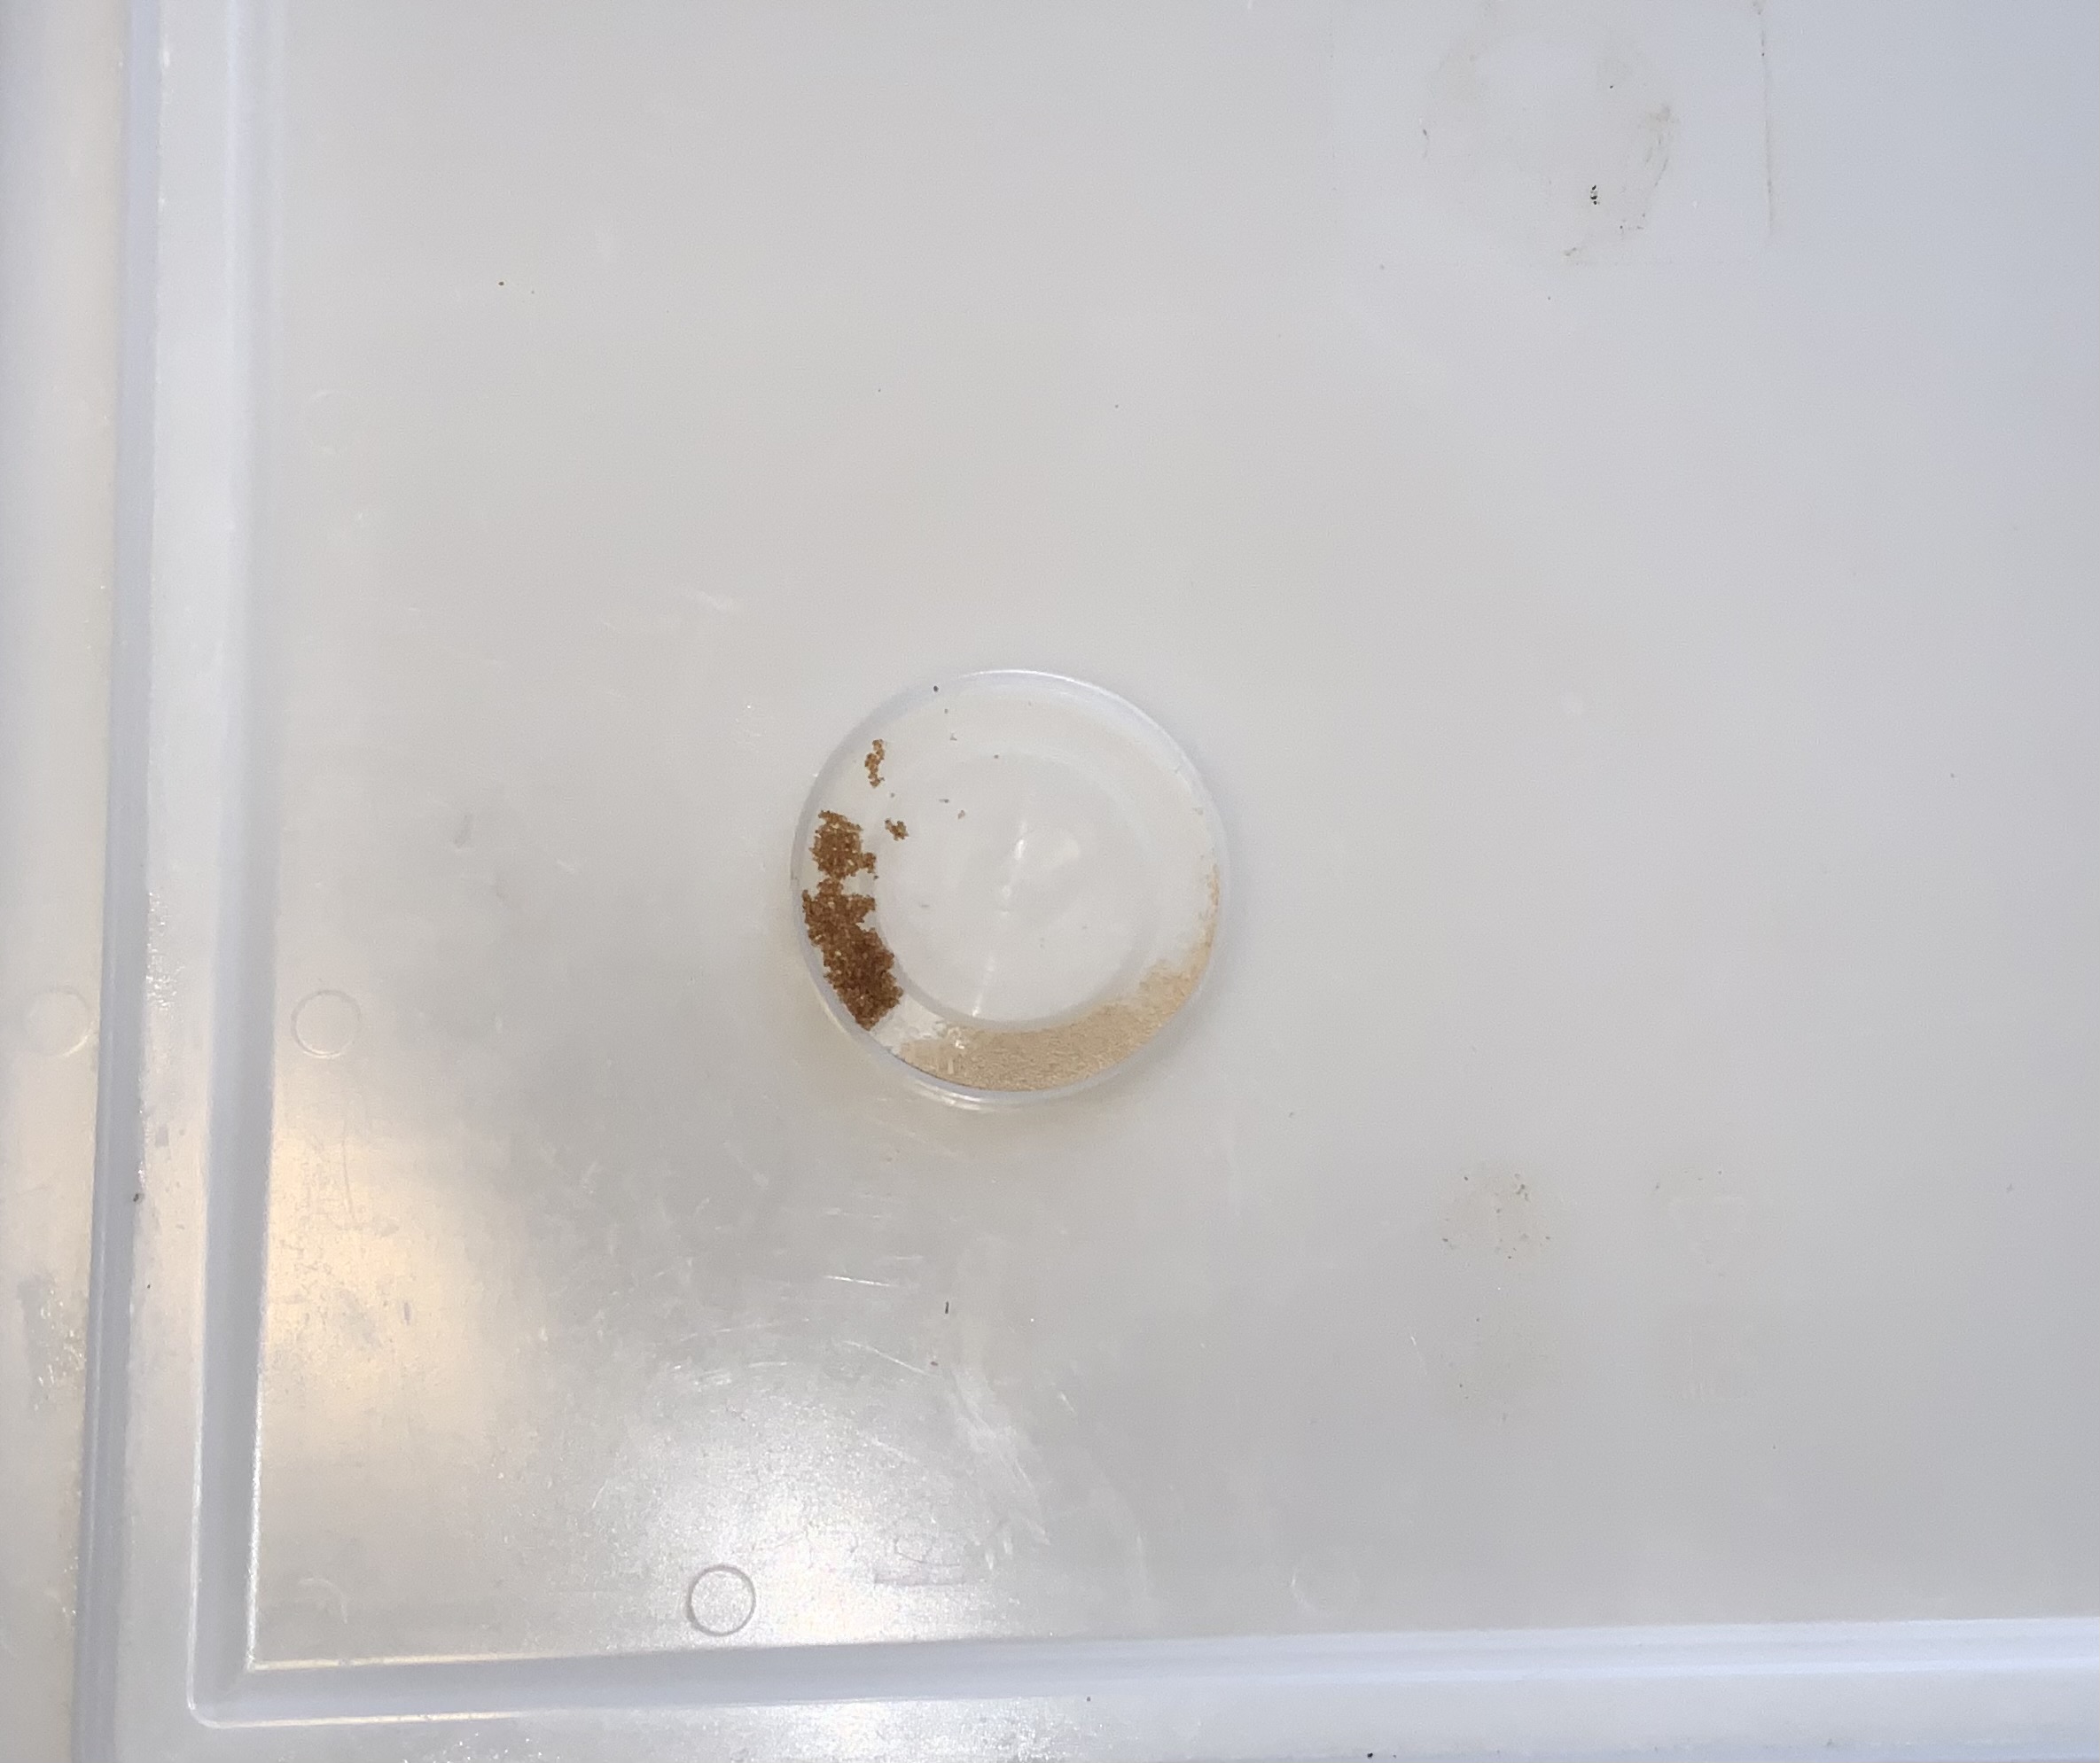
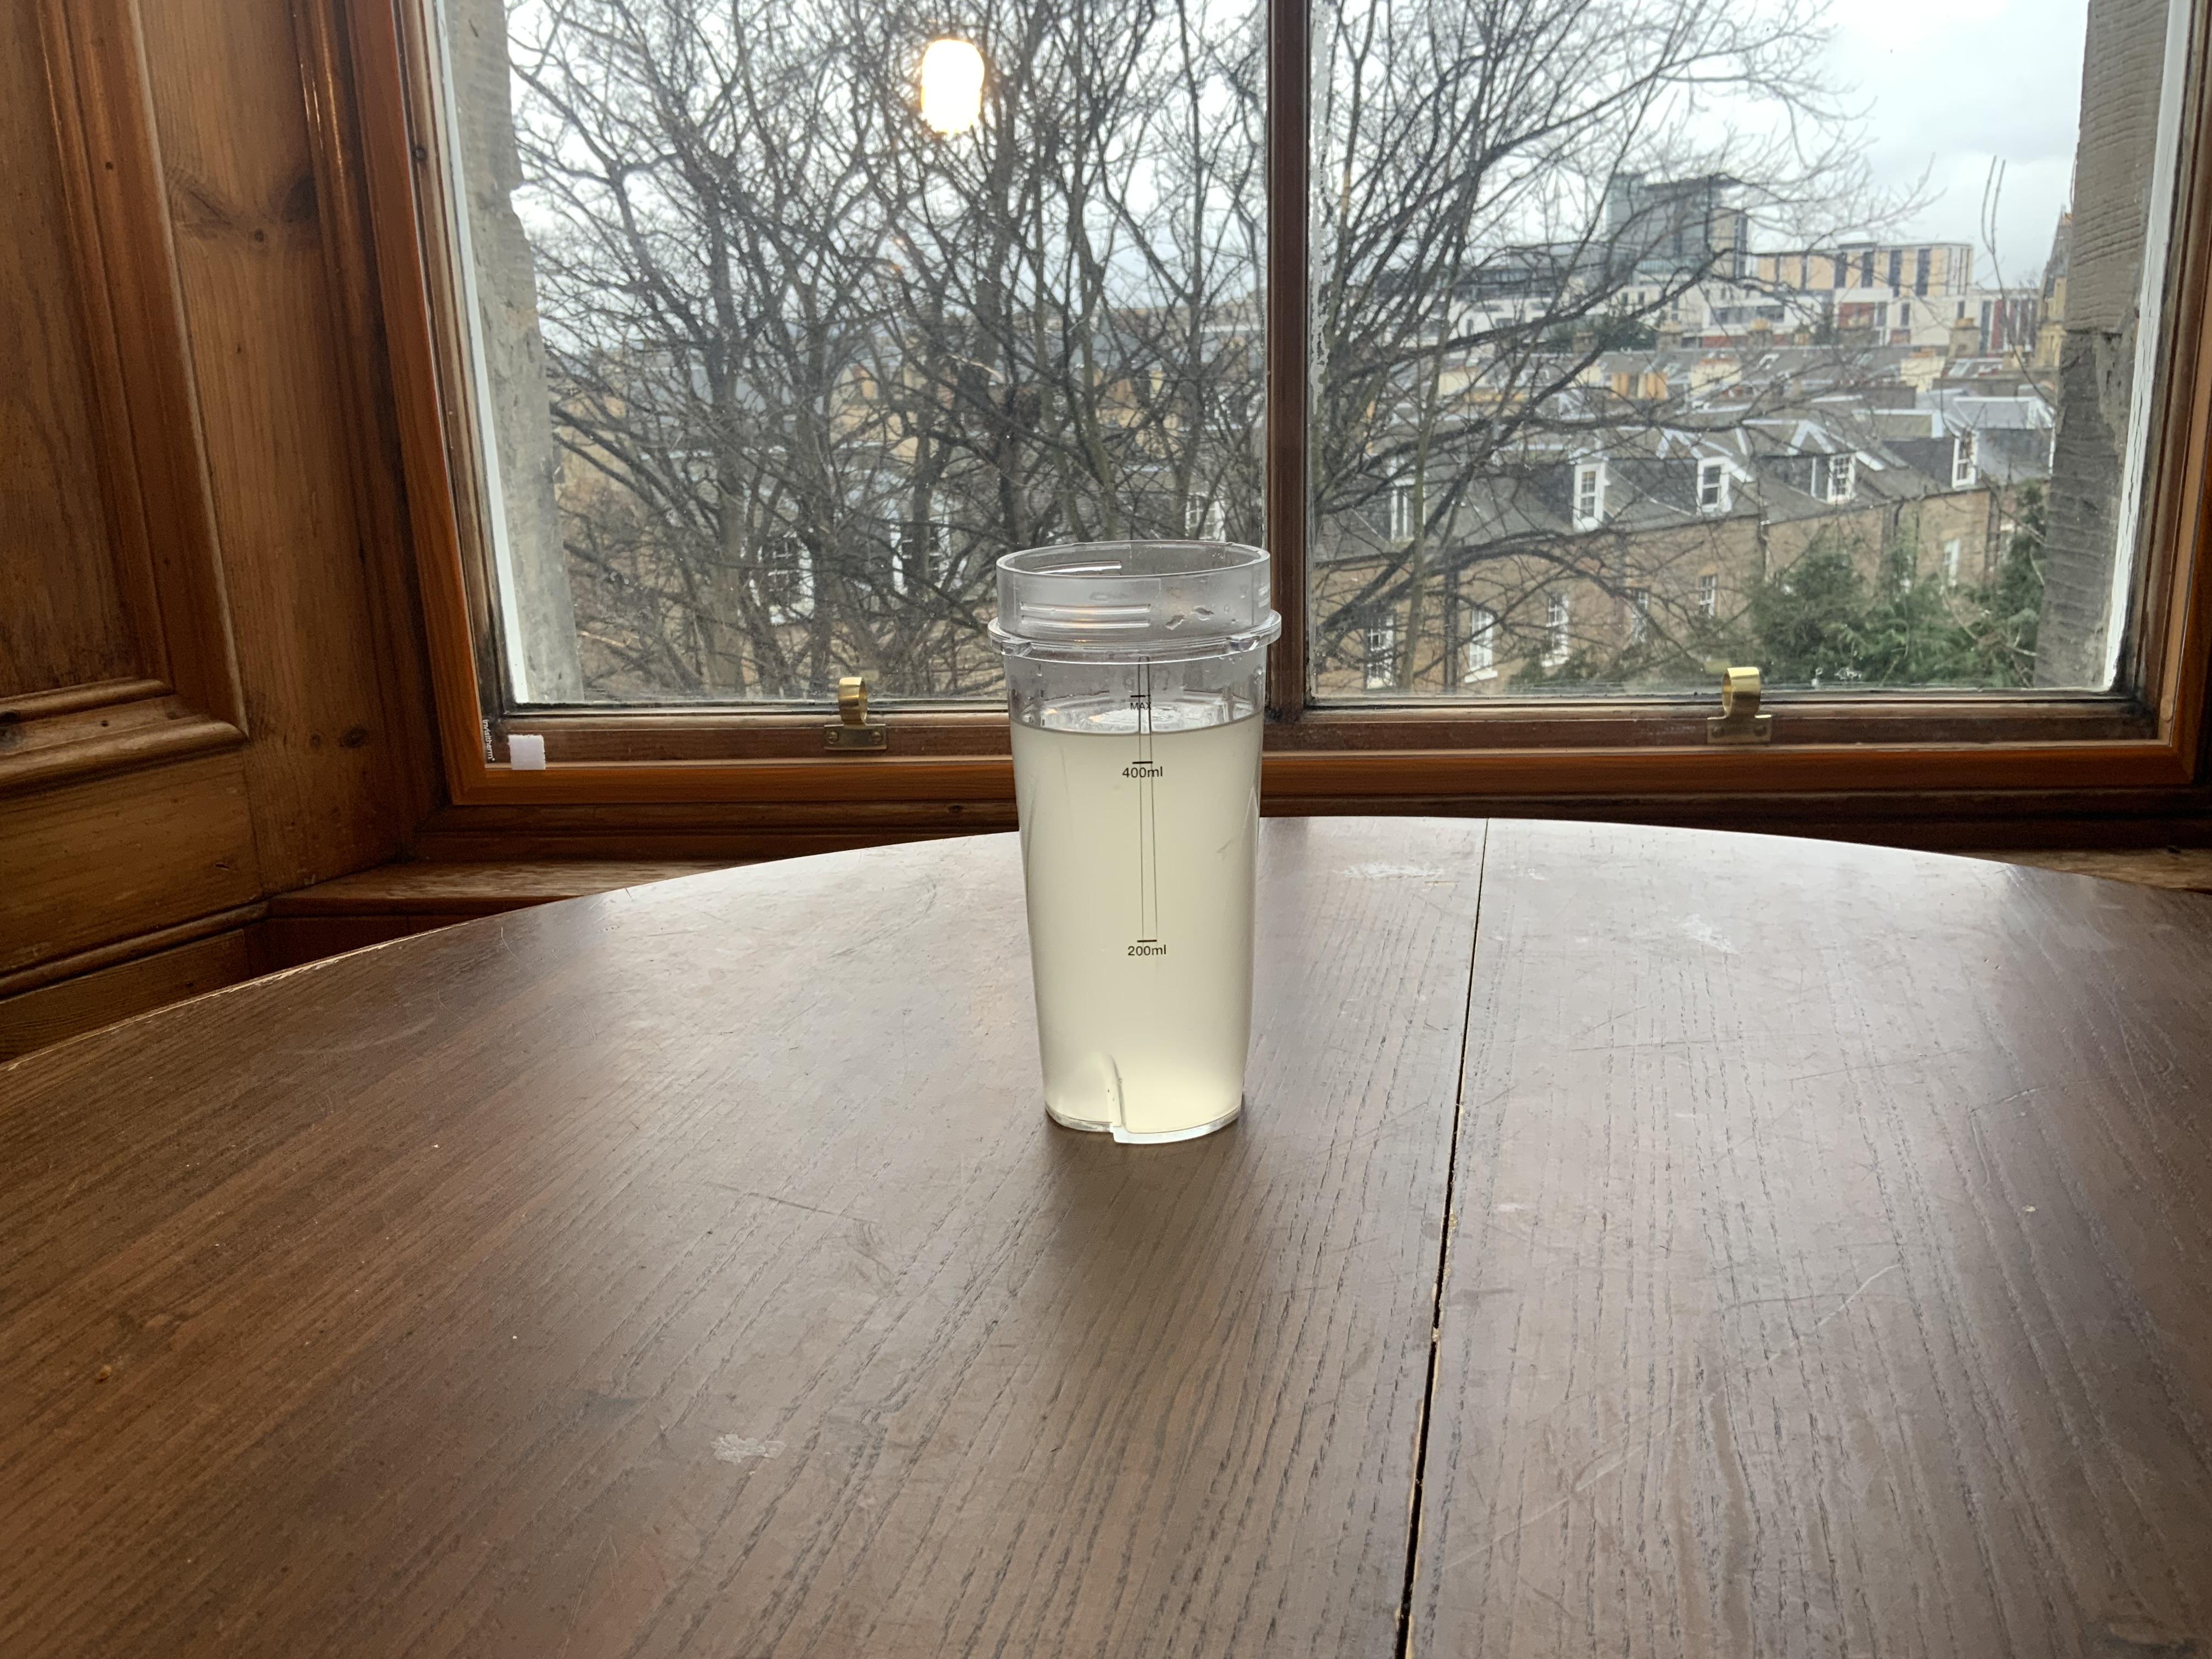
Add half your flour to a container and pour in the liquid. Use a lidded container and shake for 30 seconds, or mix in a bowl.
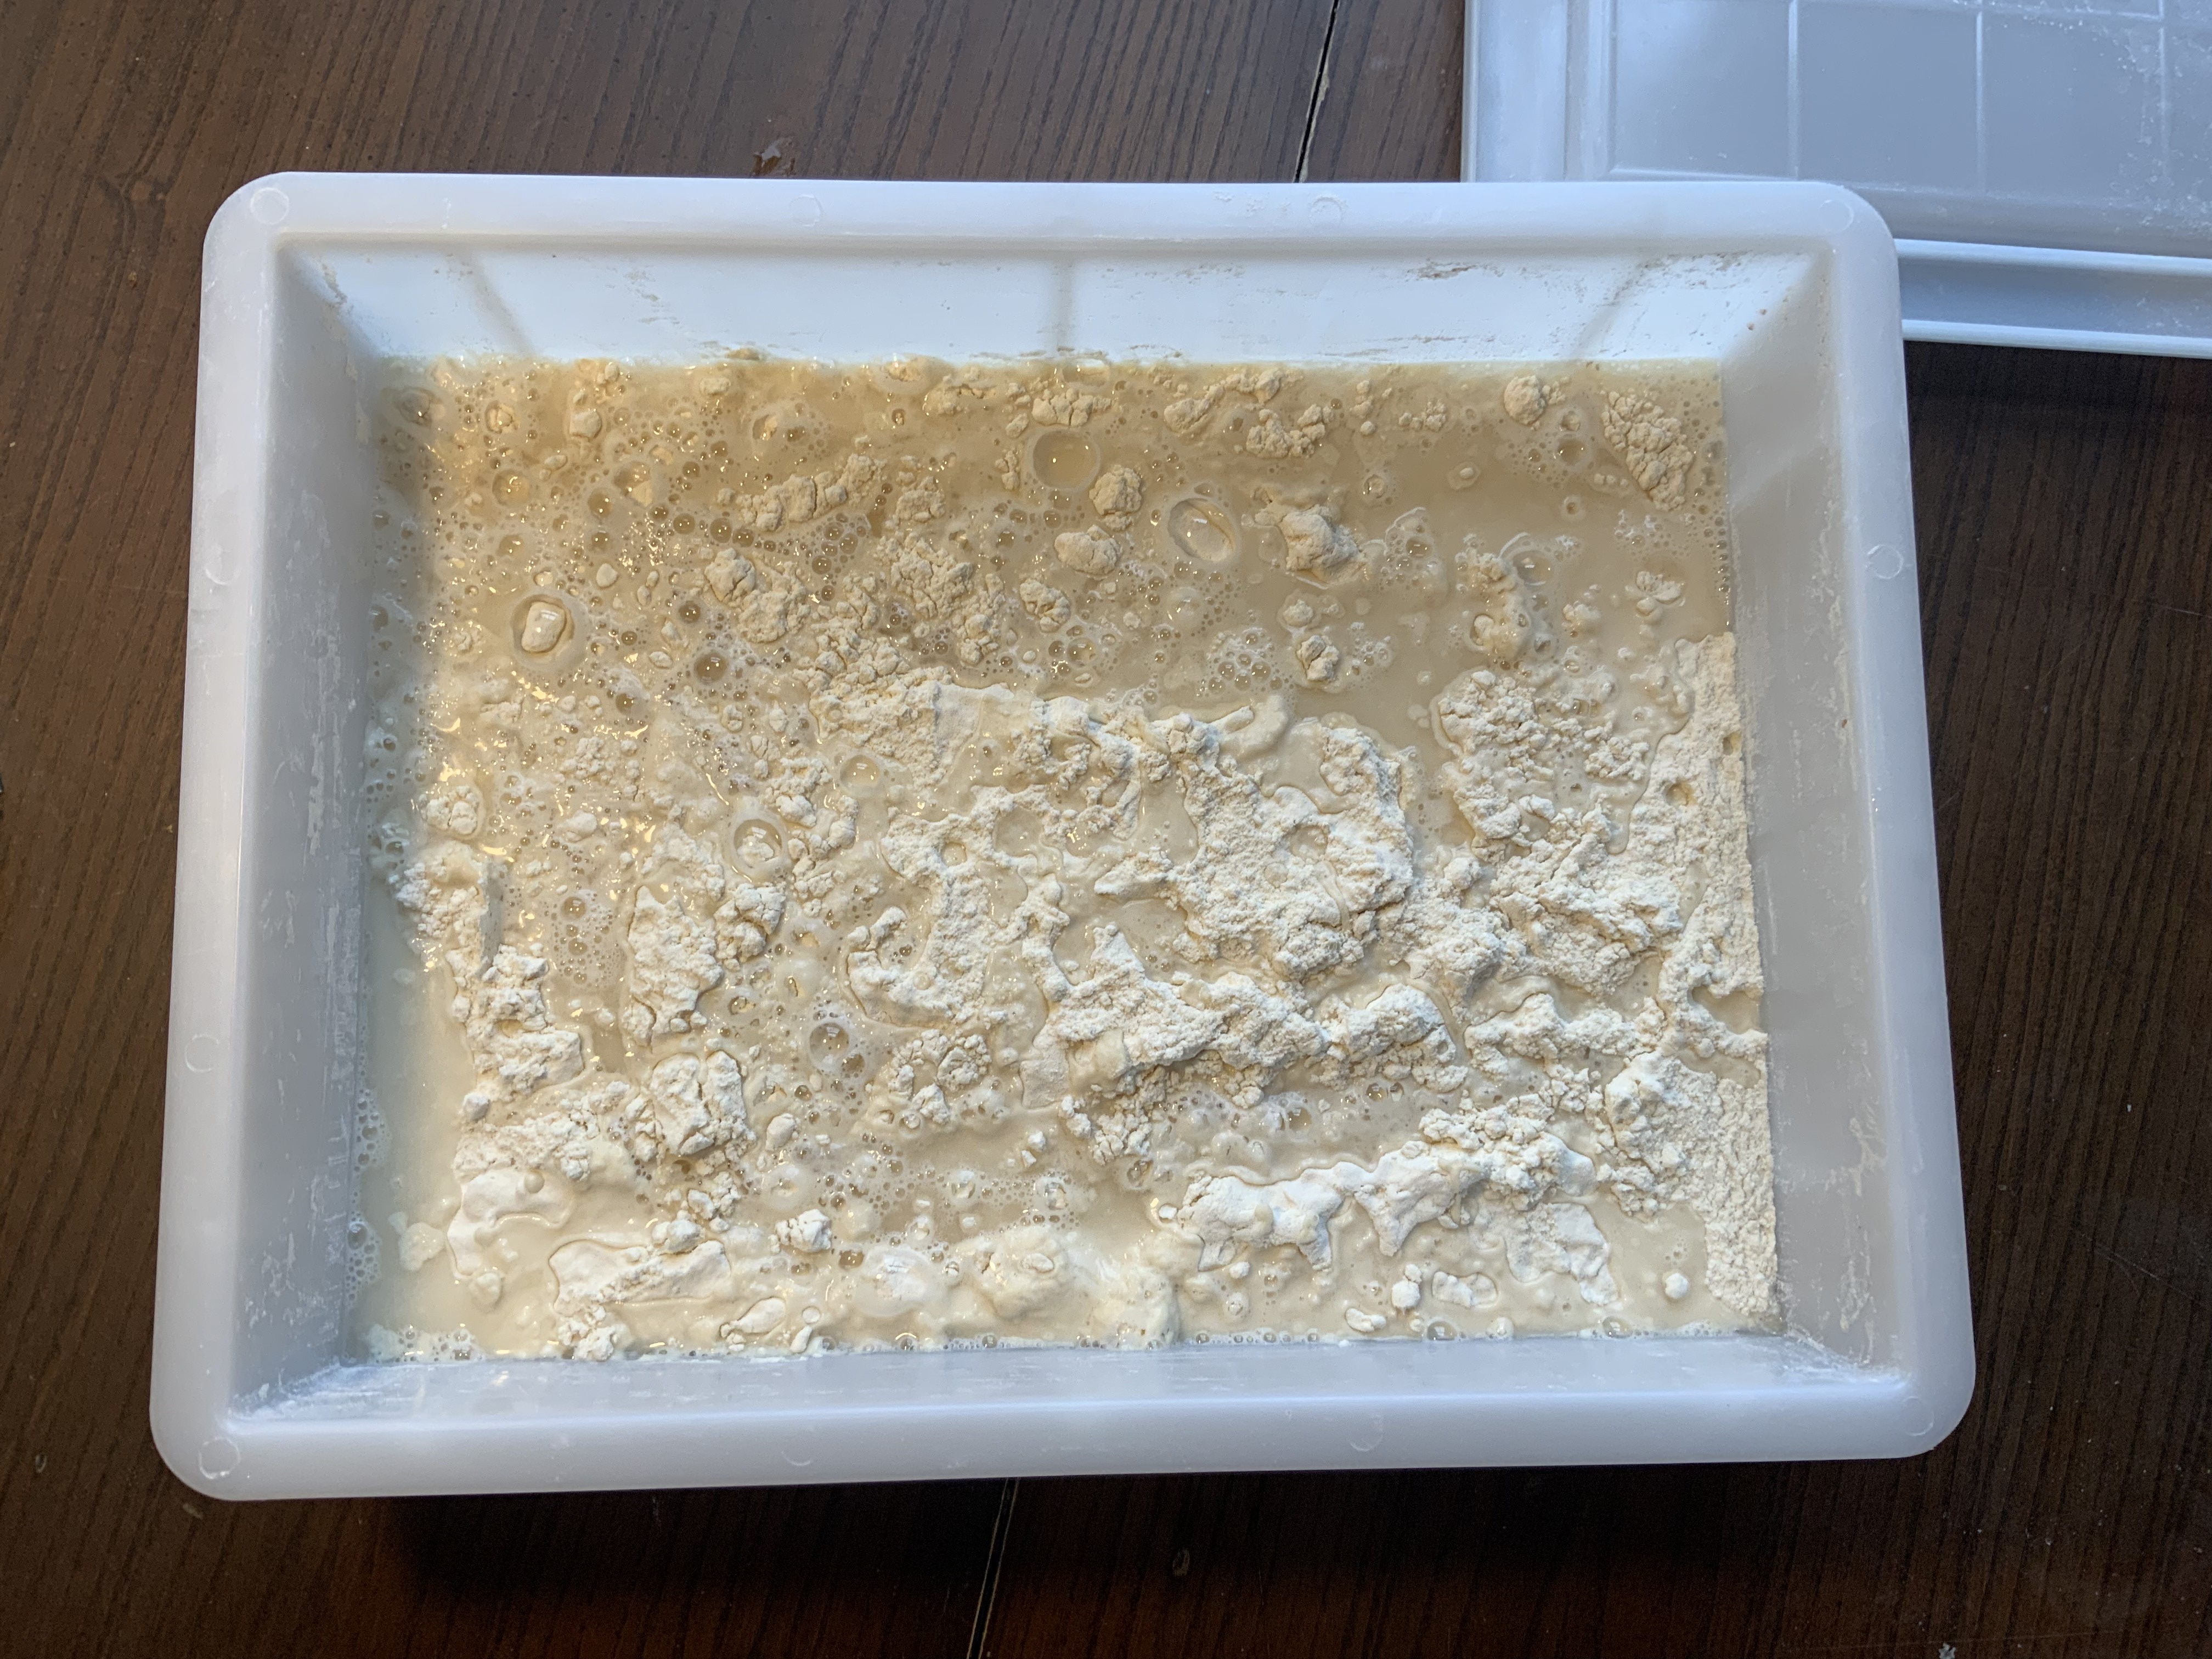
Break clumps with your fingers or a scraper:
Shaggy's good: micro-environments encourage varied fermentation and flavour; full gluten comes later.
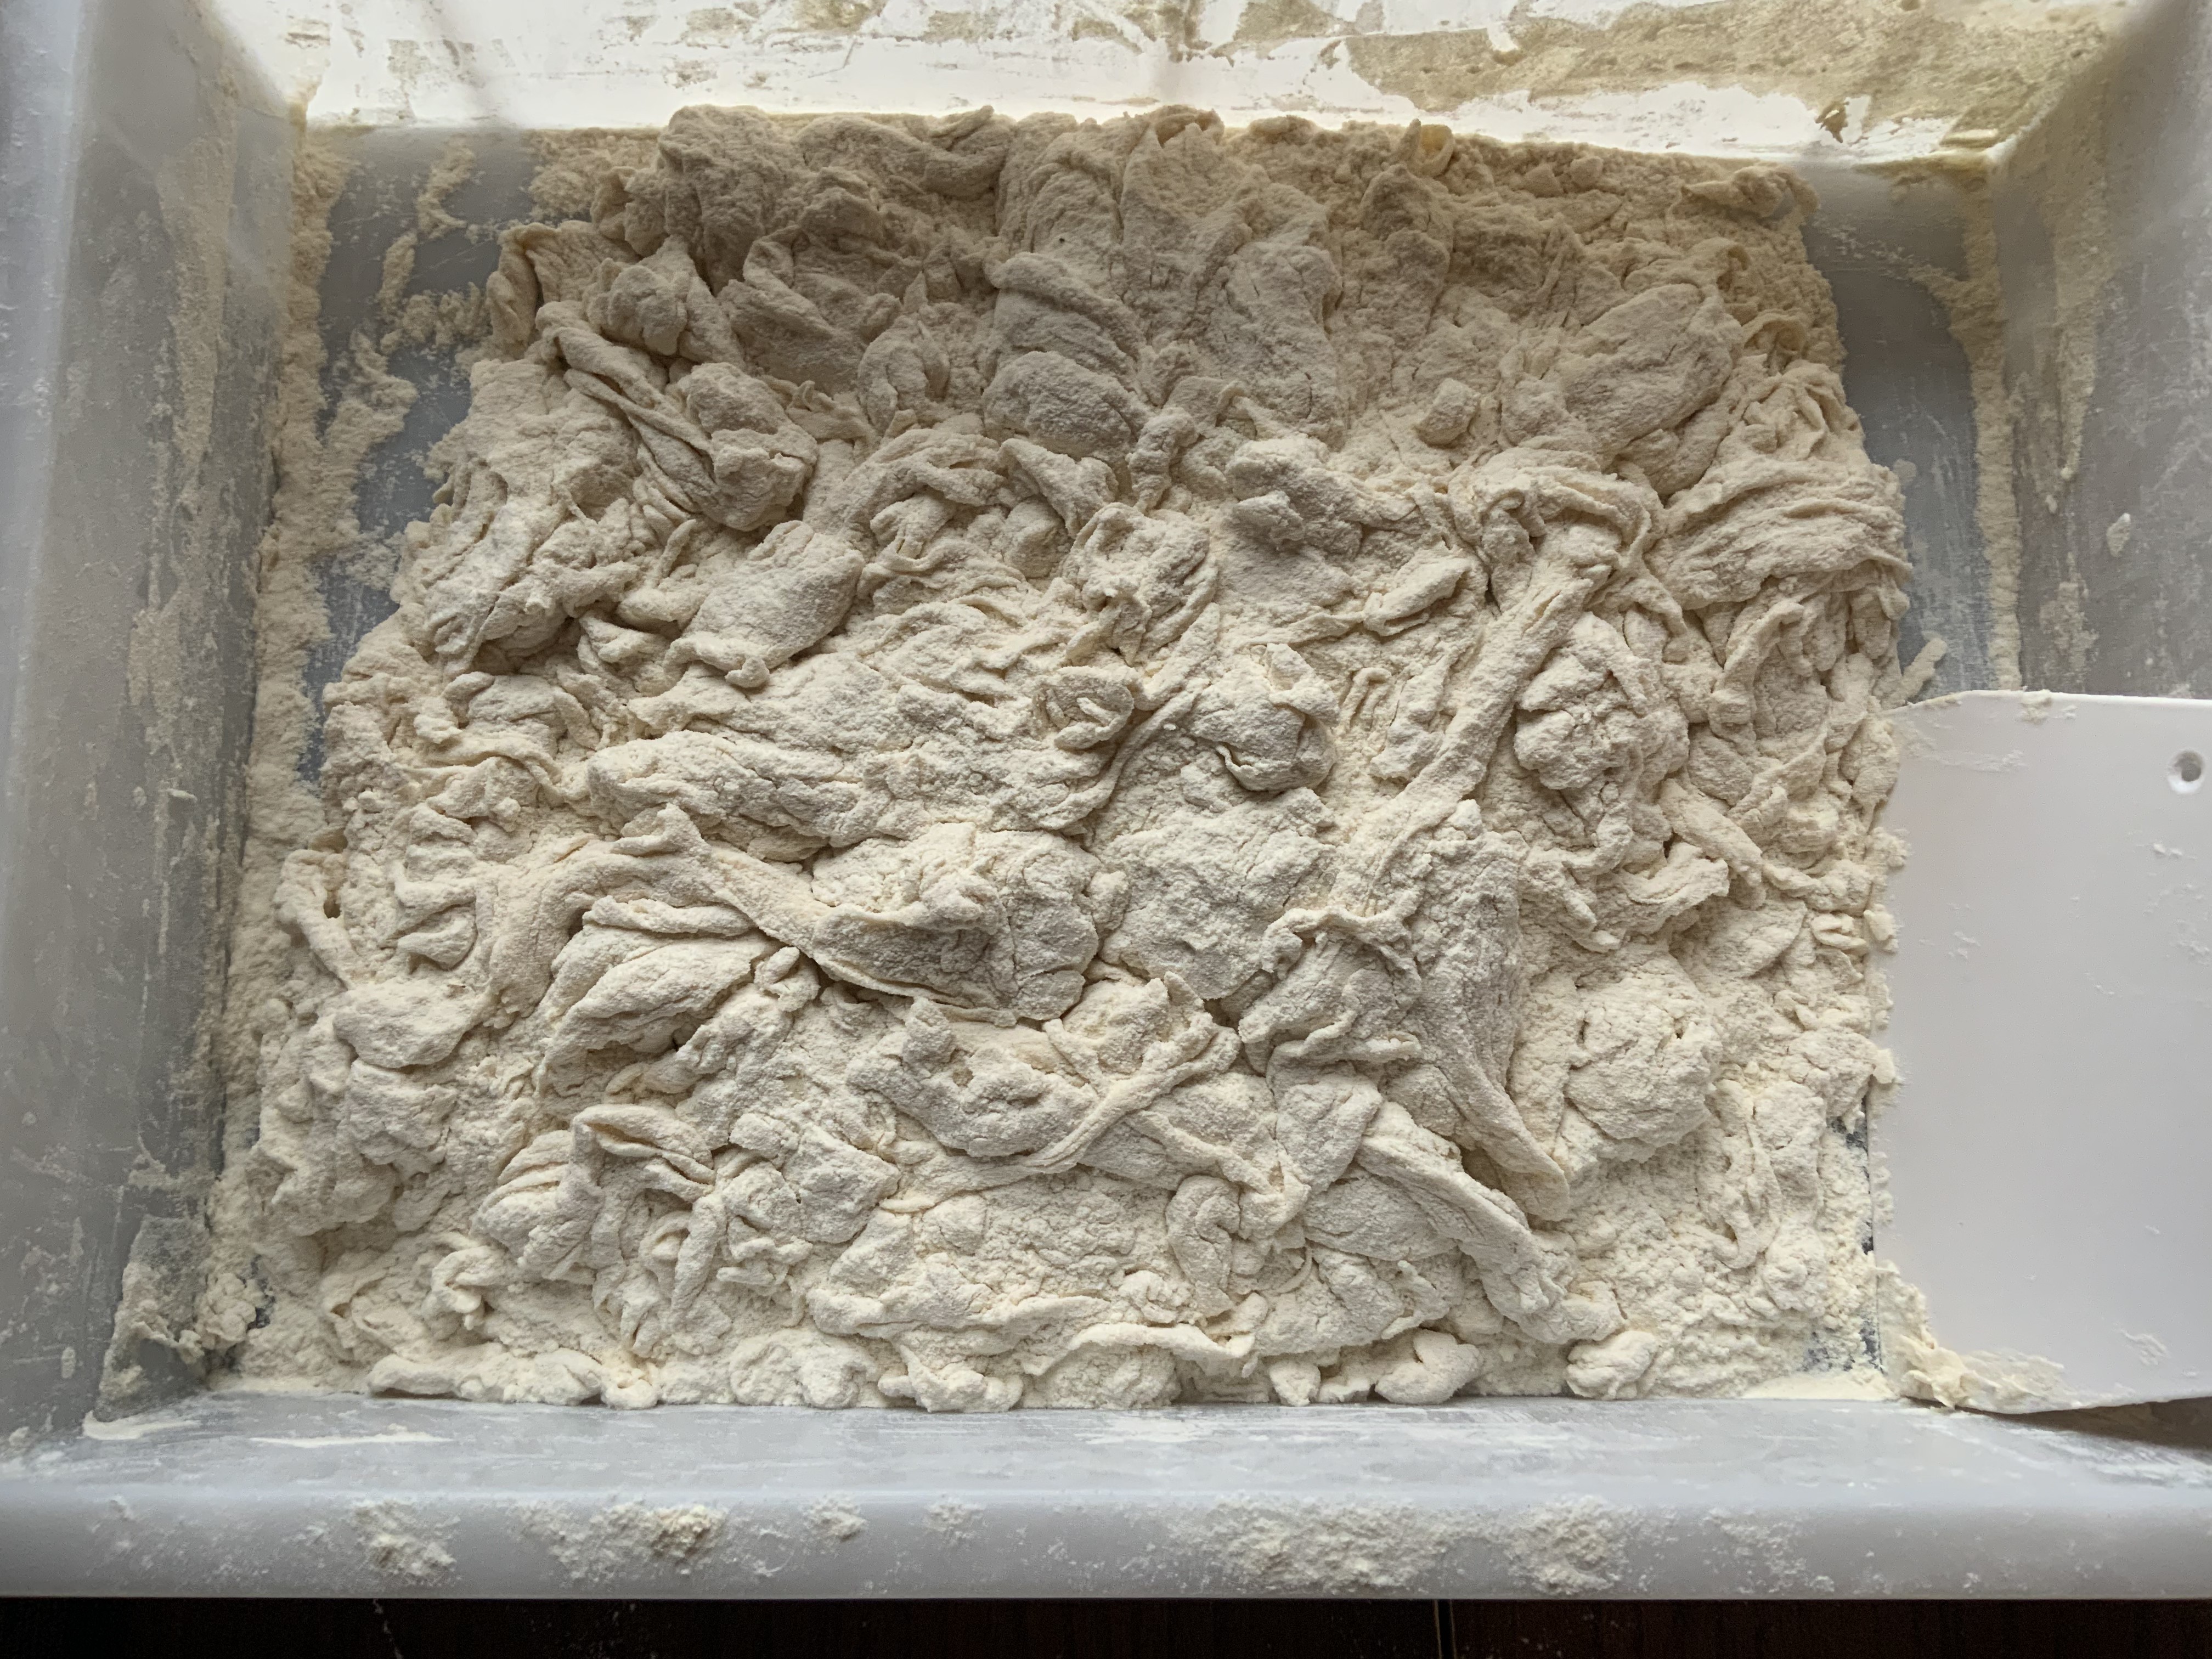
Cover, poke some holes, and let it go. Activity starts in 2–3 hours.
Sourdough Starter: The Scraping Method
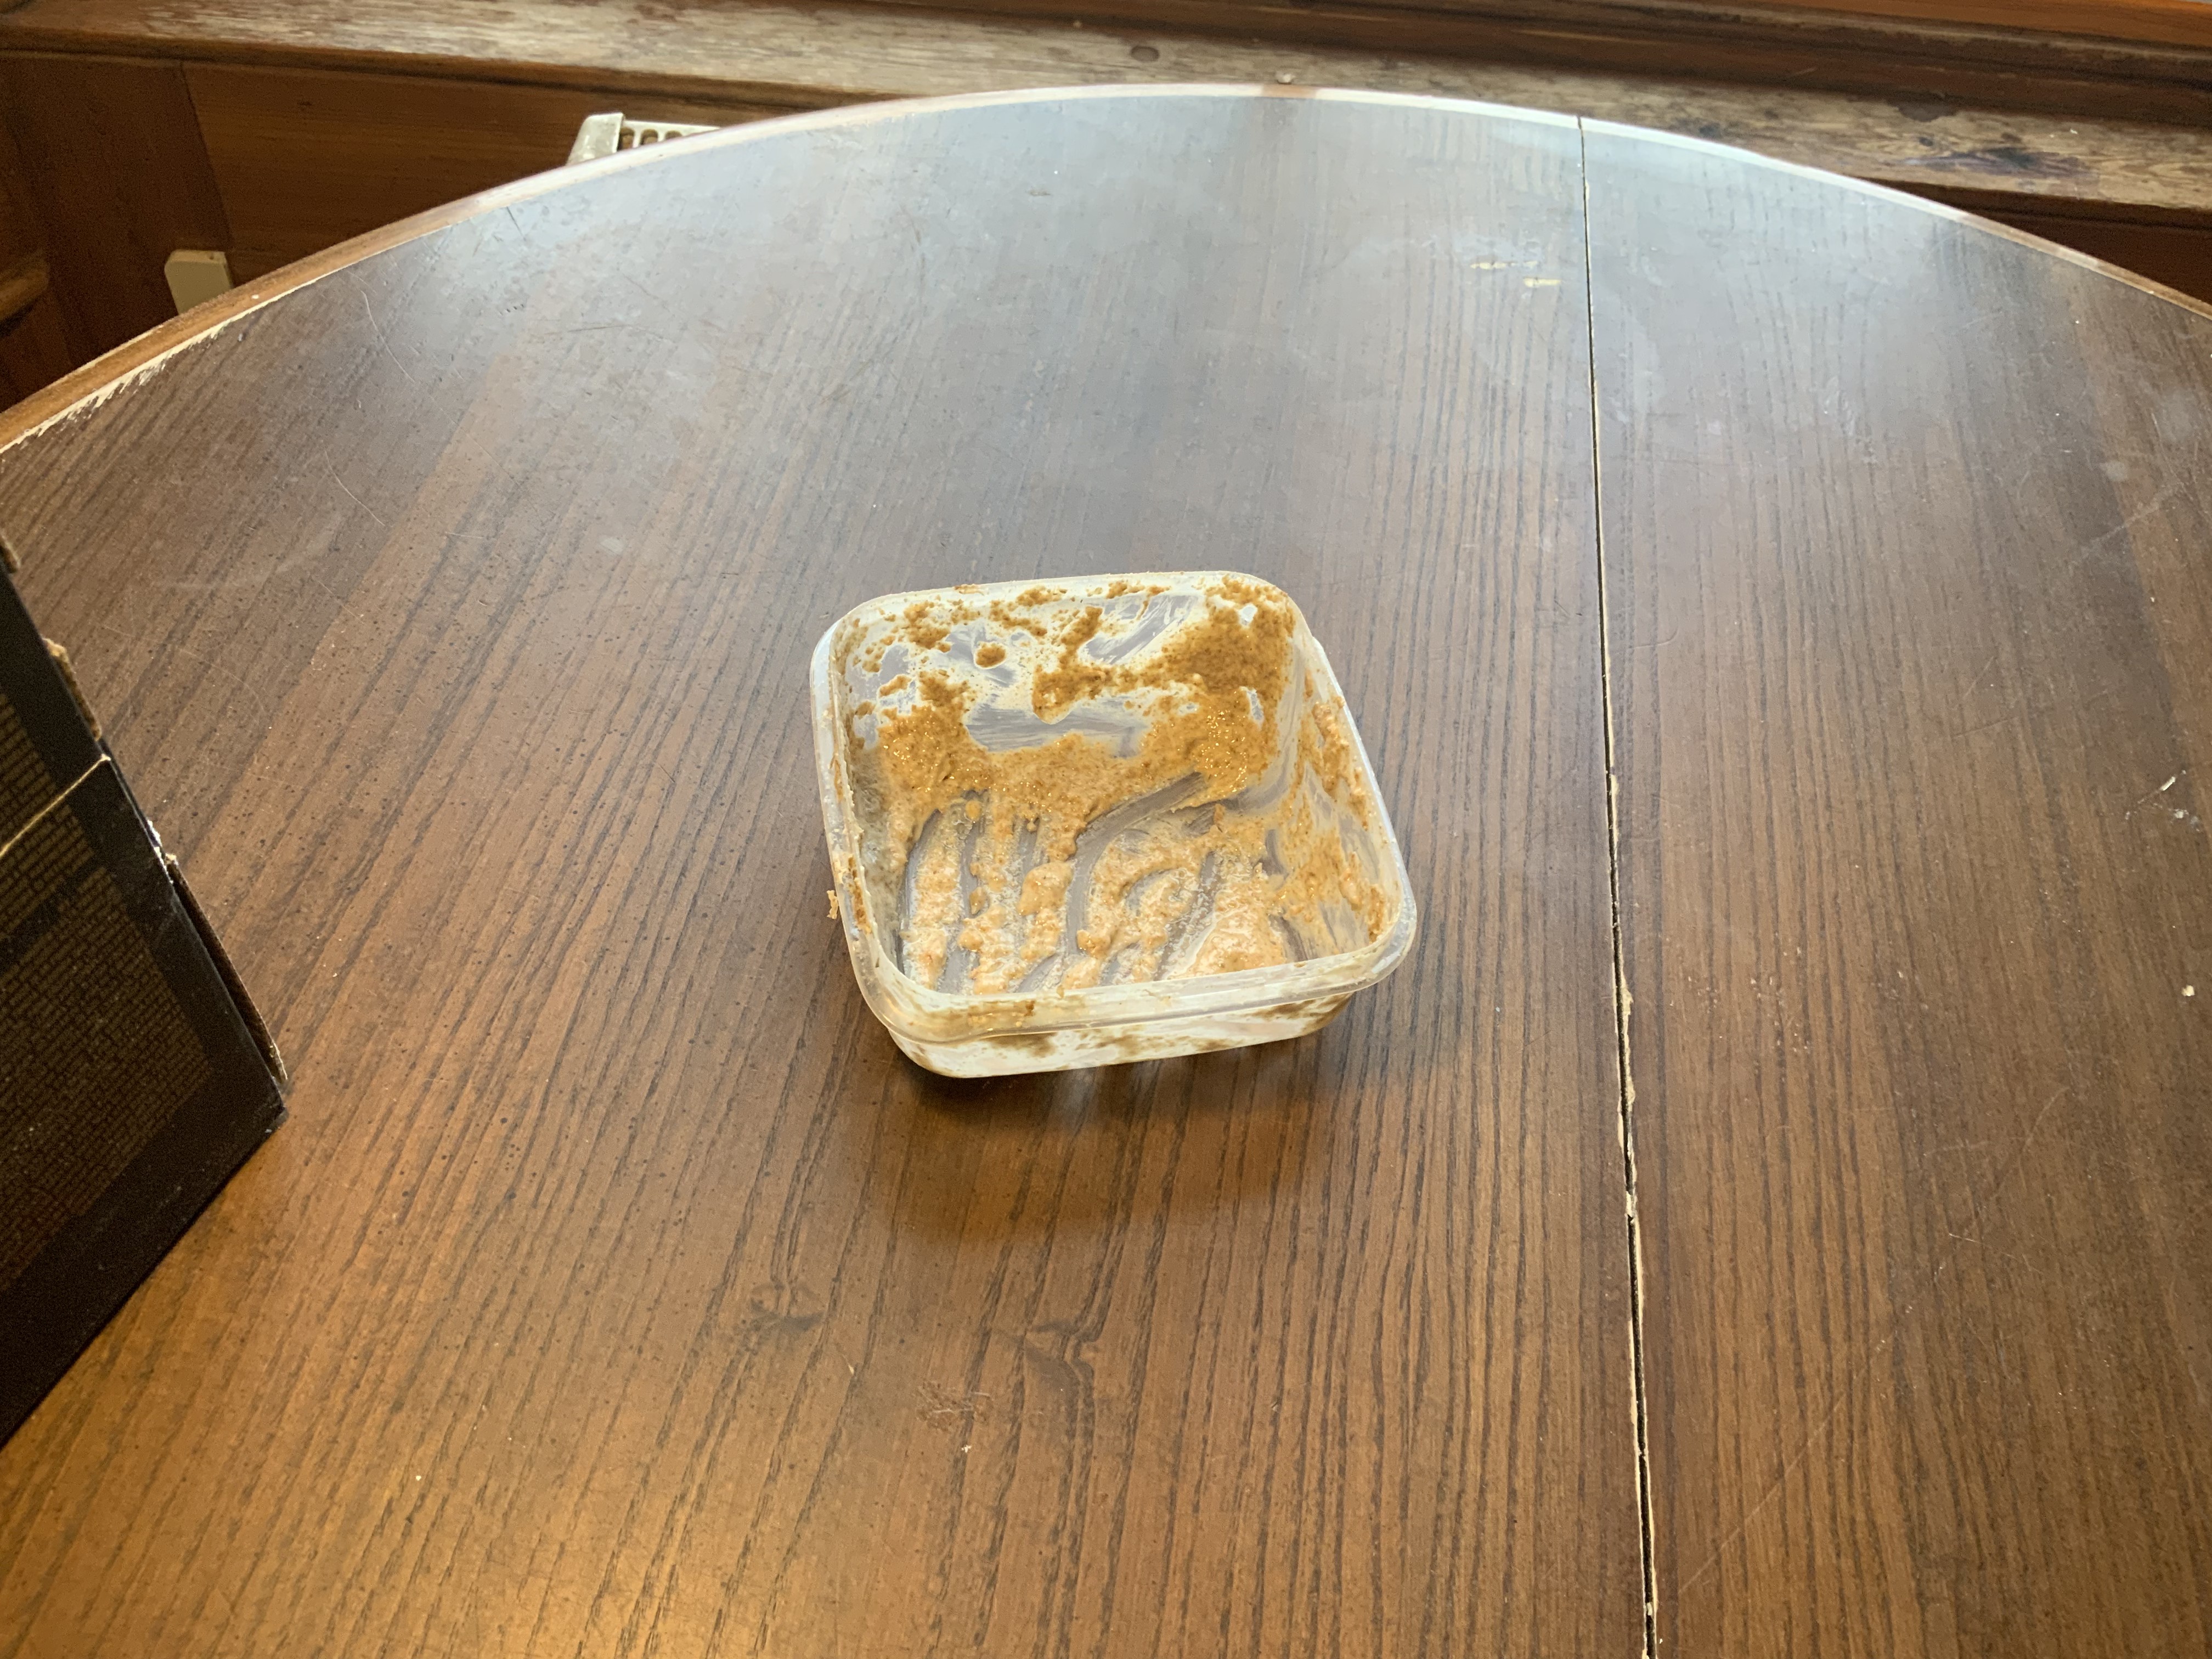
Skip daily feeds and waste. Keep a small starter in the fridge; feed it the night before.
Feed 8 tablespoons whole-grain flour with ~2/3 volume water. Whole grains bring wild yeasts and enzymes.
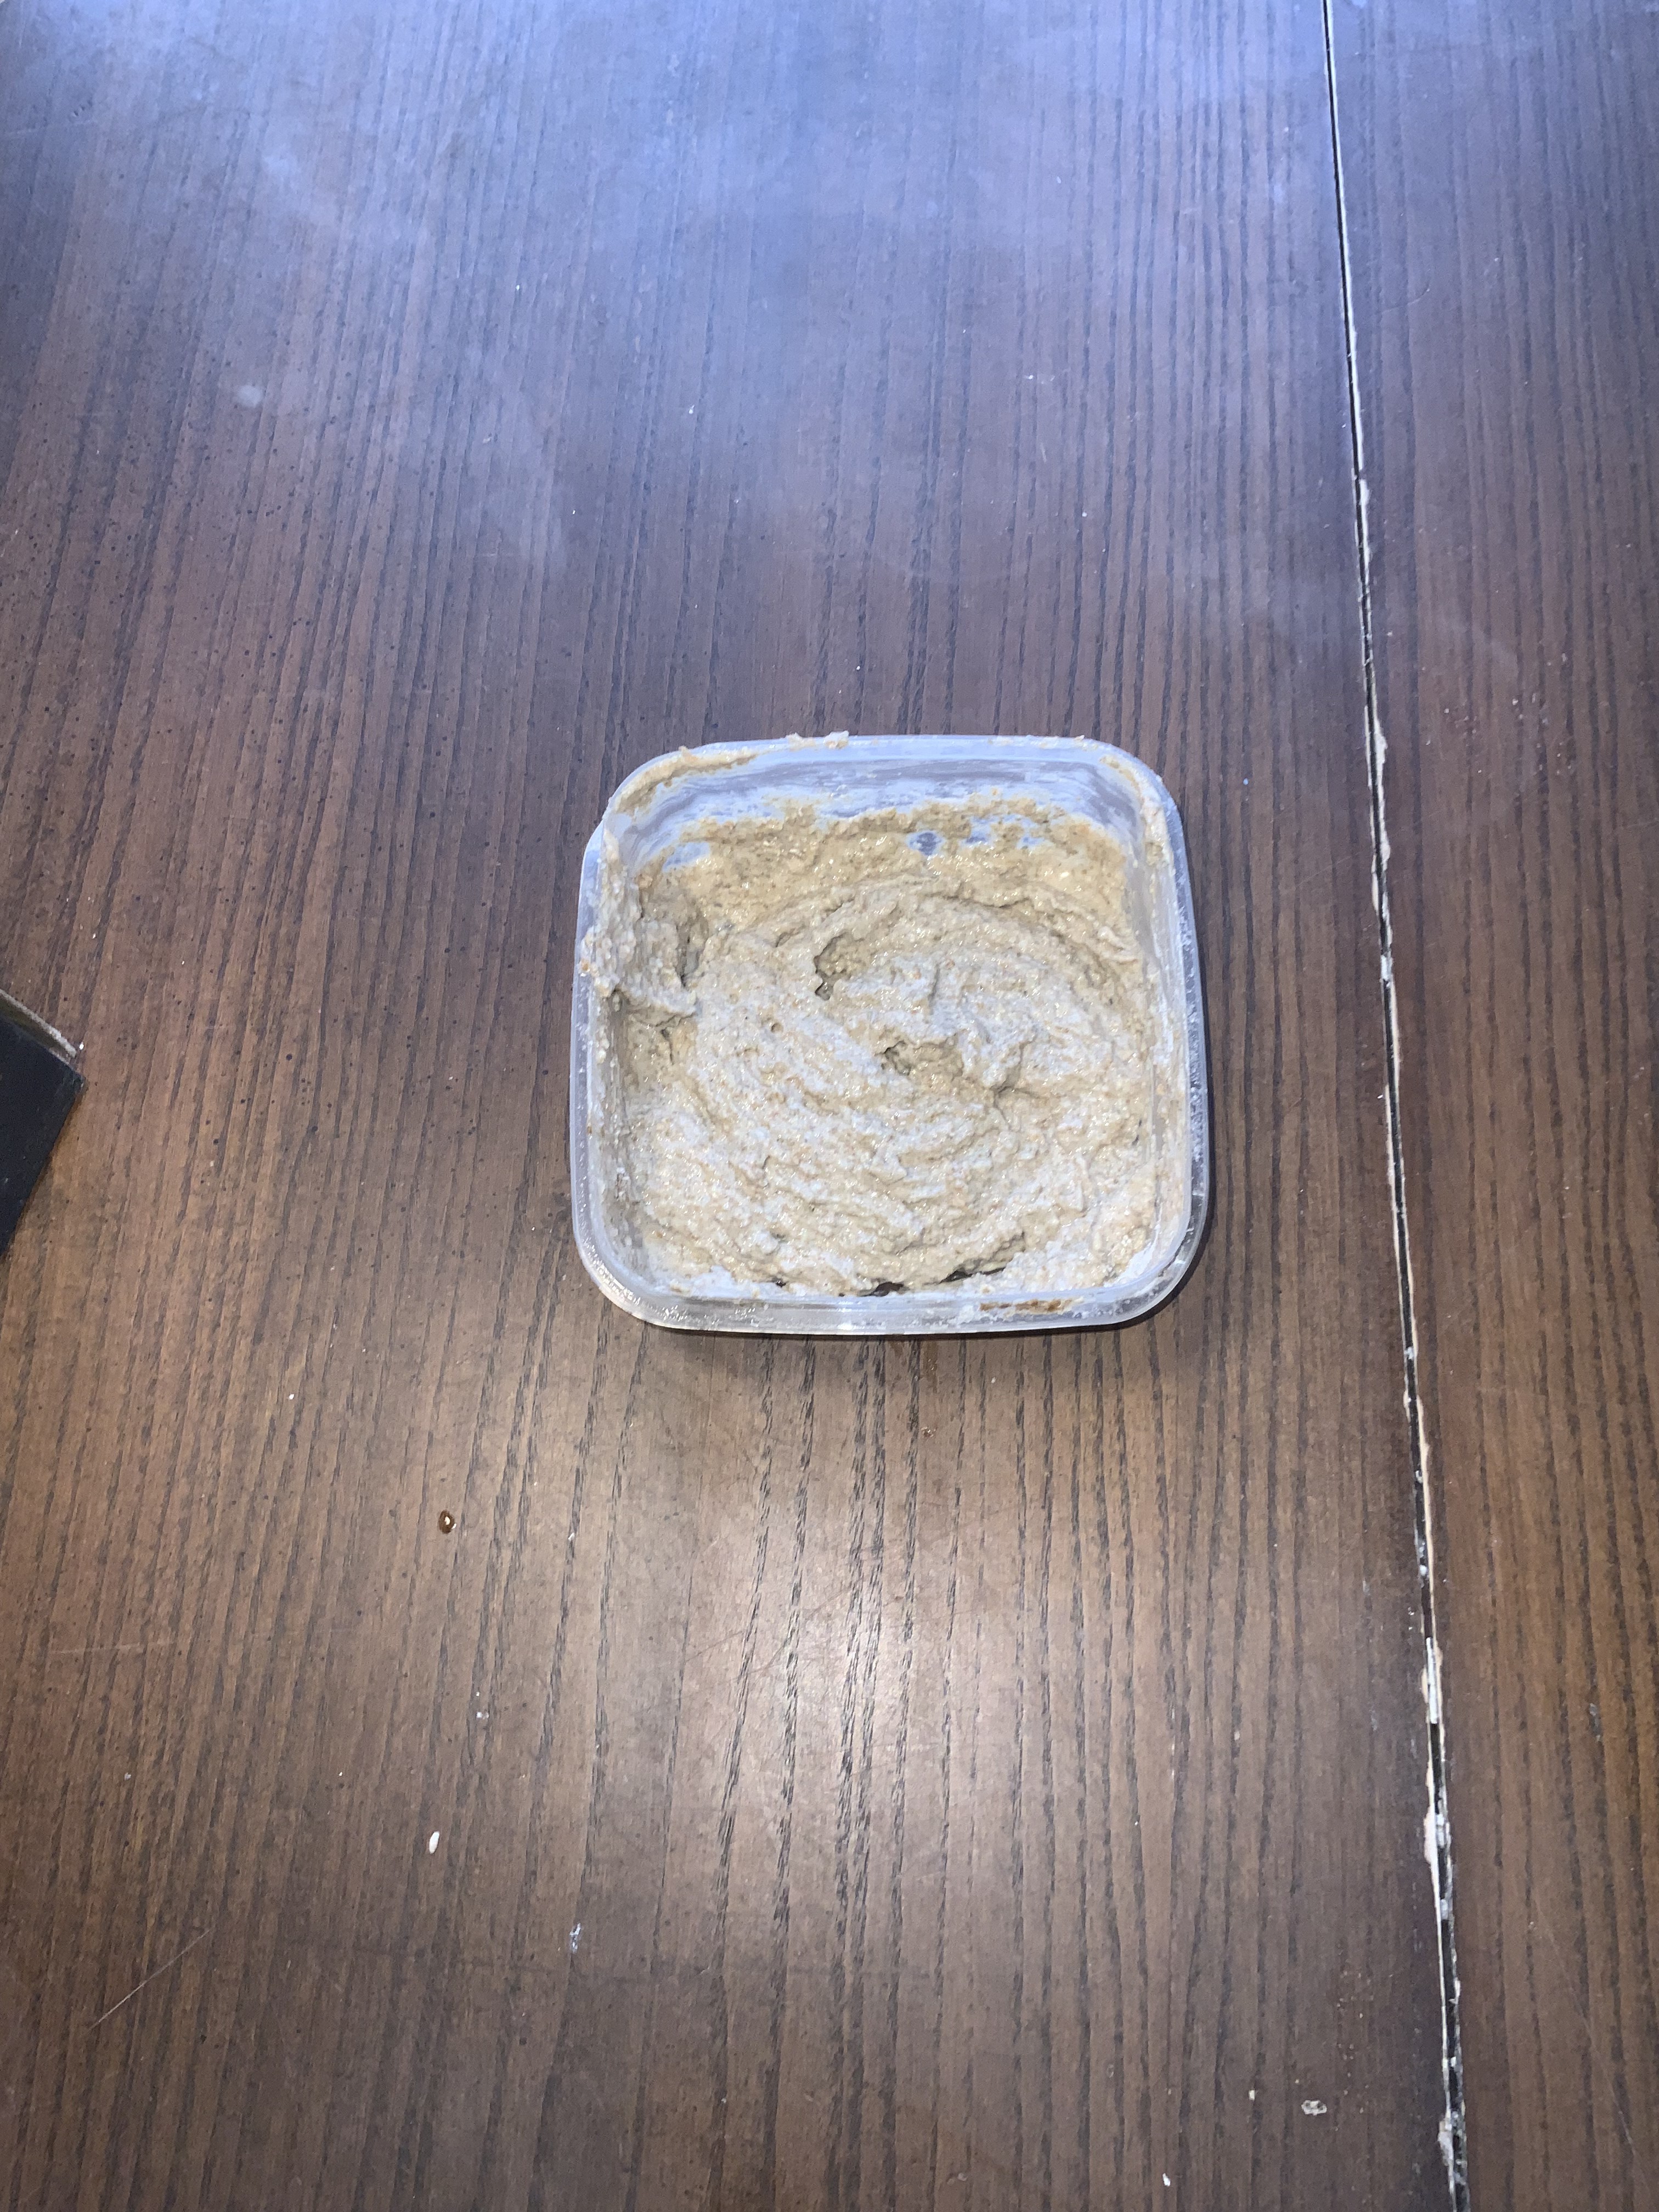
Let both ferments work overnight.
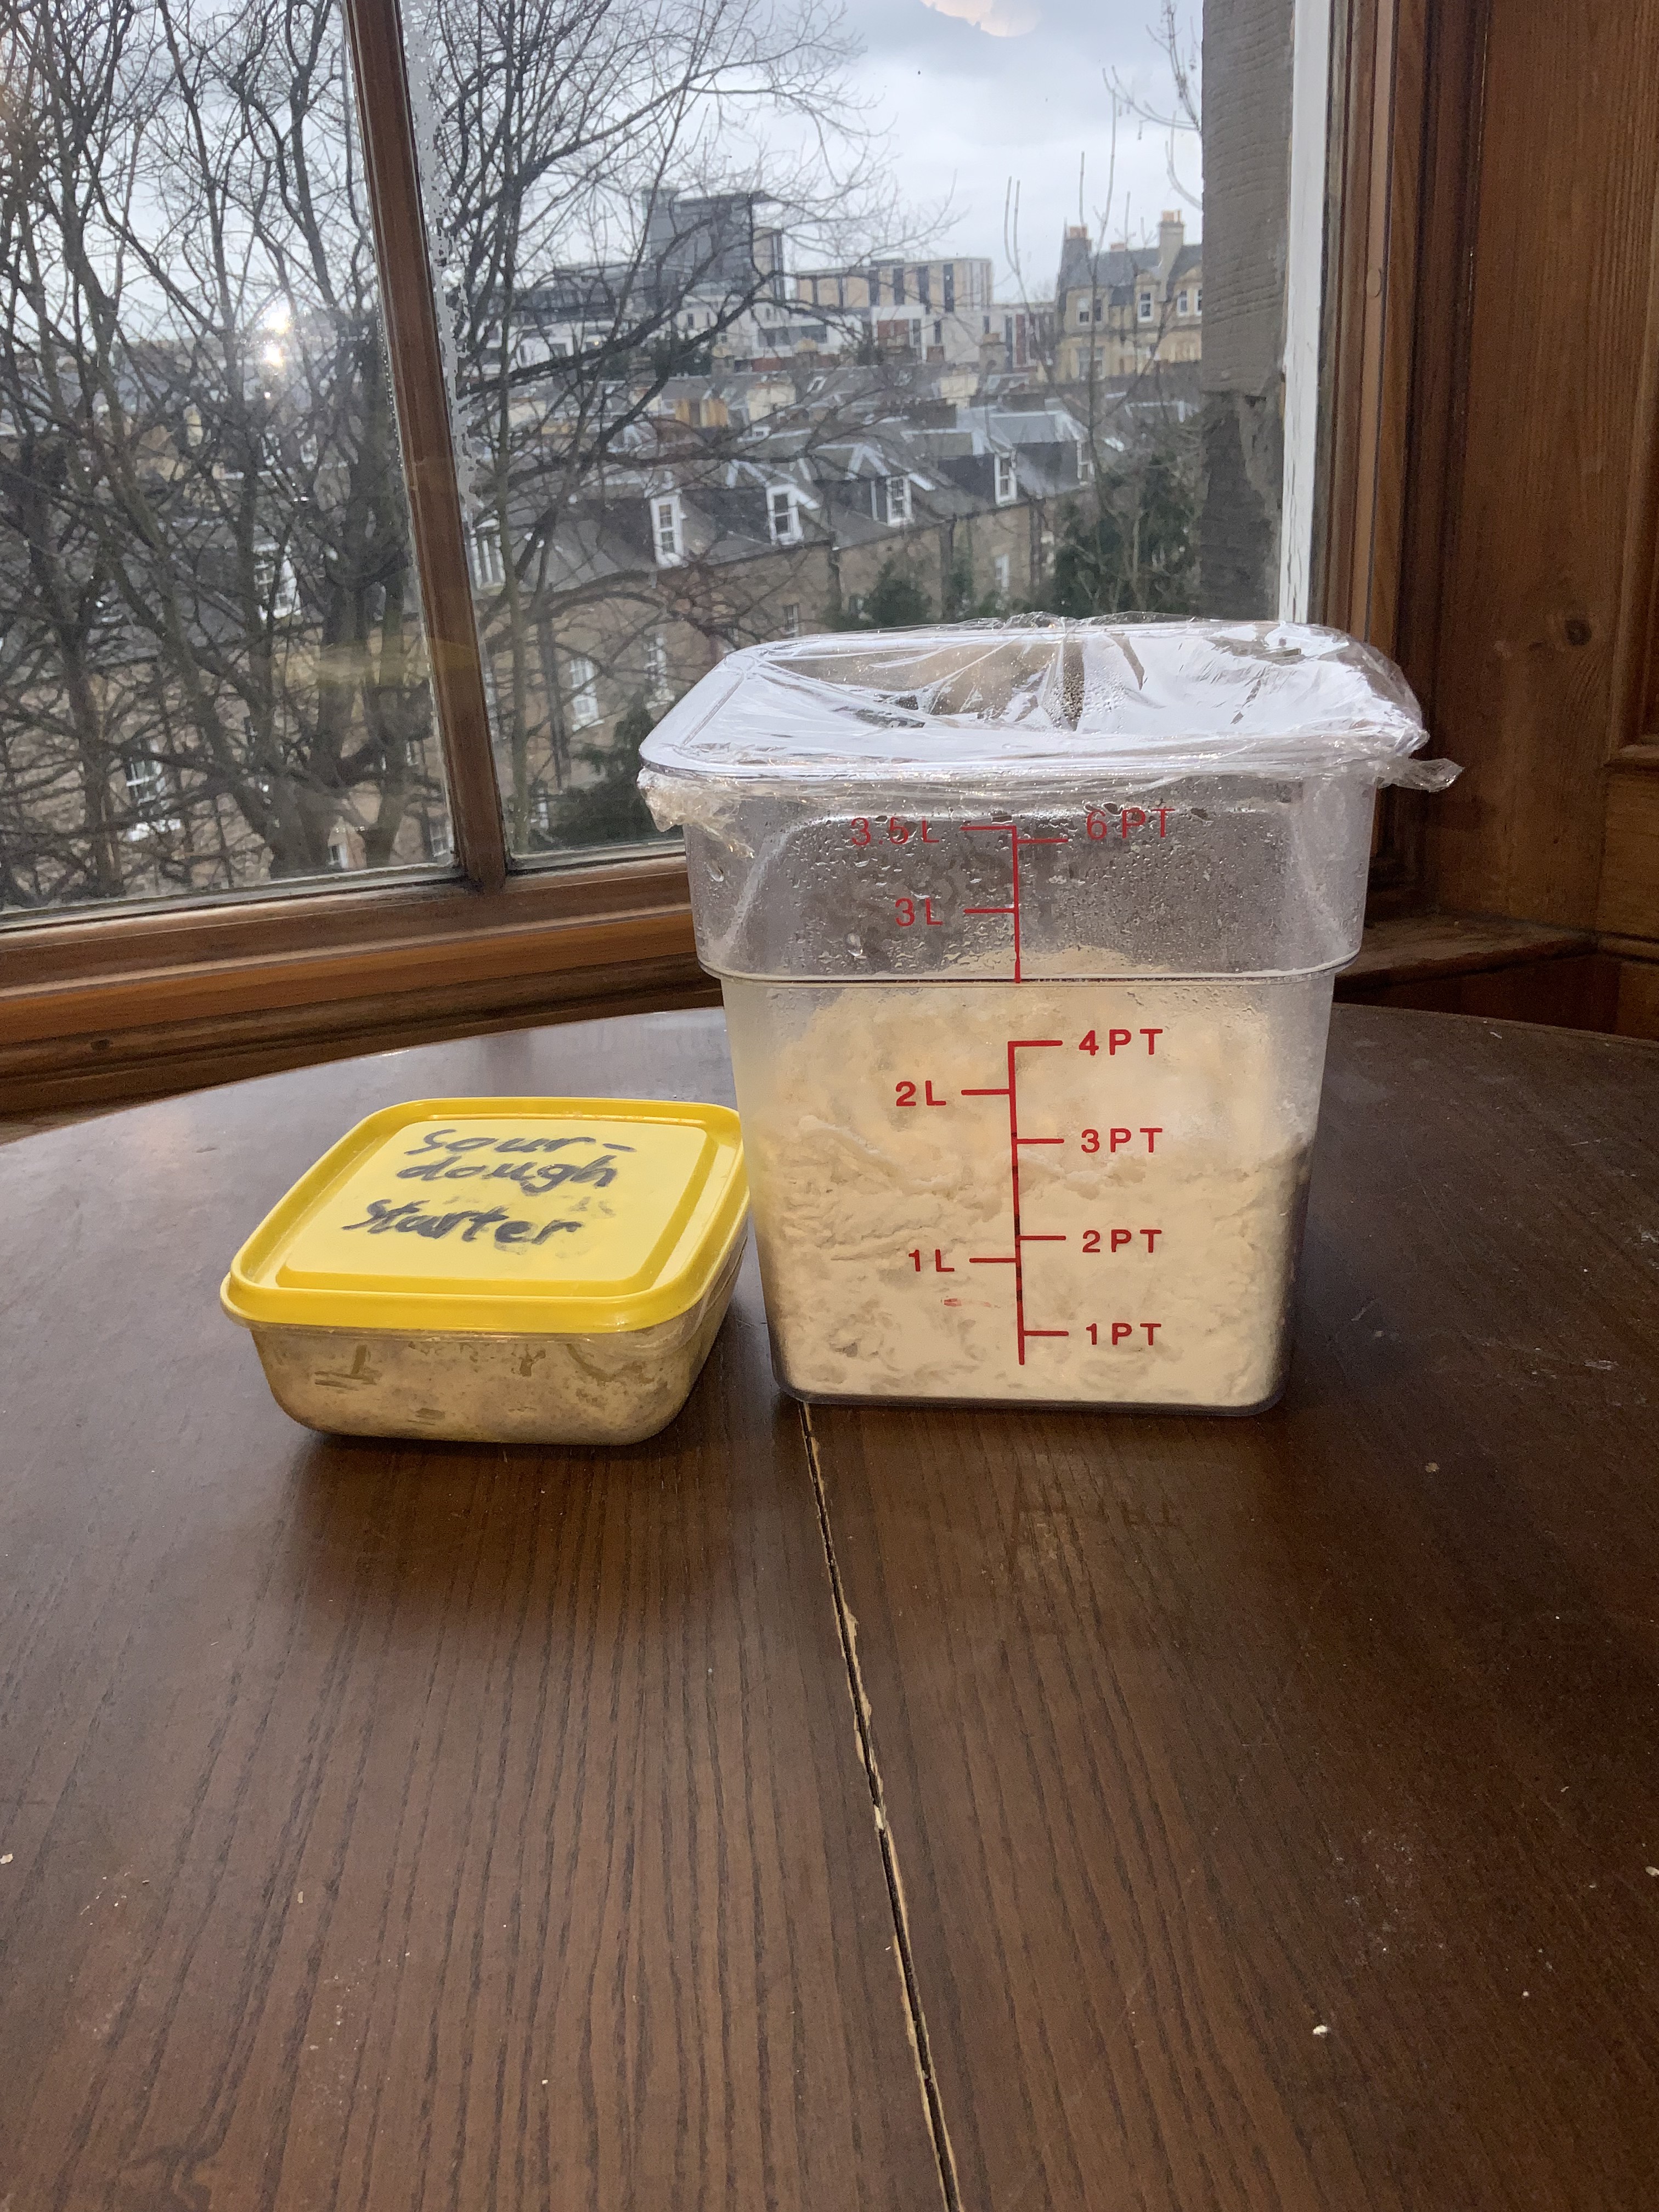
Day Two: Building Structure
Today you'll need:
- Your fermented biga
- Active starter
- Rice flour (for dusting bannetons)
- Remaining bread flour (750g)
- Water (450–500ml, adjust by feel)
- Sea salt (2 tablespoons)
- Diastatic malt powder (½ tablespoon)
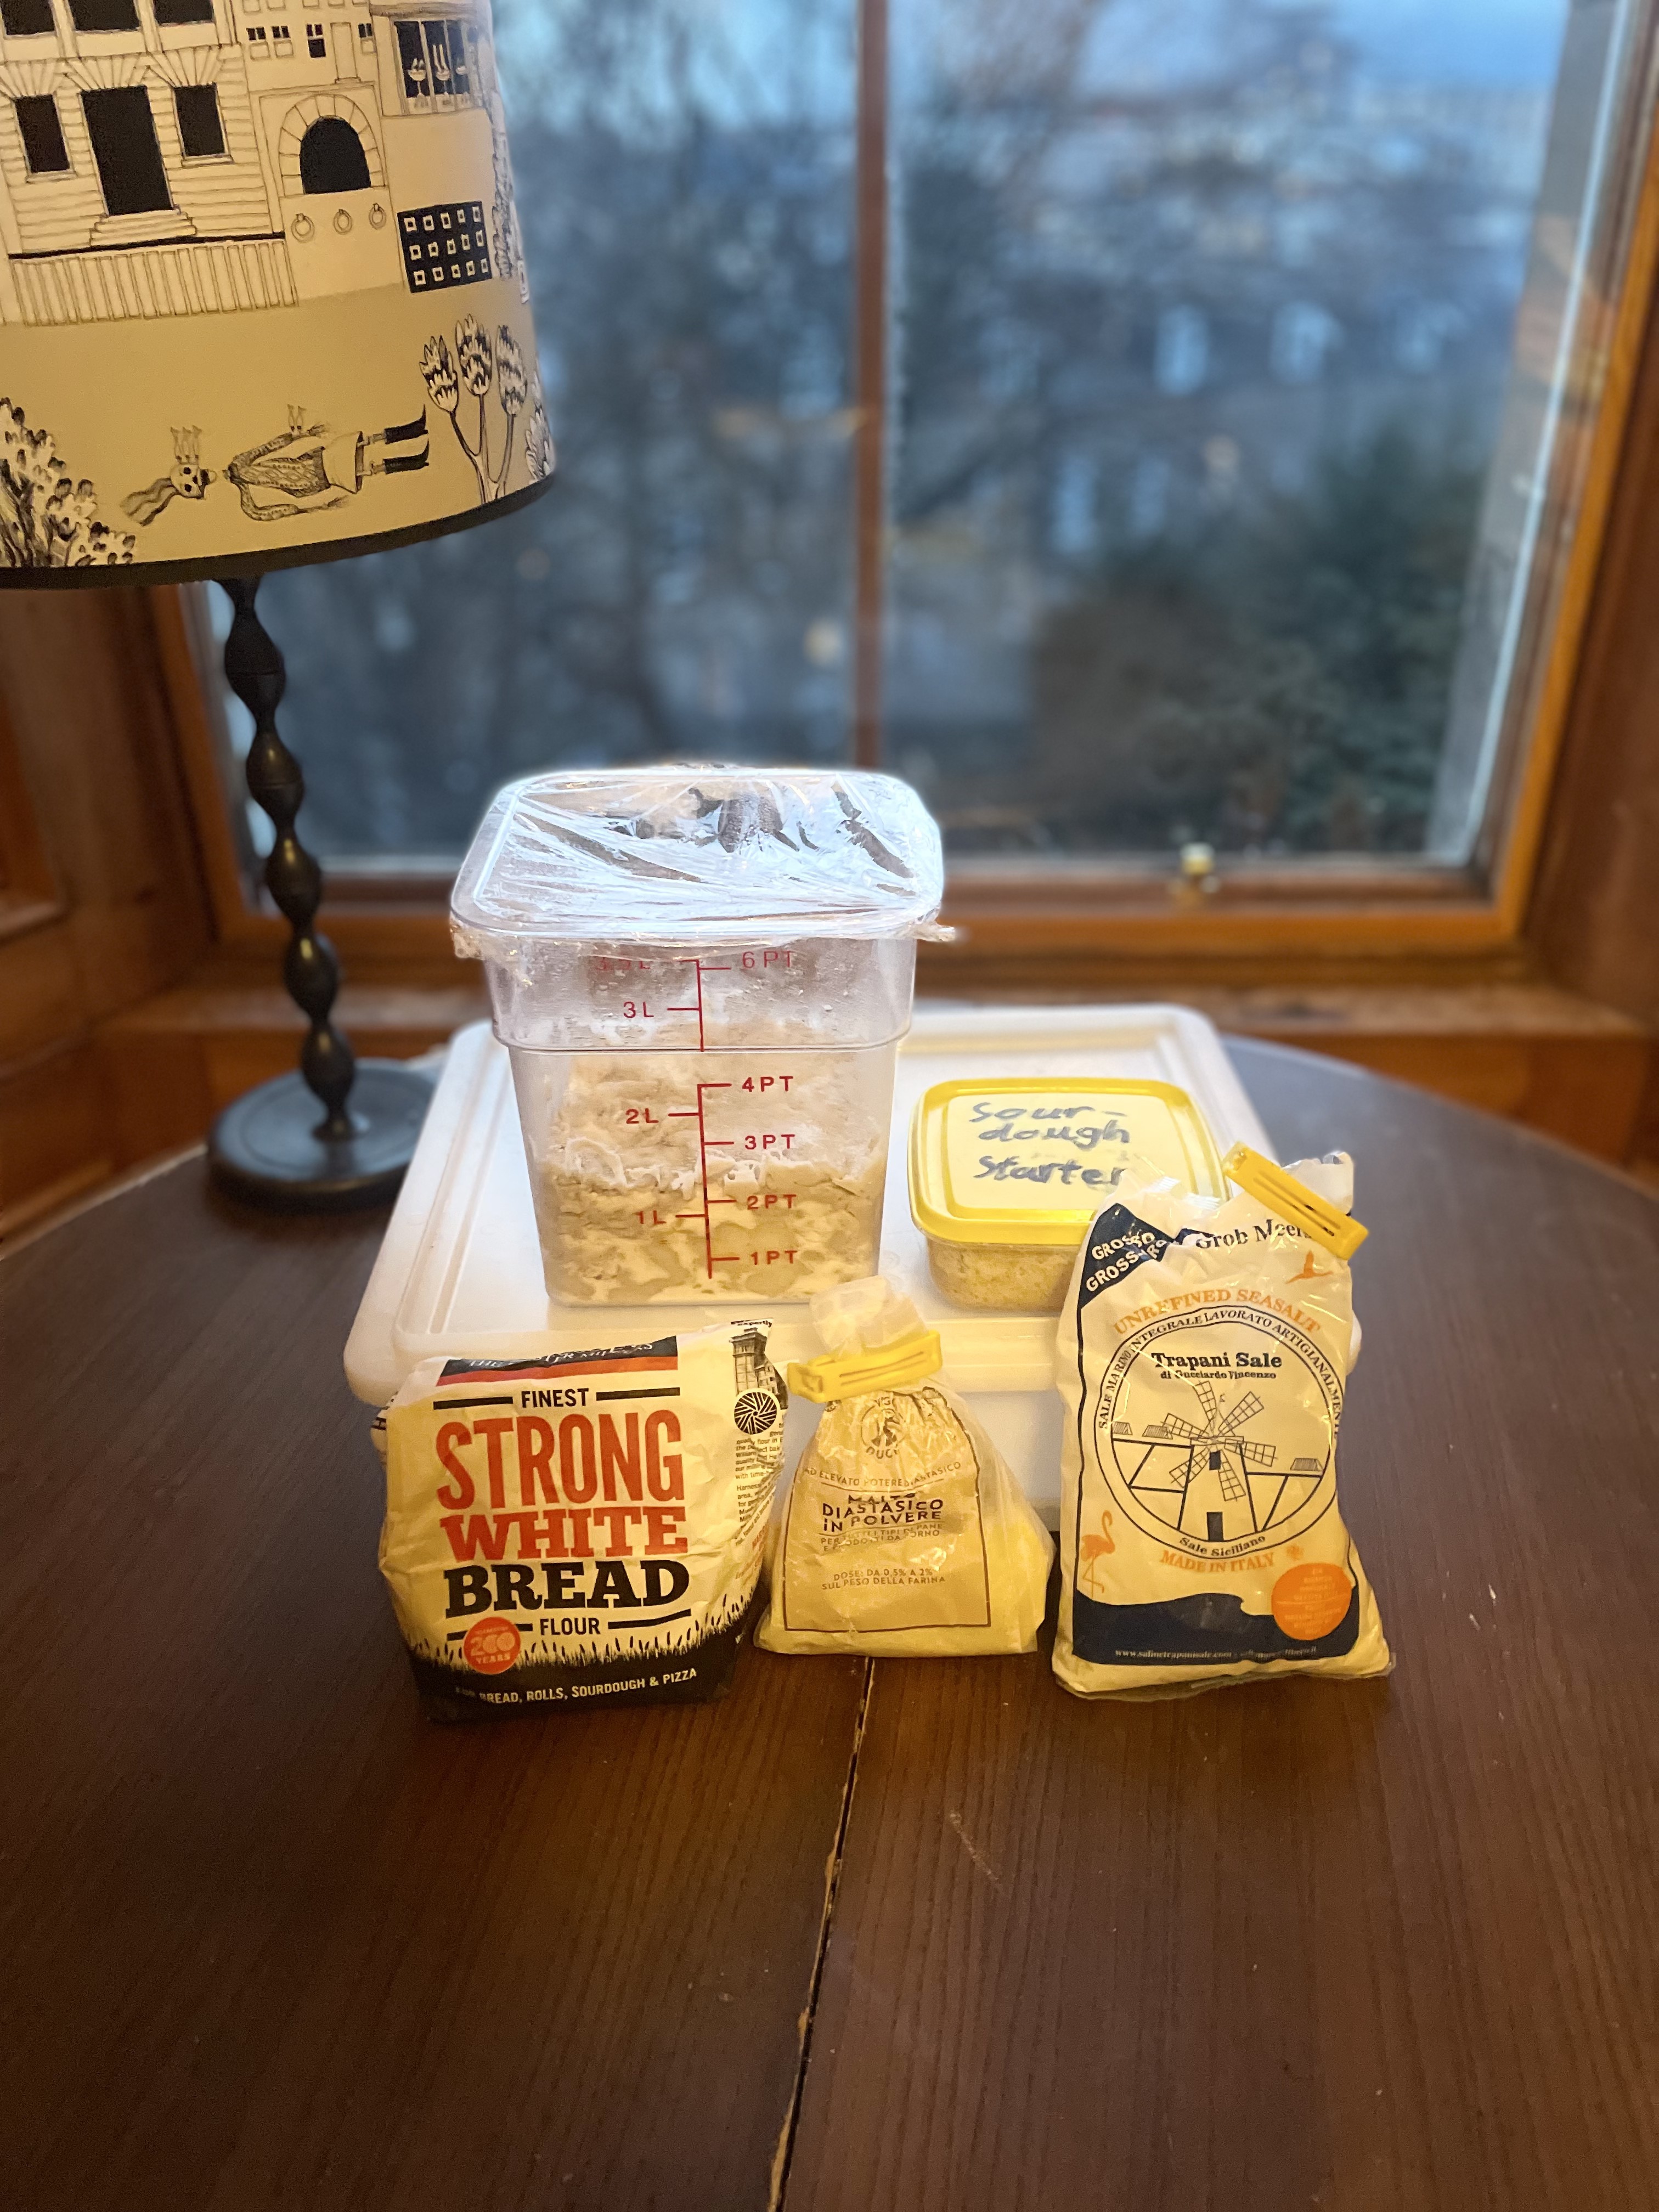
Use sea salt, not table salt; minerals help gluten and fermentation.
Morning Mix
Morning brings two aromas: biga's malty sweetness and starter's acidity.
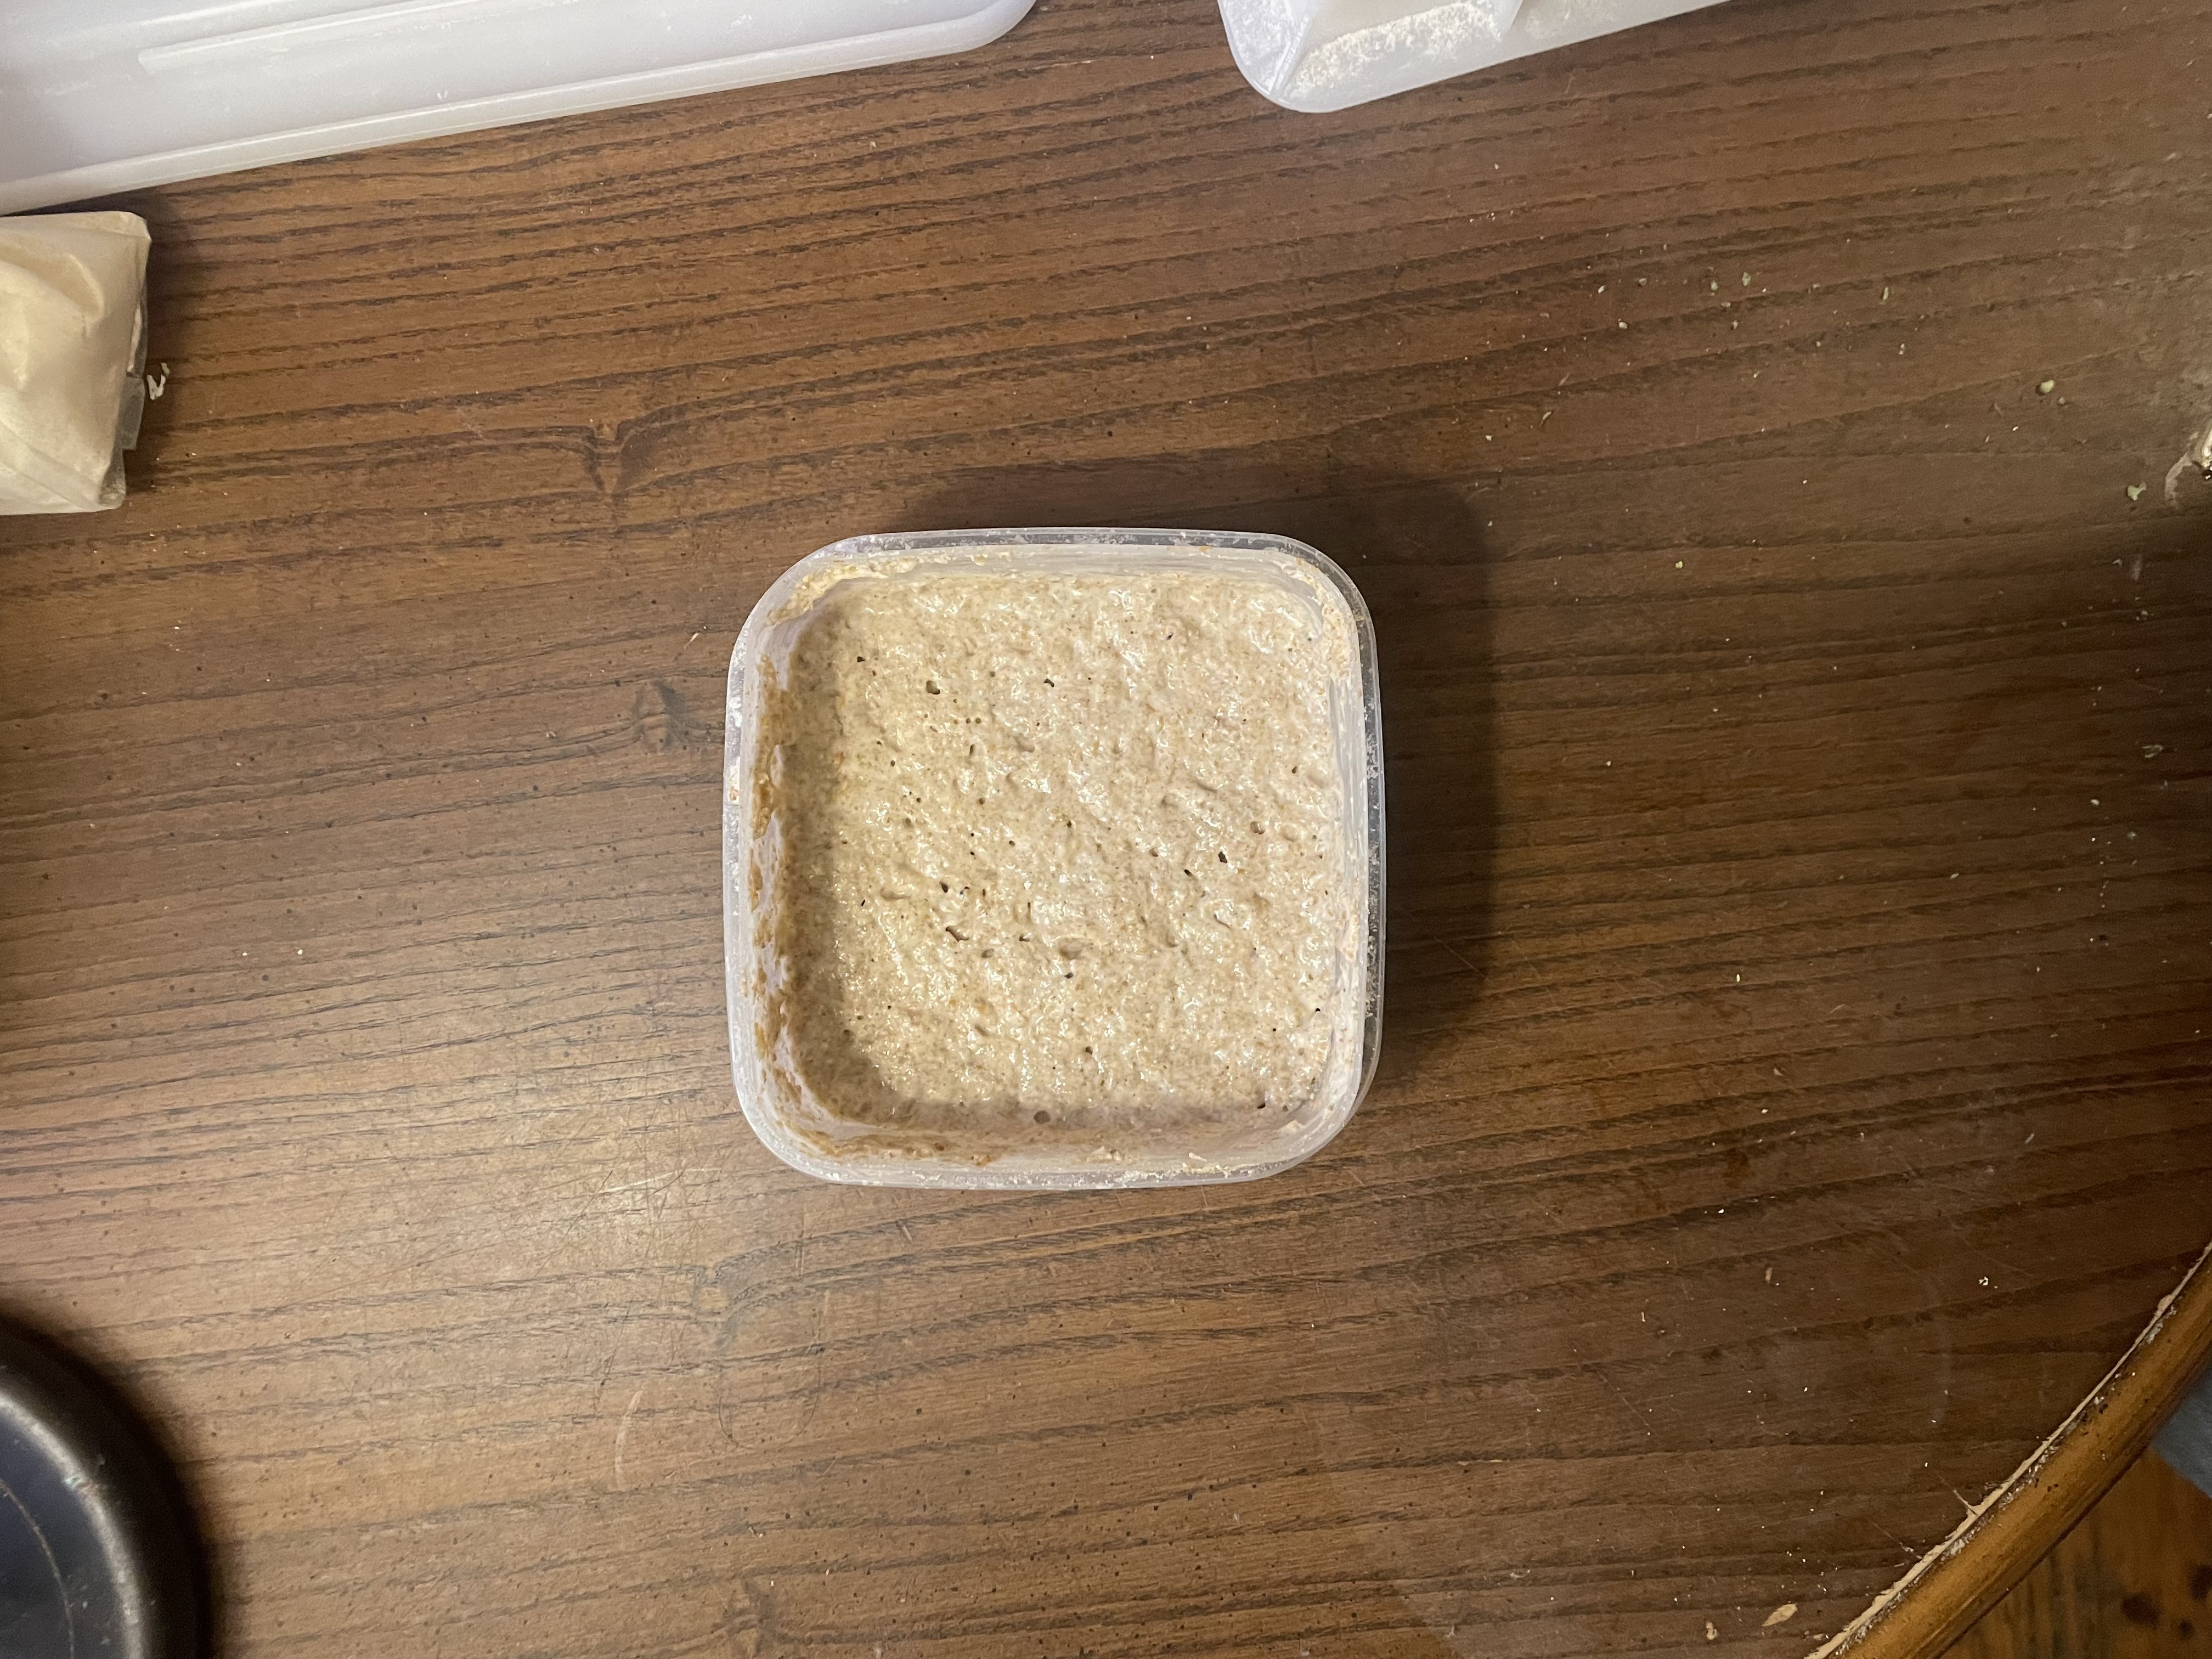
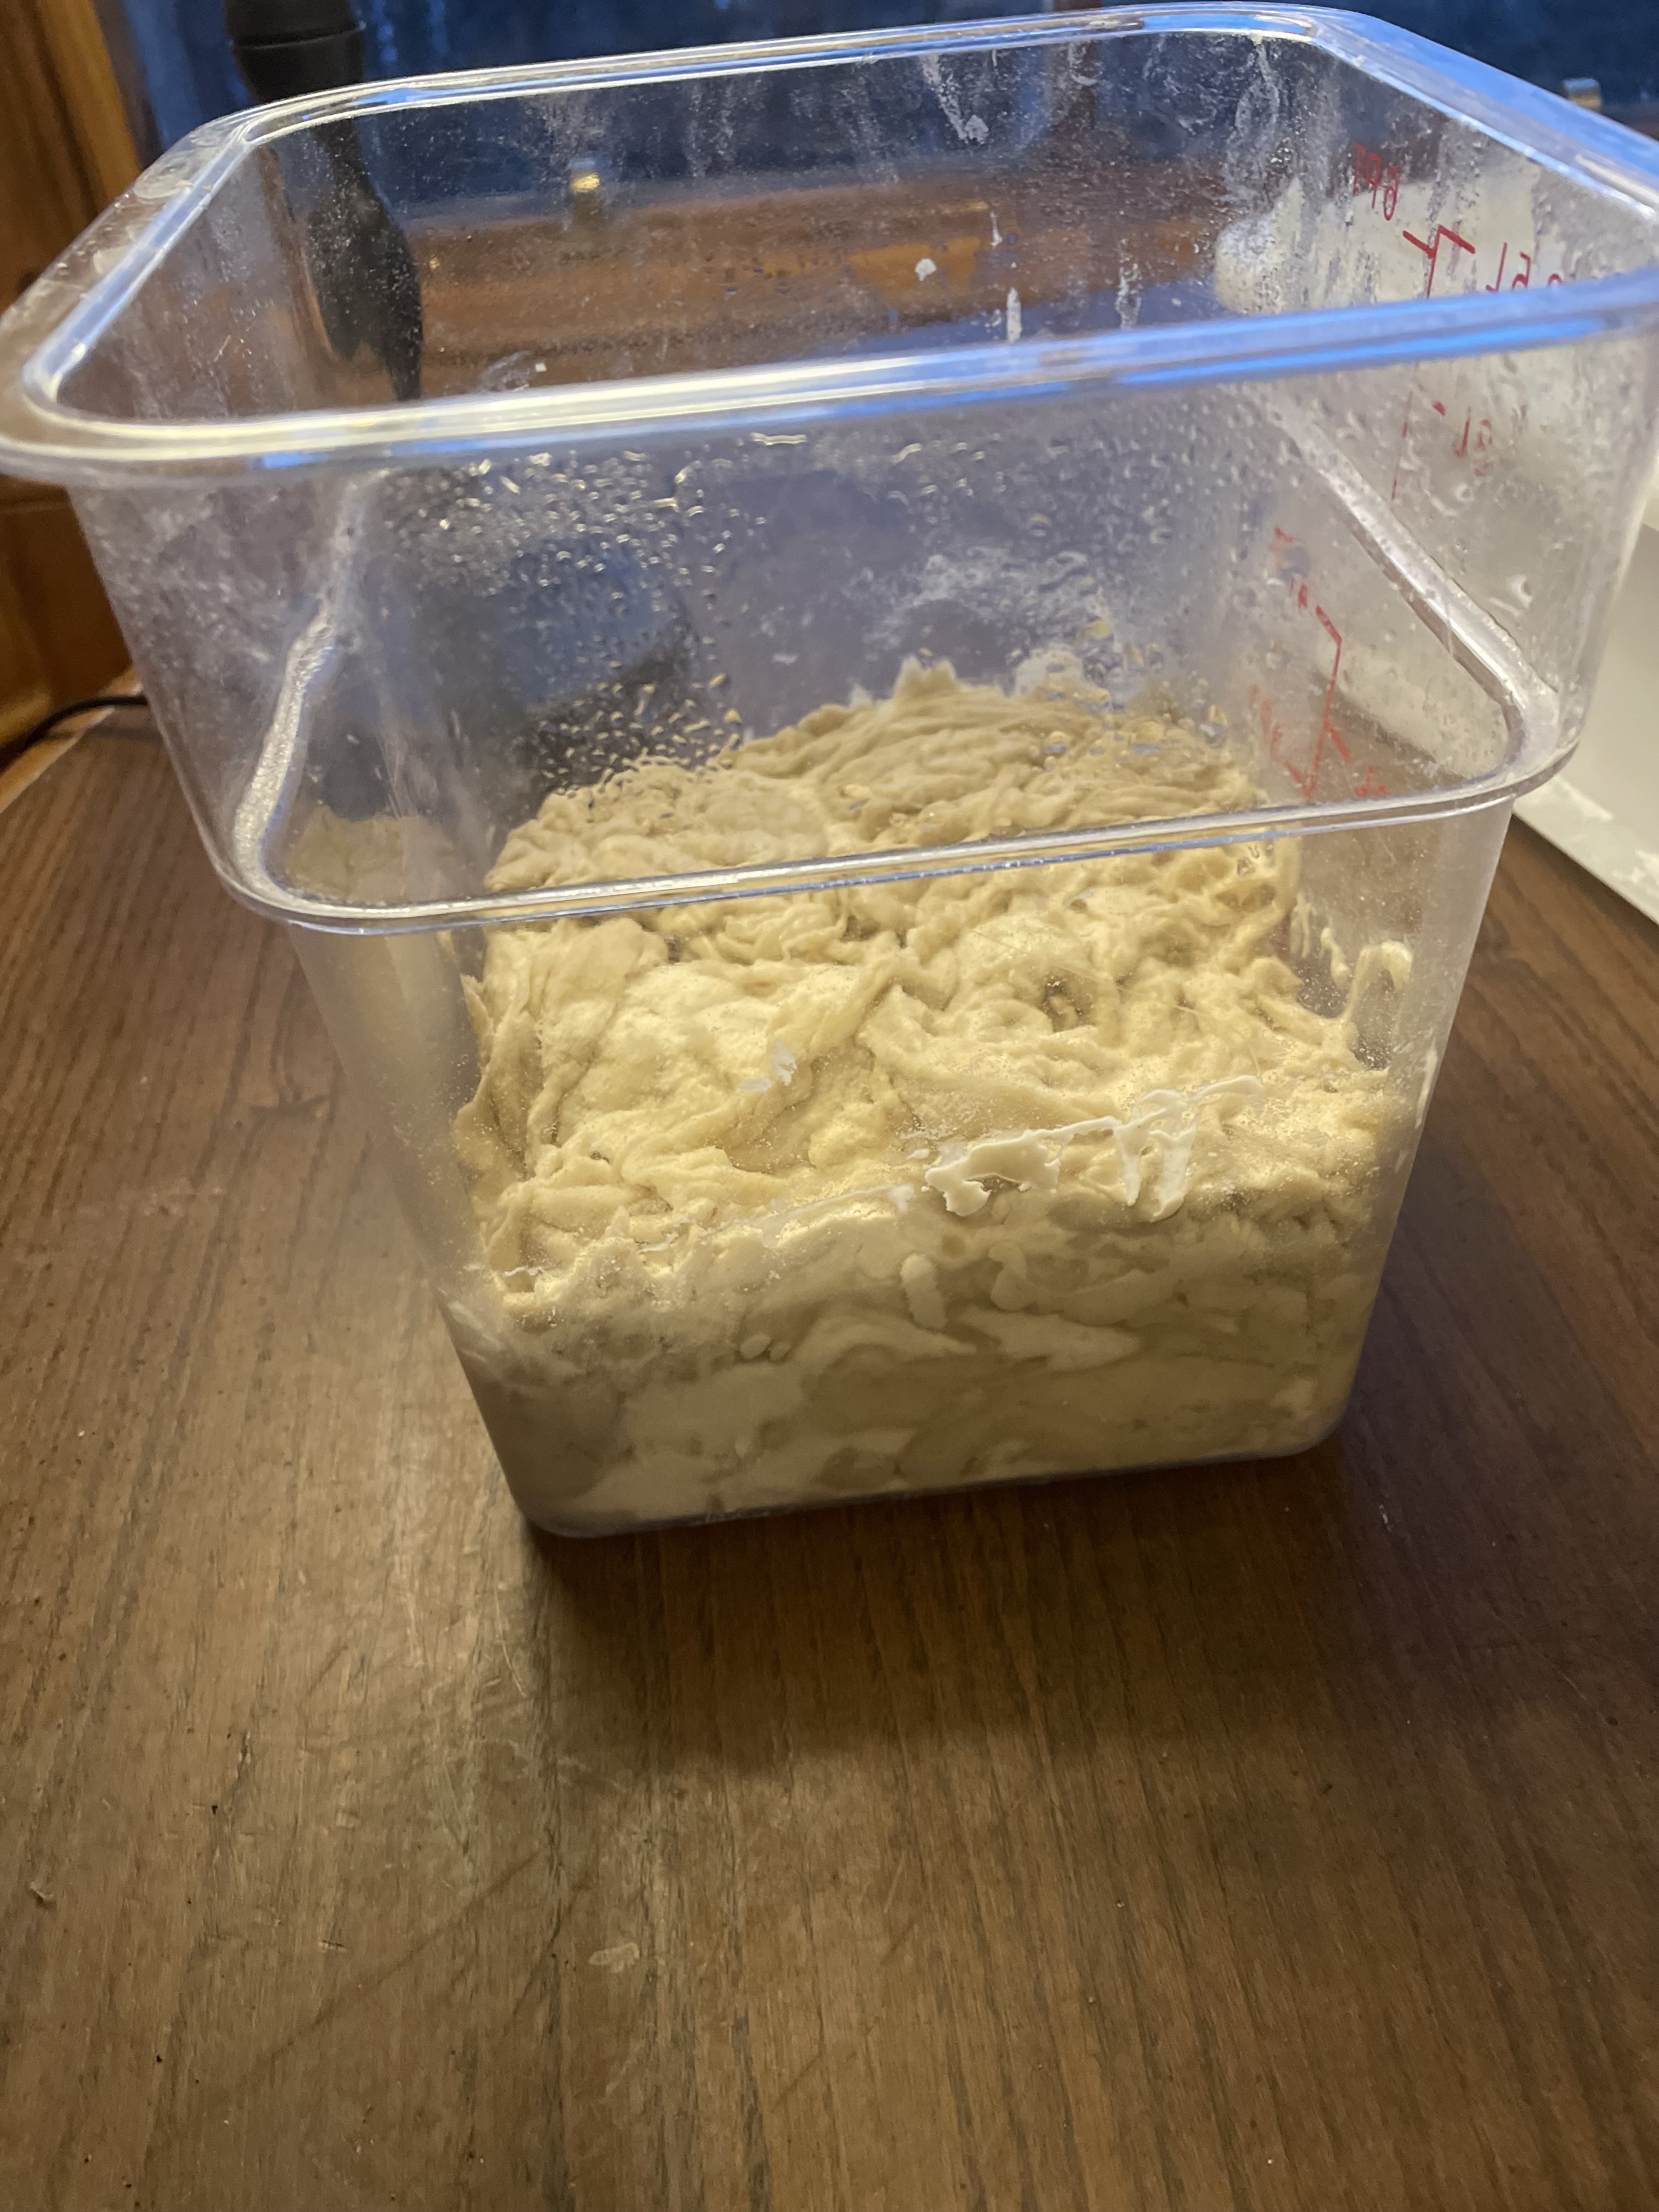
Combine water, starter, salt, and diastatic malt.
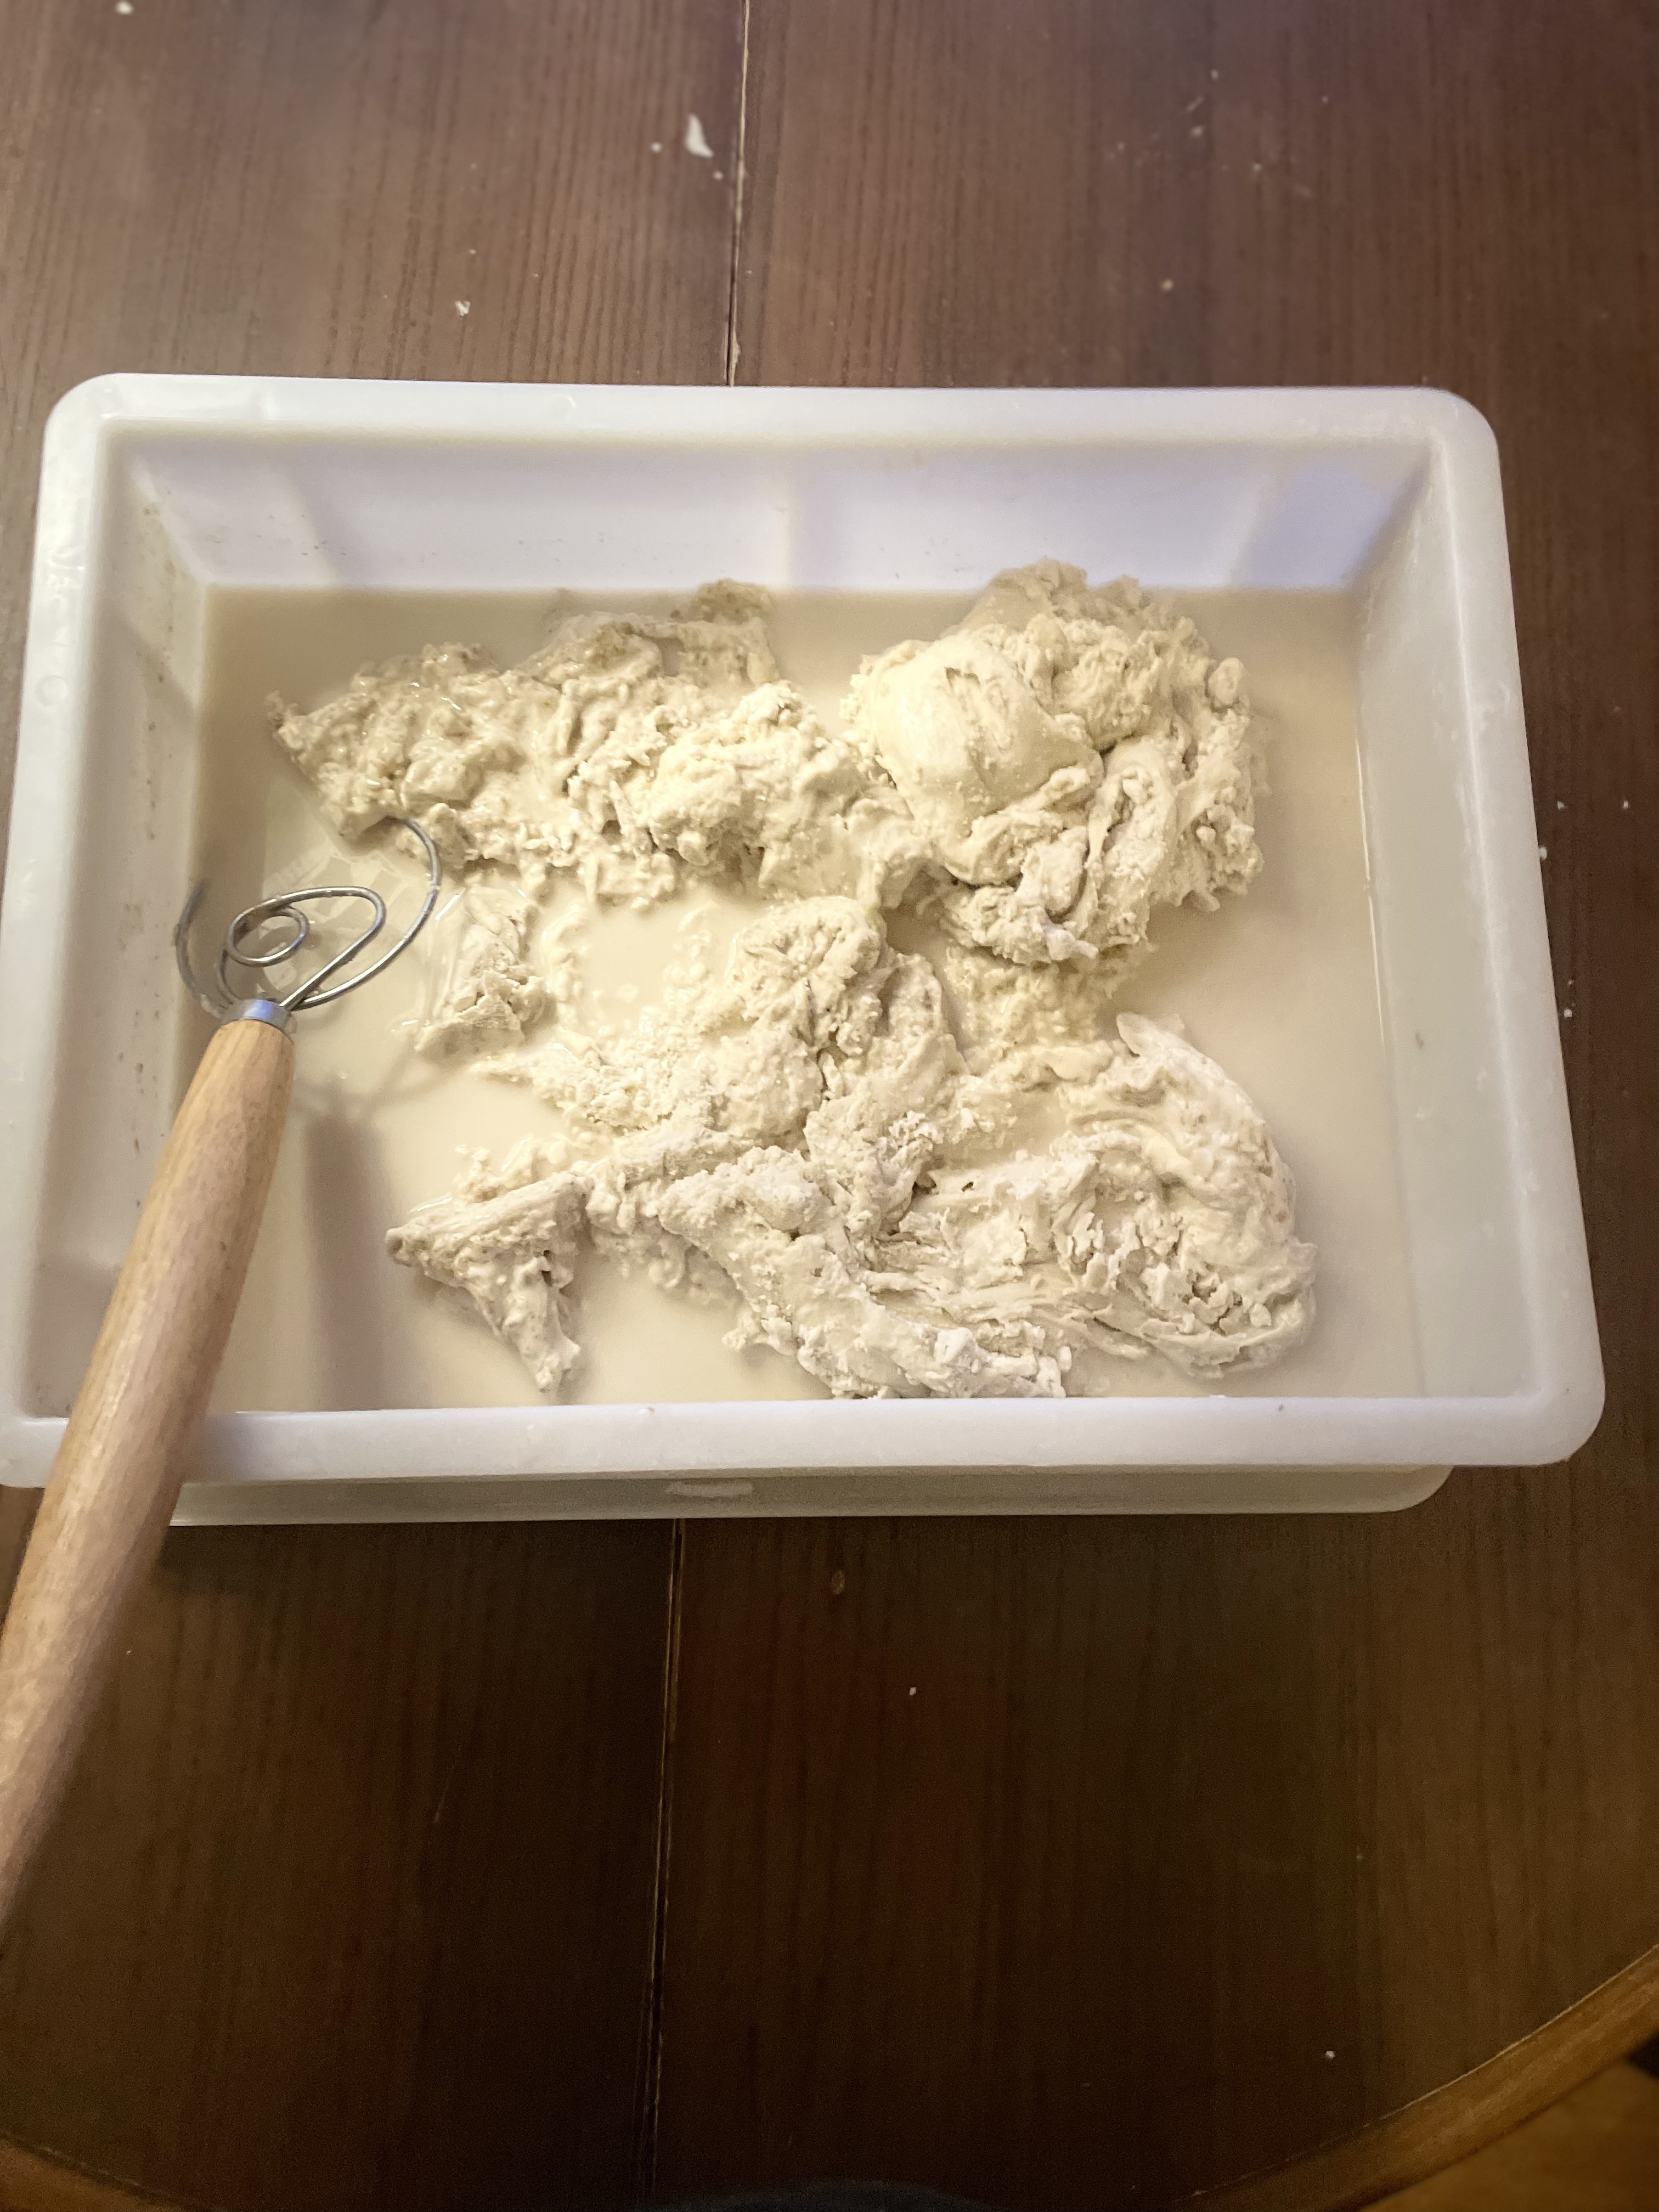
Tear biga into chunks and whisk to break larger pieces. Use body weight to press down and hydrate. Unmixed clumps lead to dry pockets later.
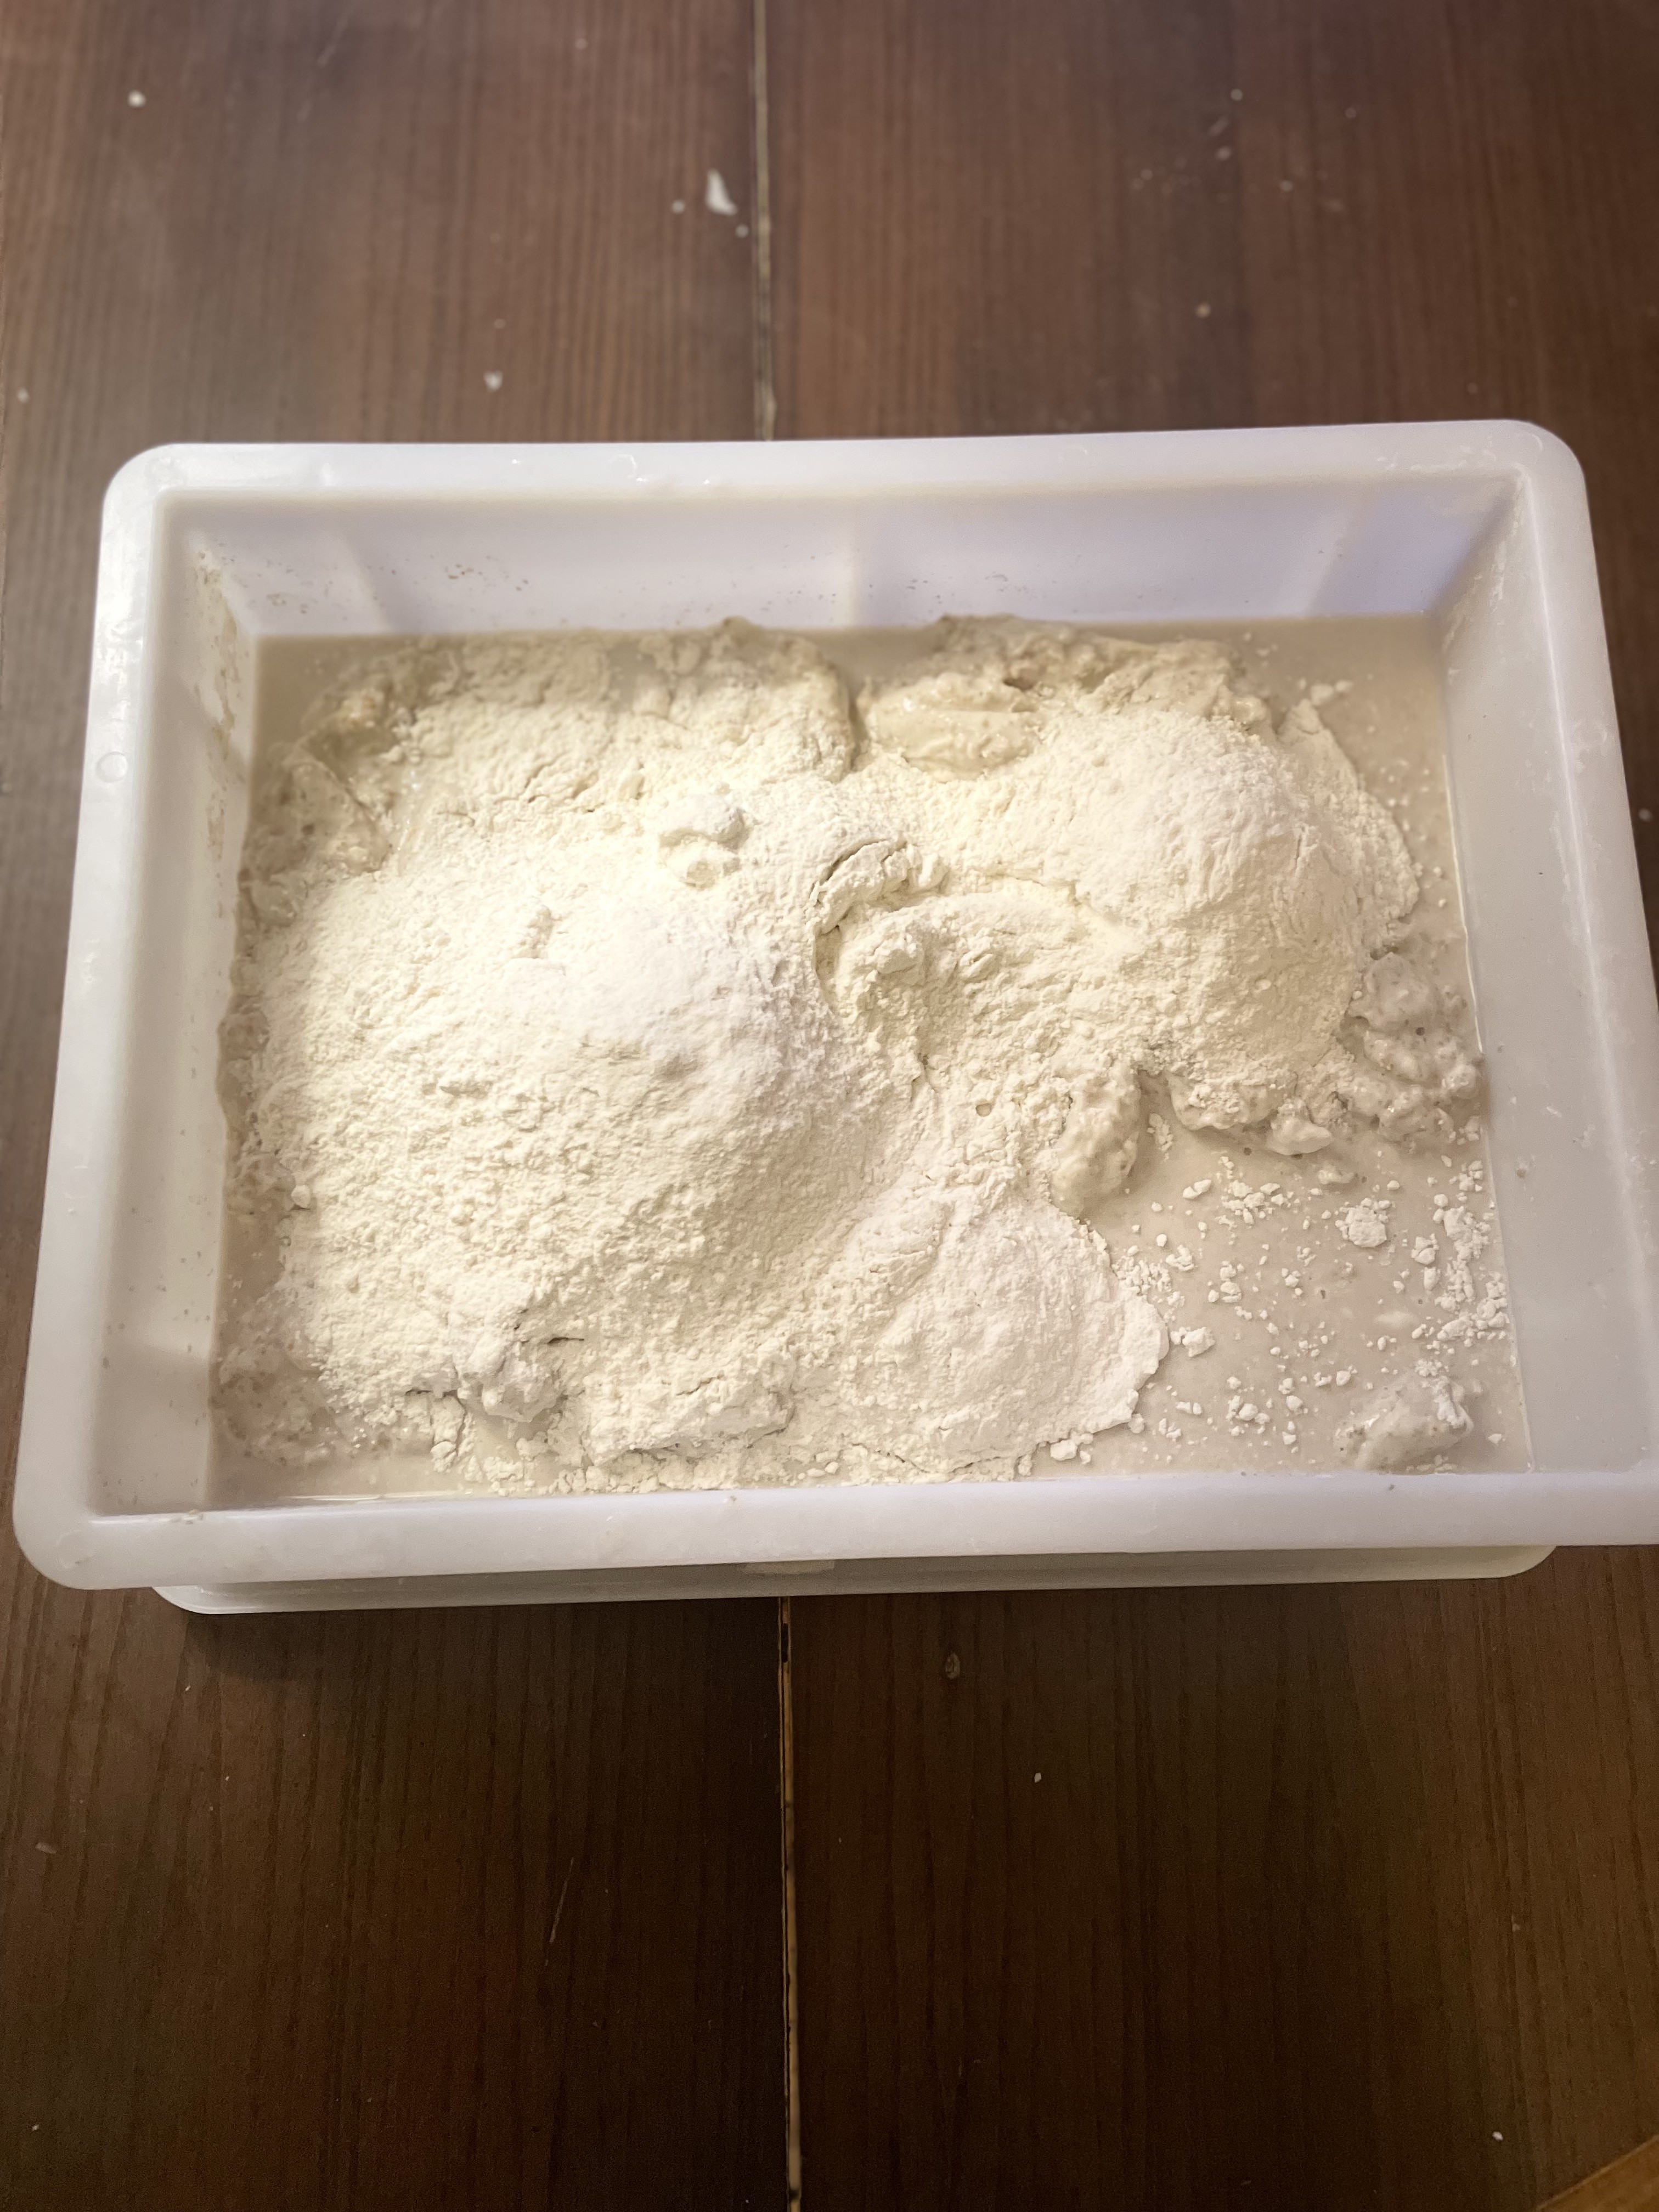
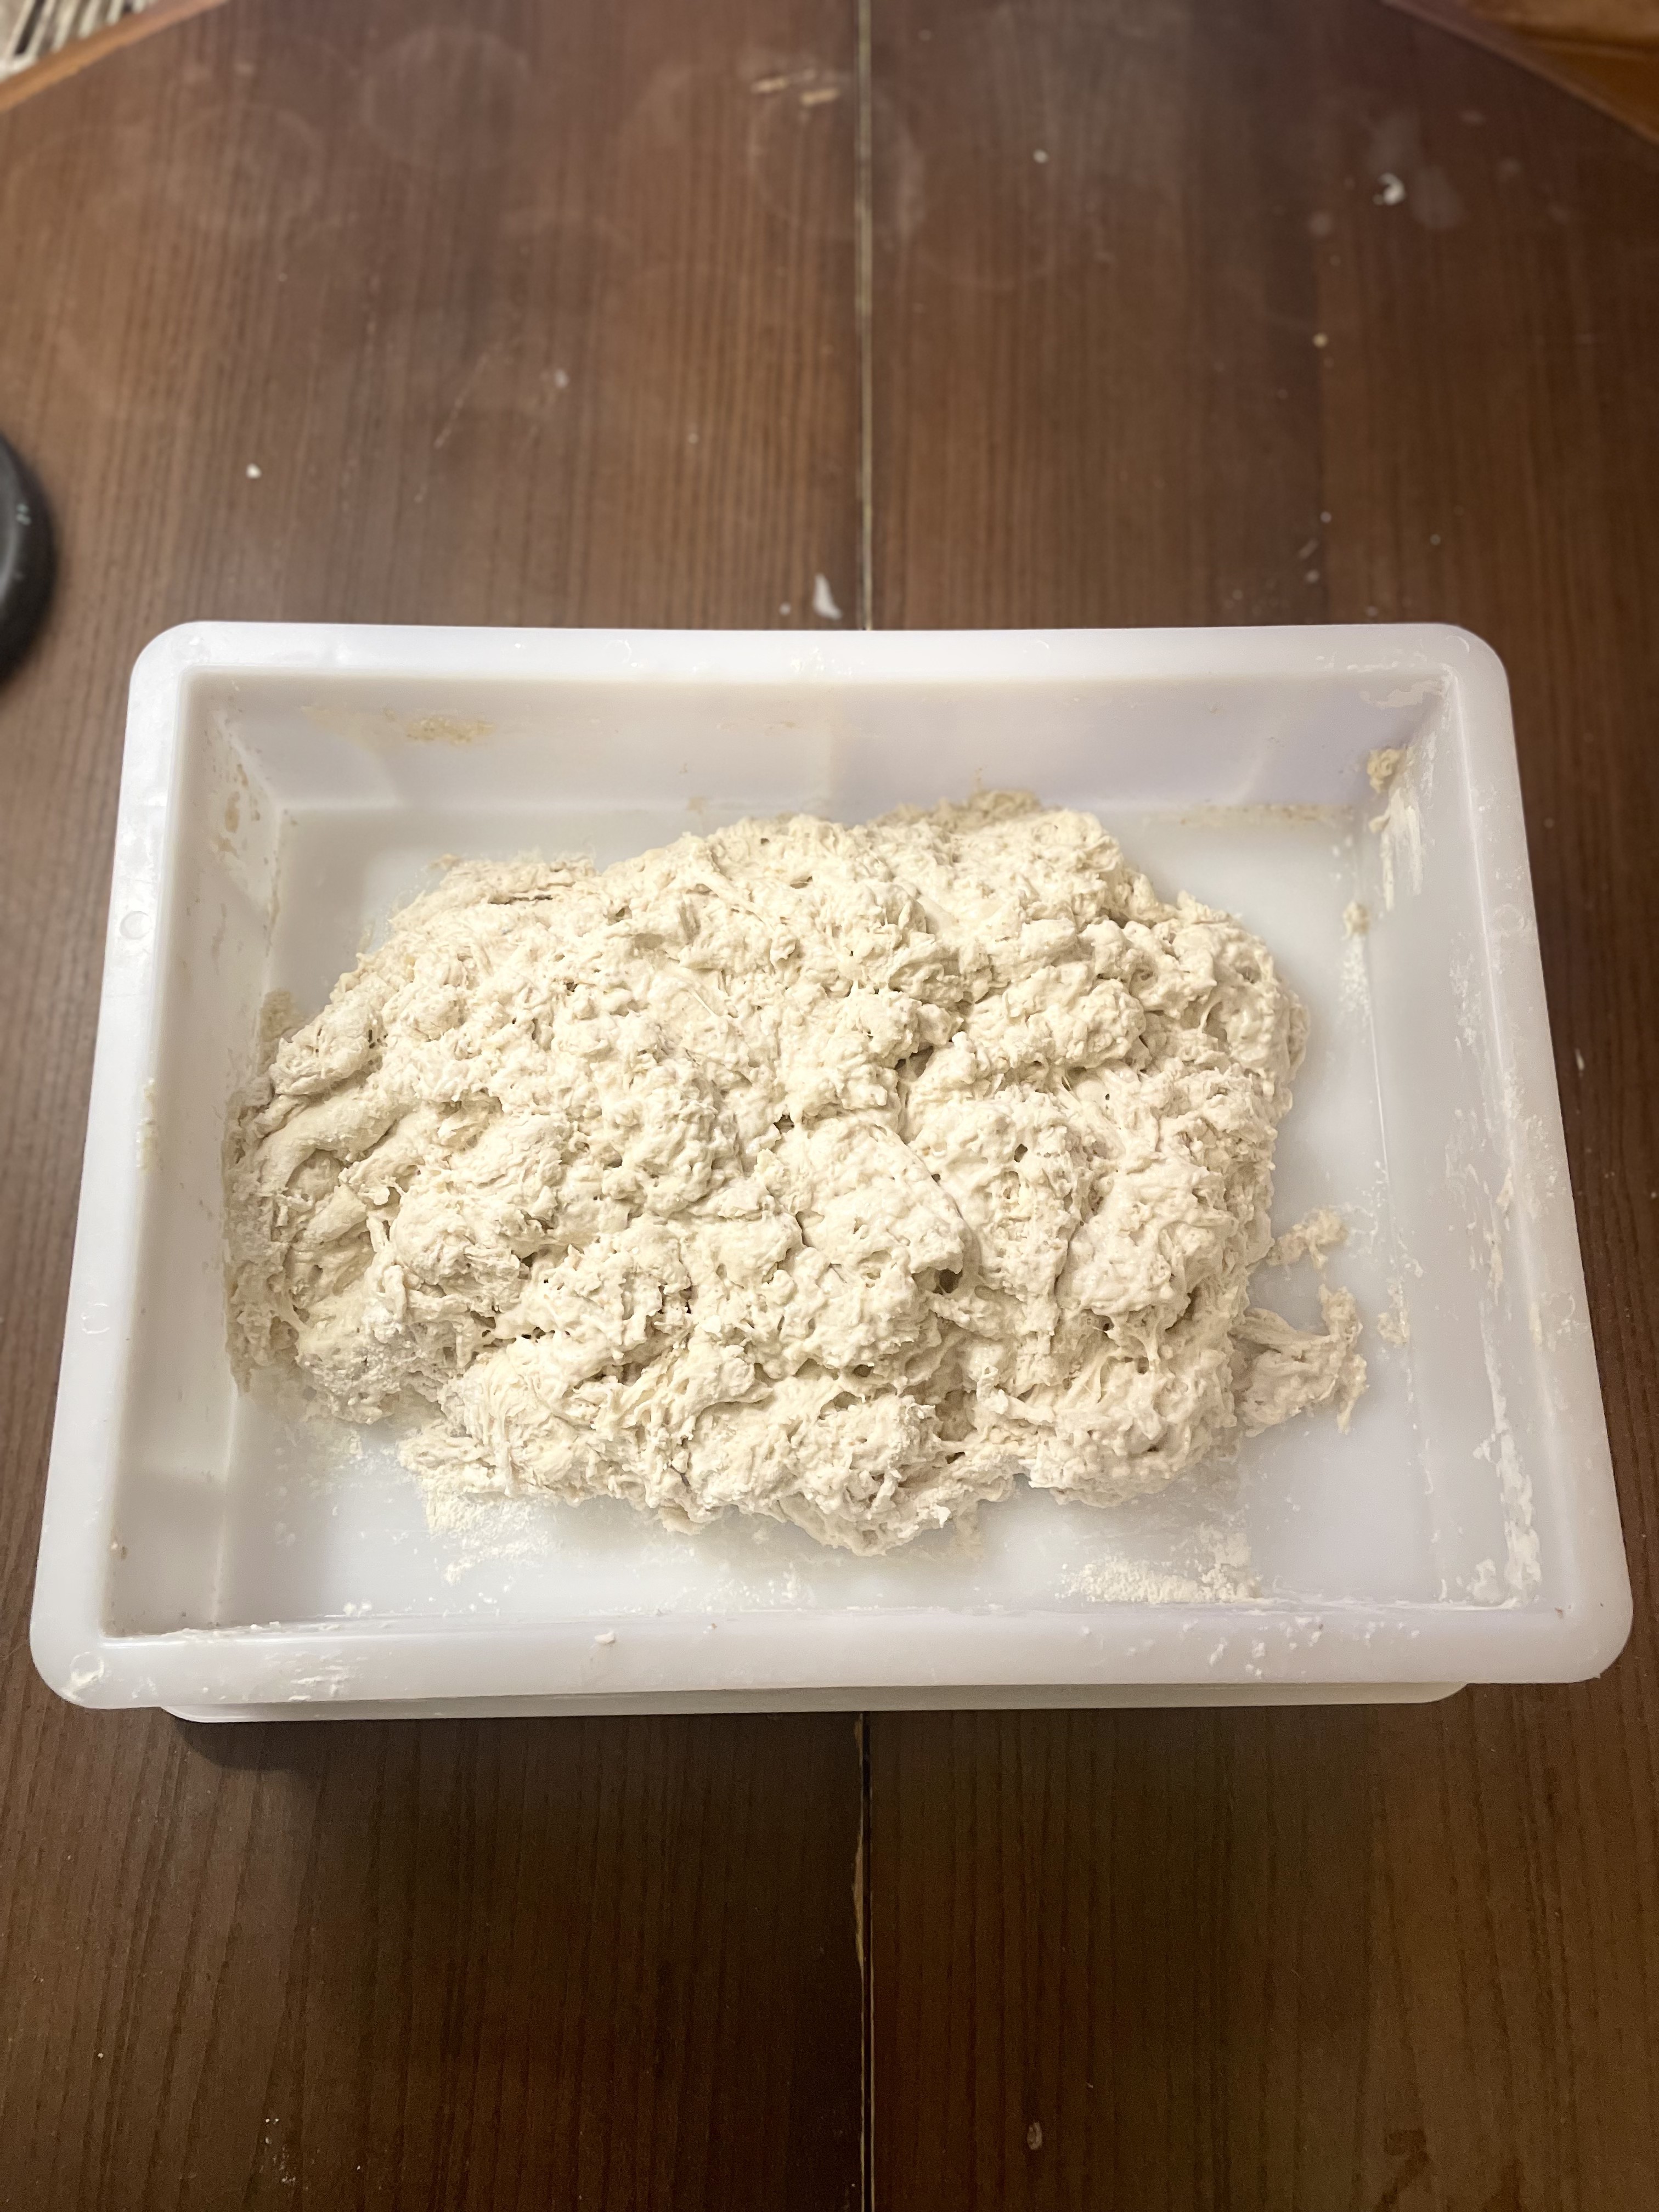
Add the remaining flour and mix. Shaggy's perfect. Rest now—hydration and enzymes build extensibility without kneading.
Building Strength Through Folding
Light kneading—consistency beats technique.
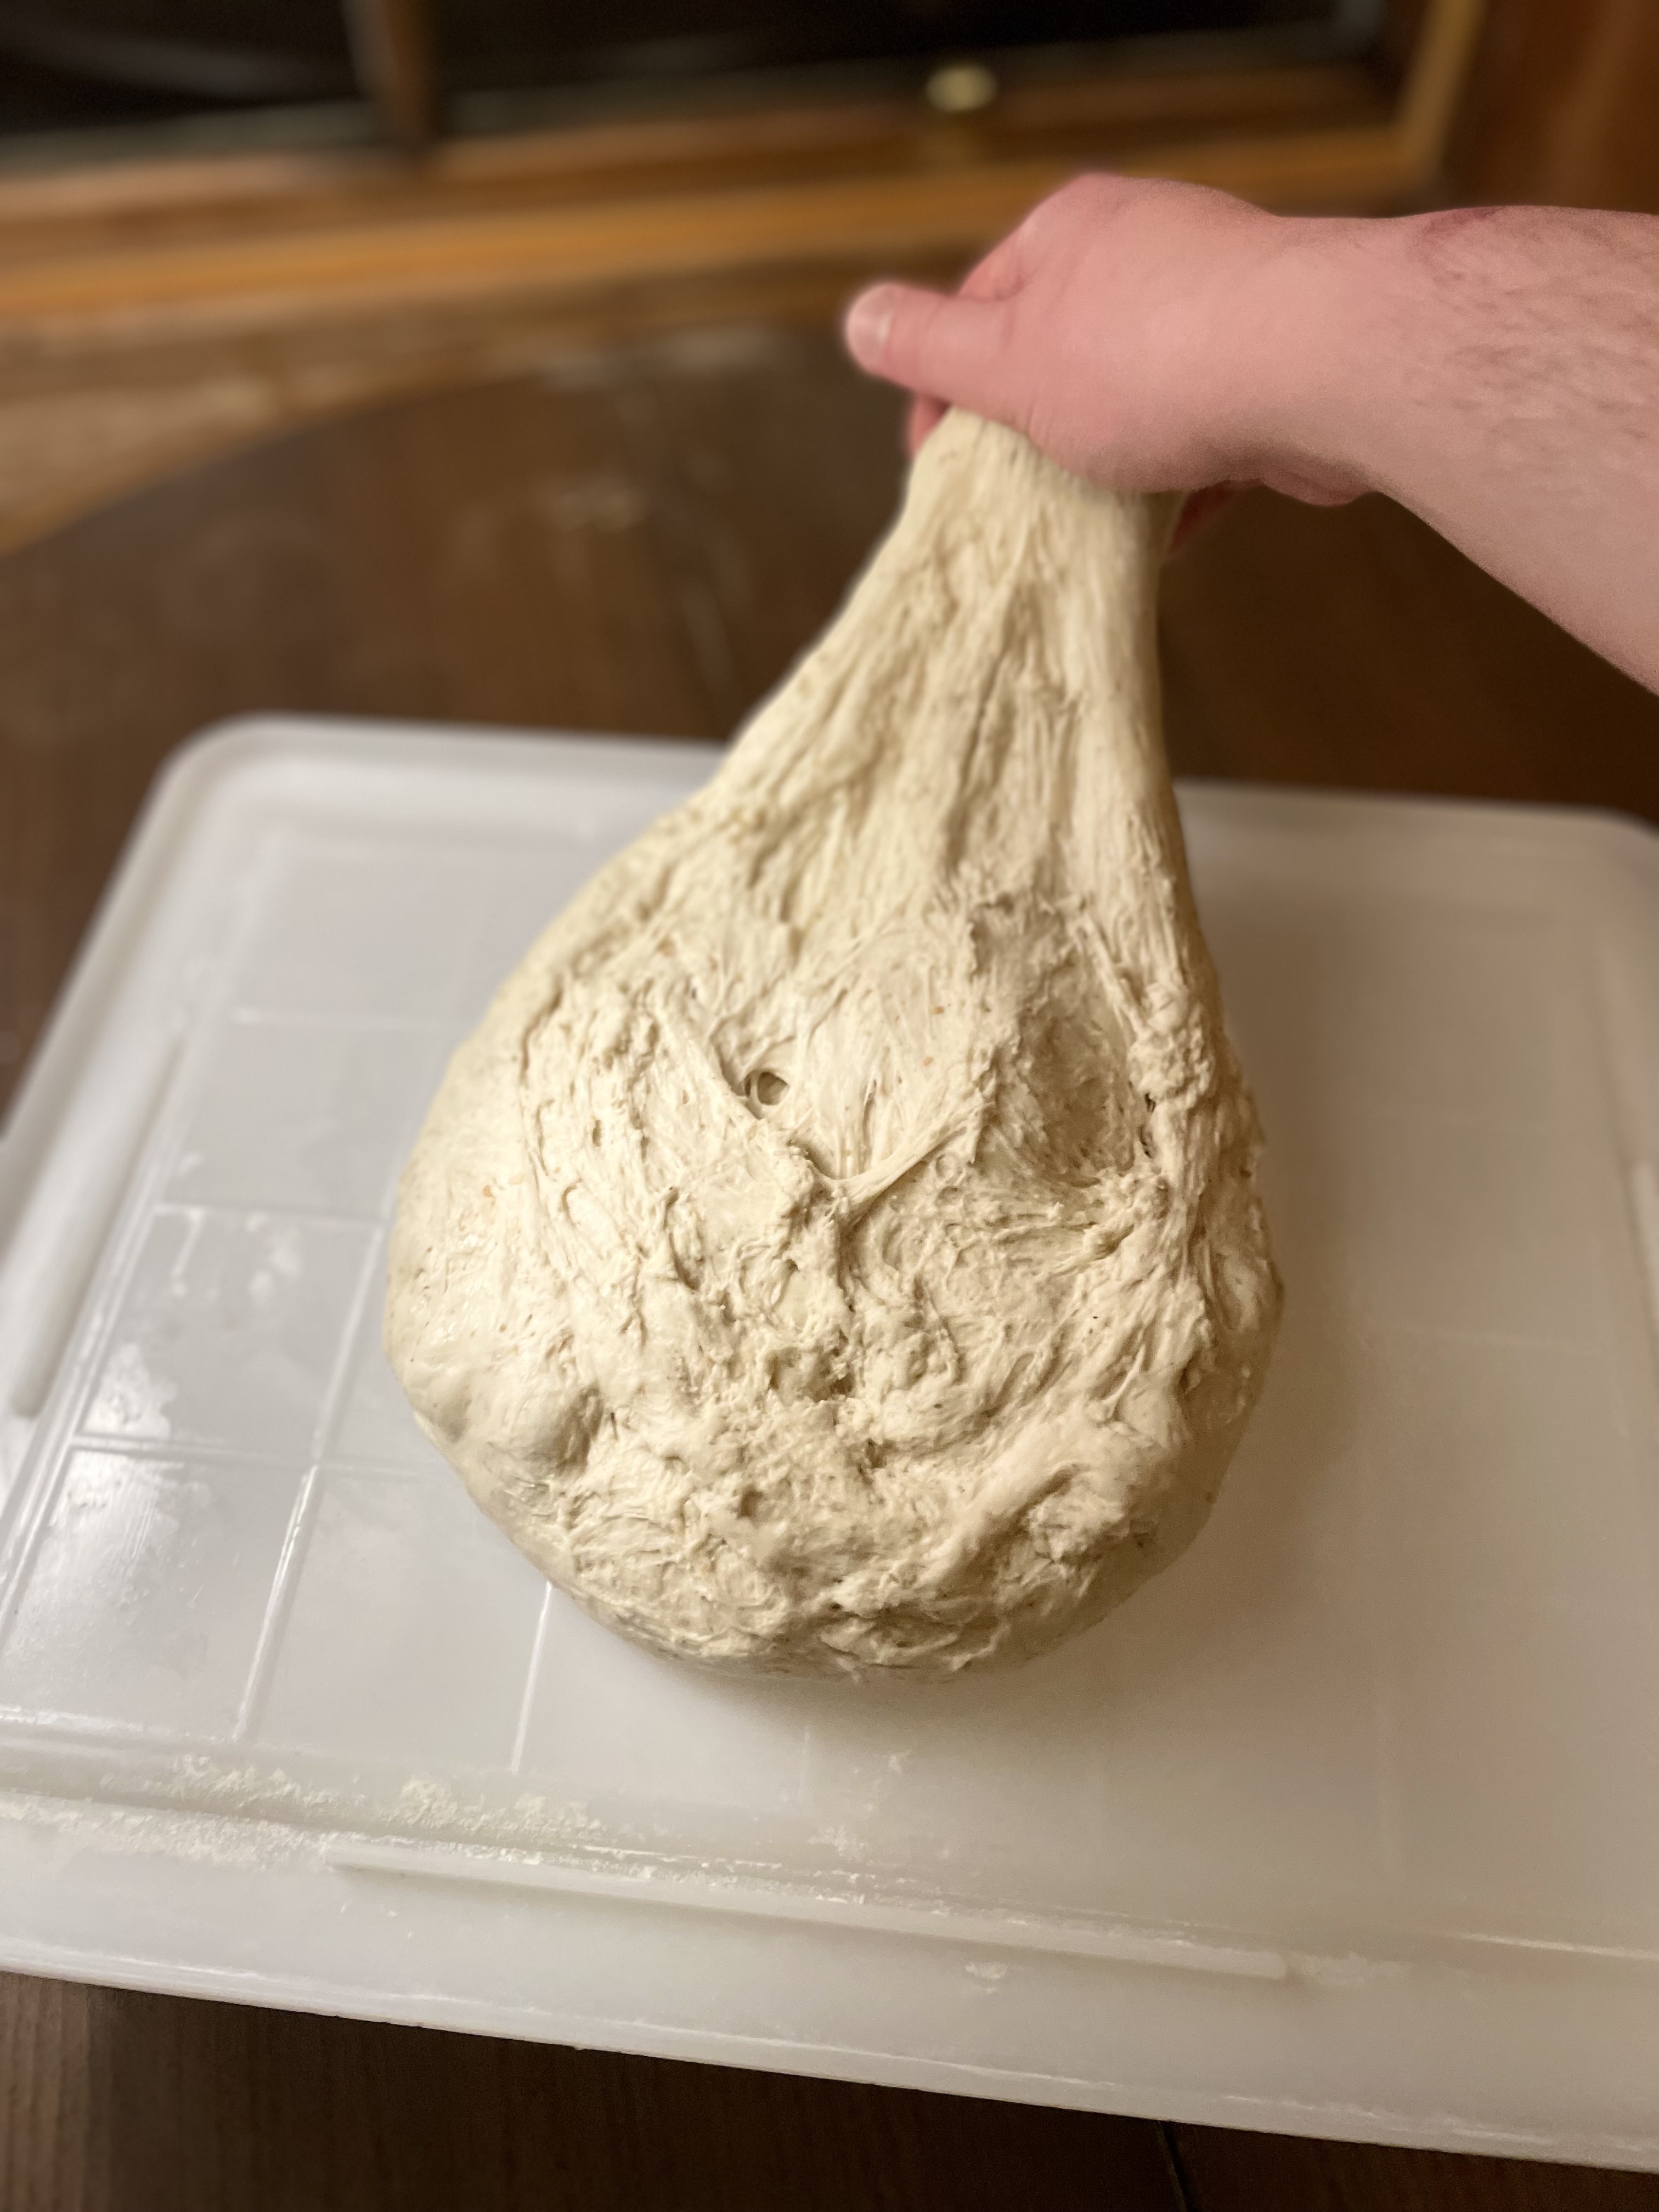
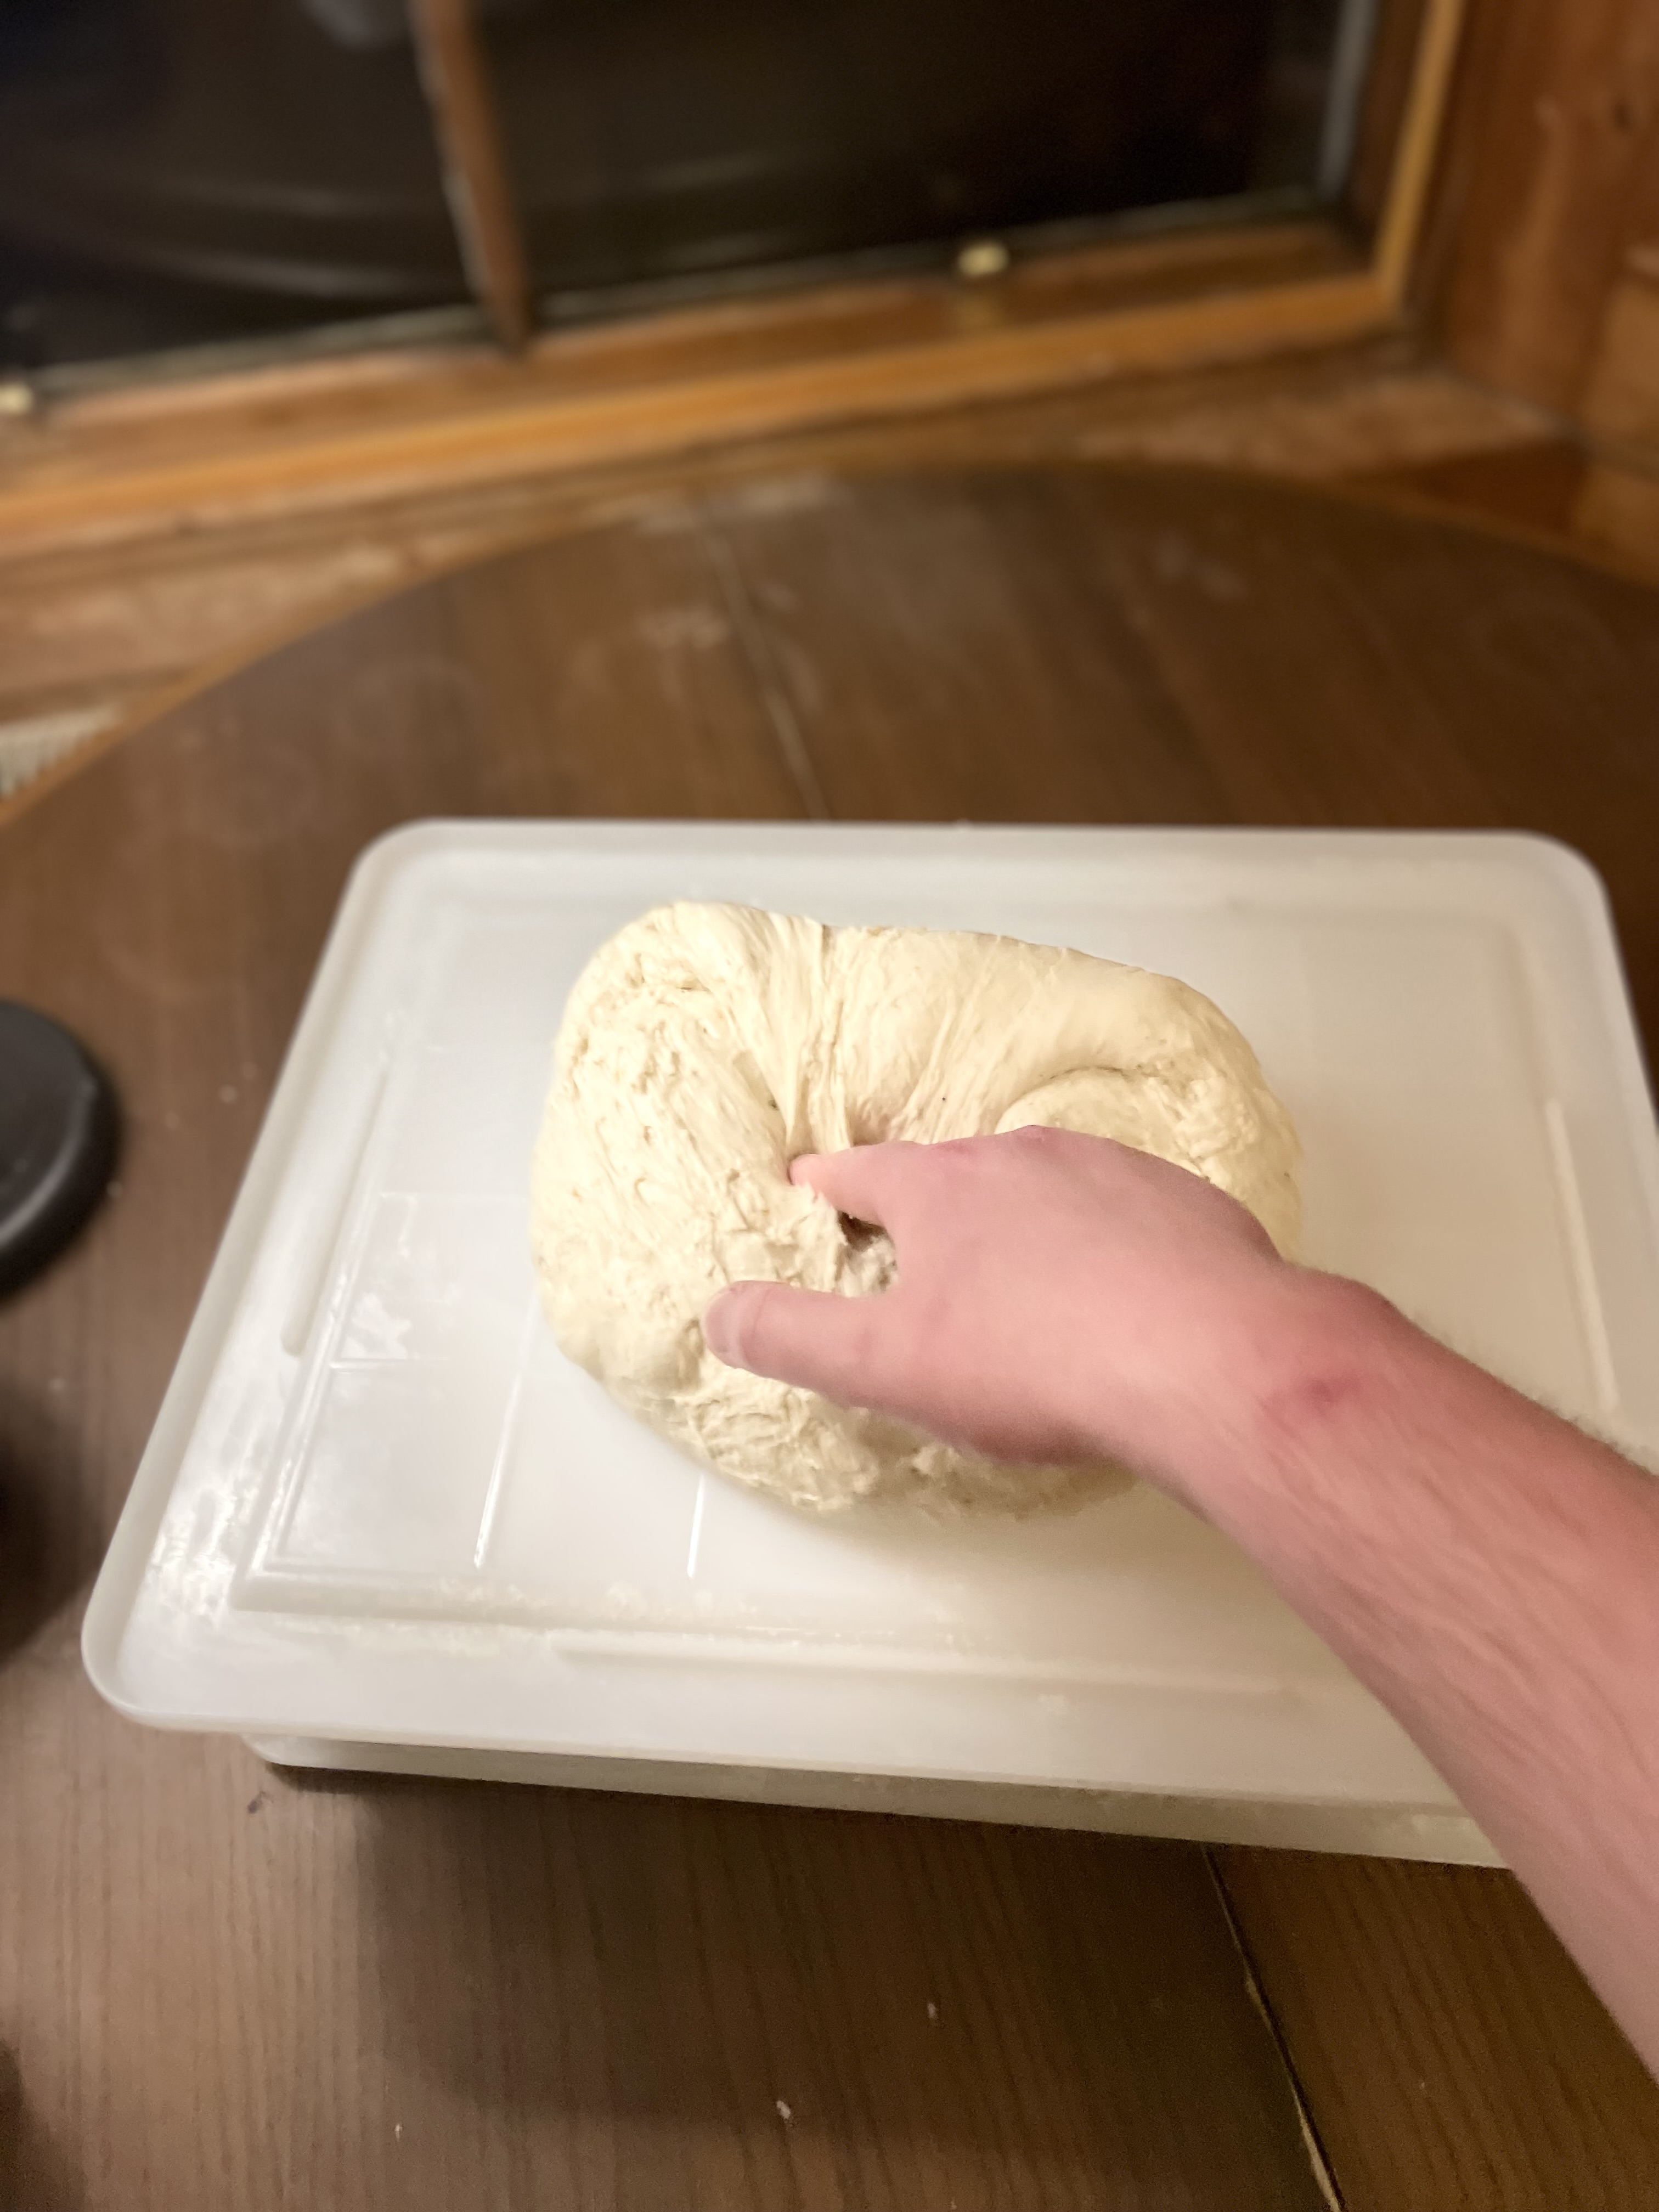
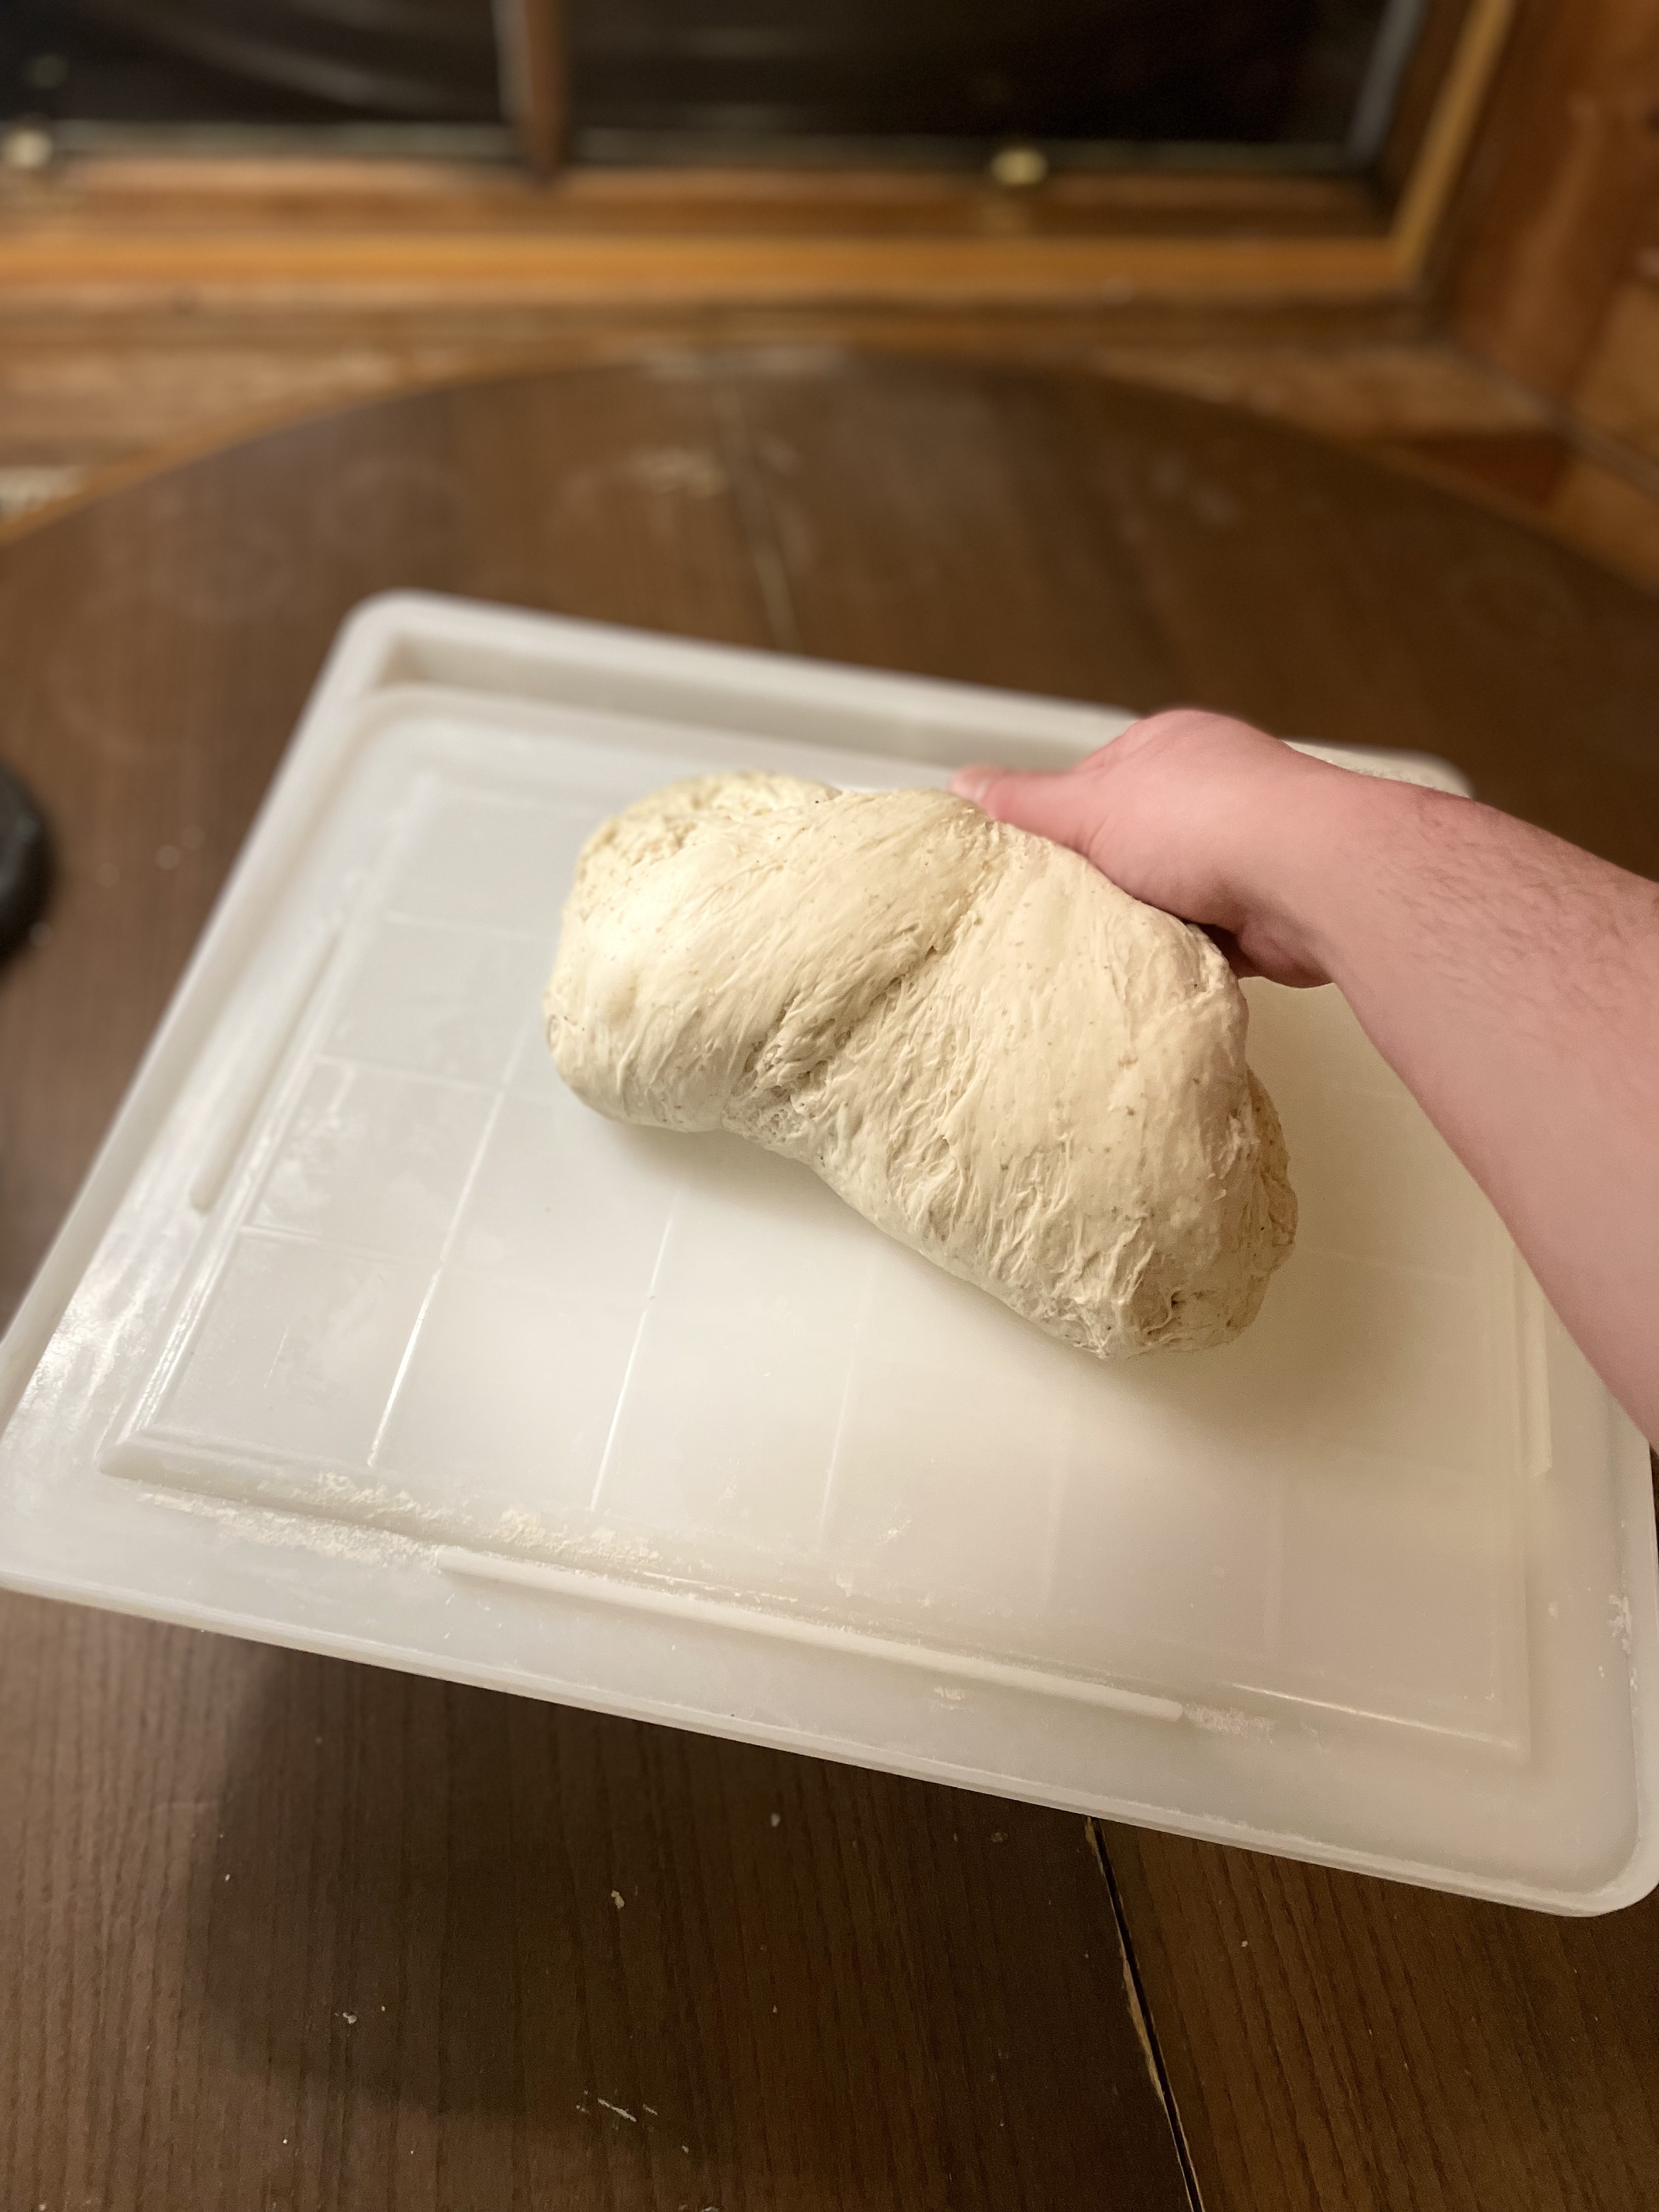
Stretch-and-fold: lift an edge until nearly tearing, fold to centre, rotate 90°, repeat.
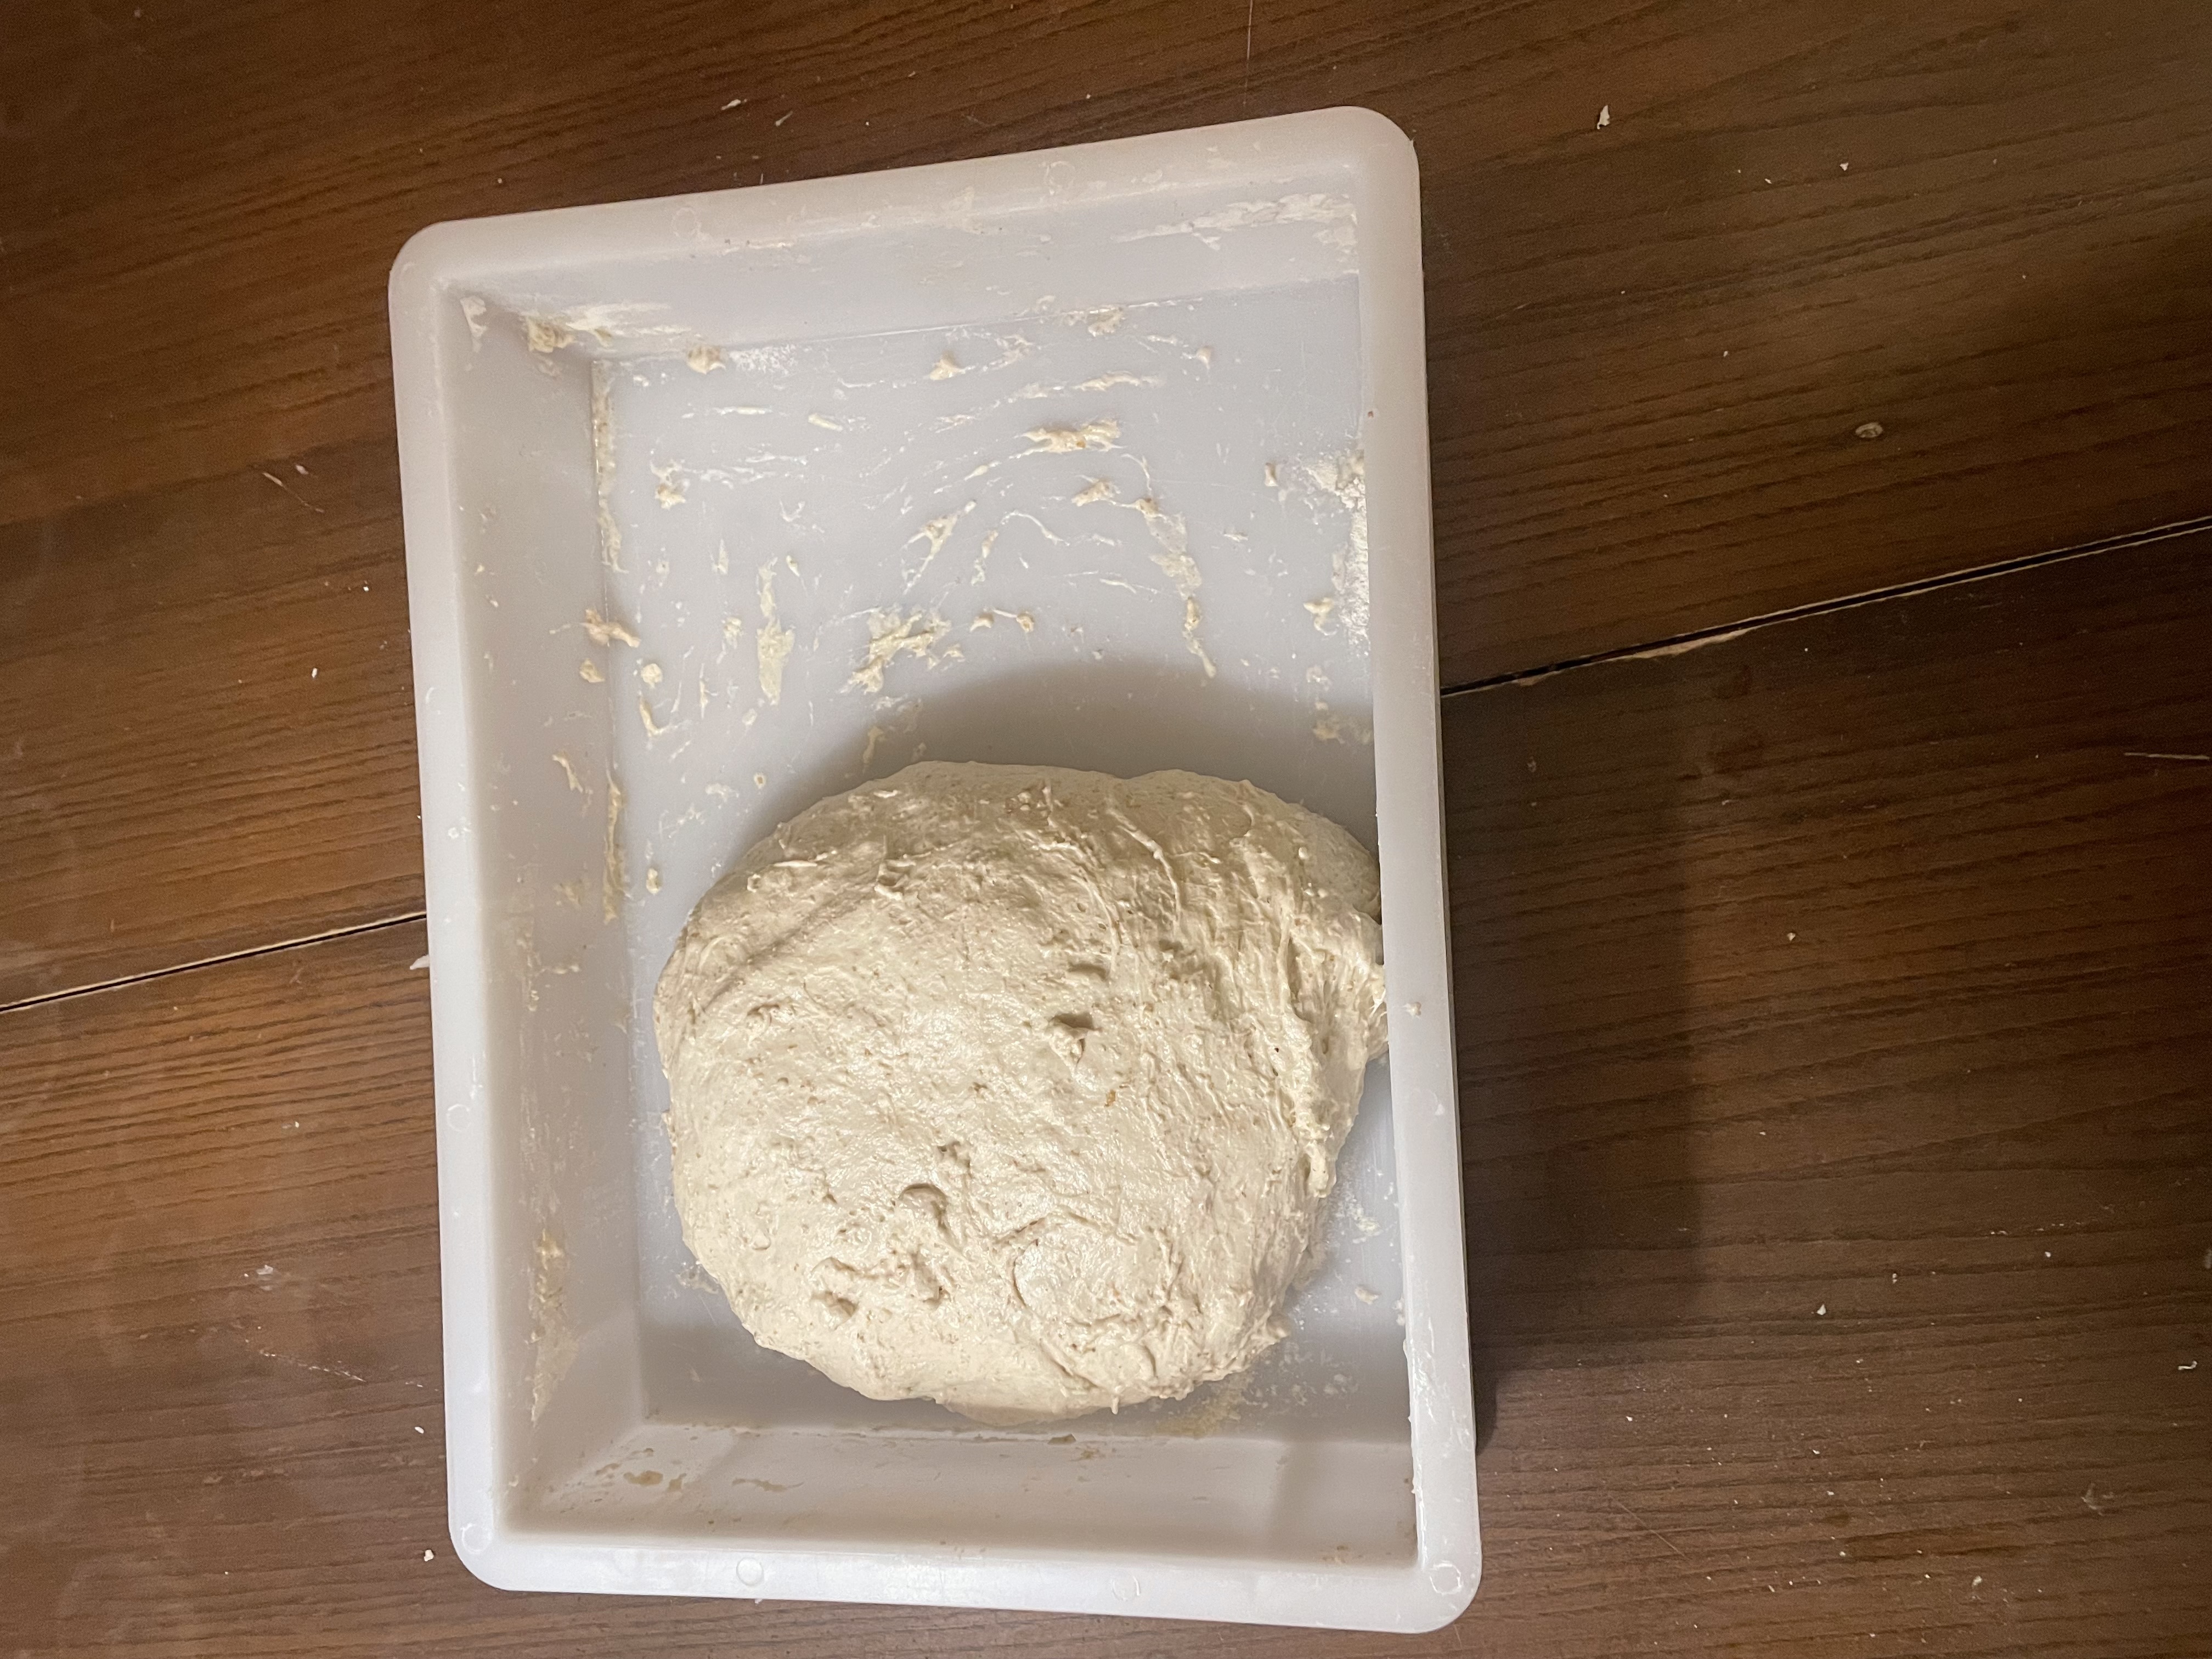
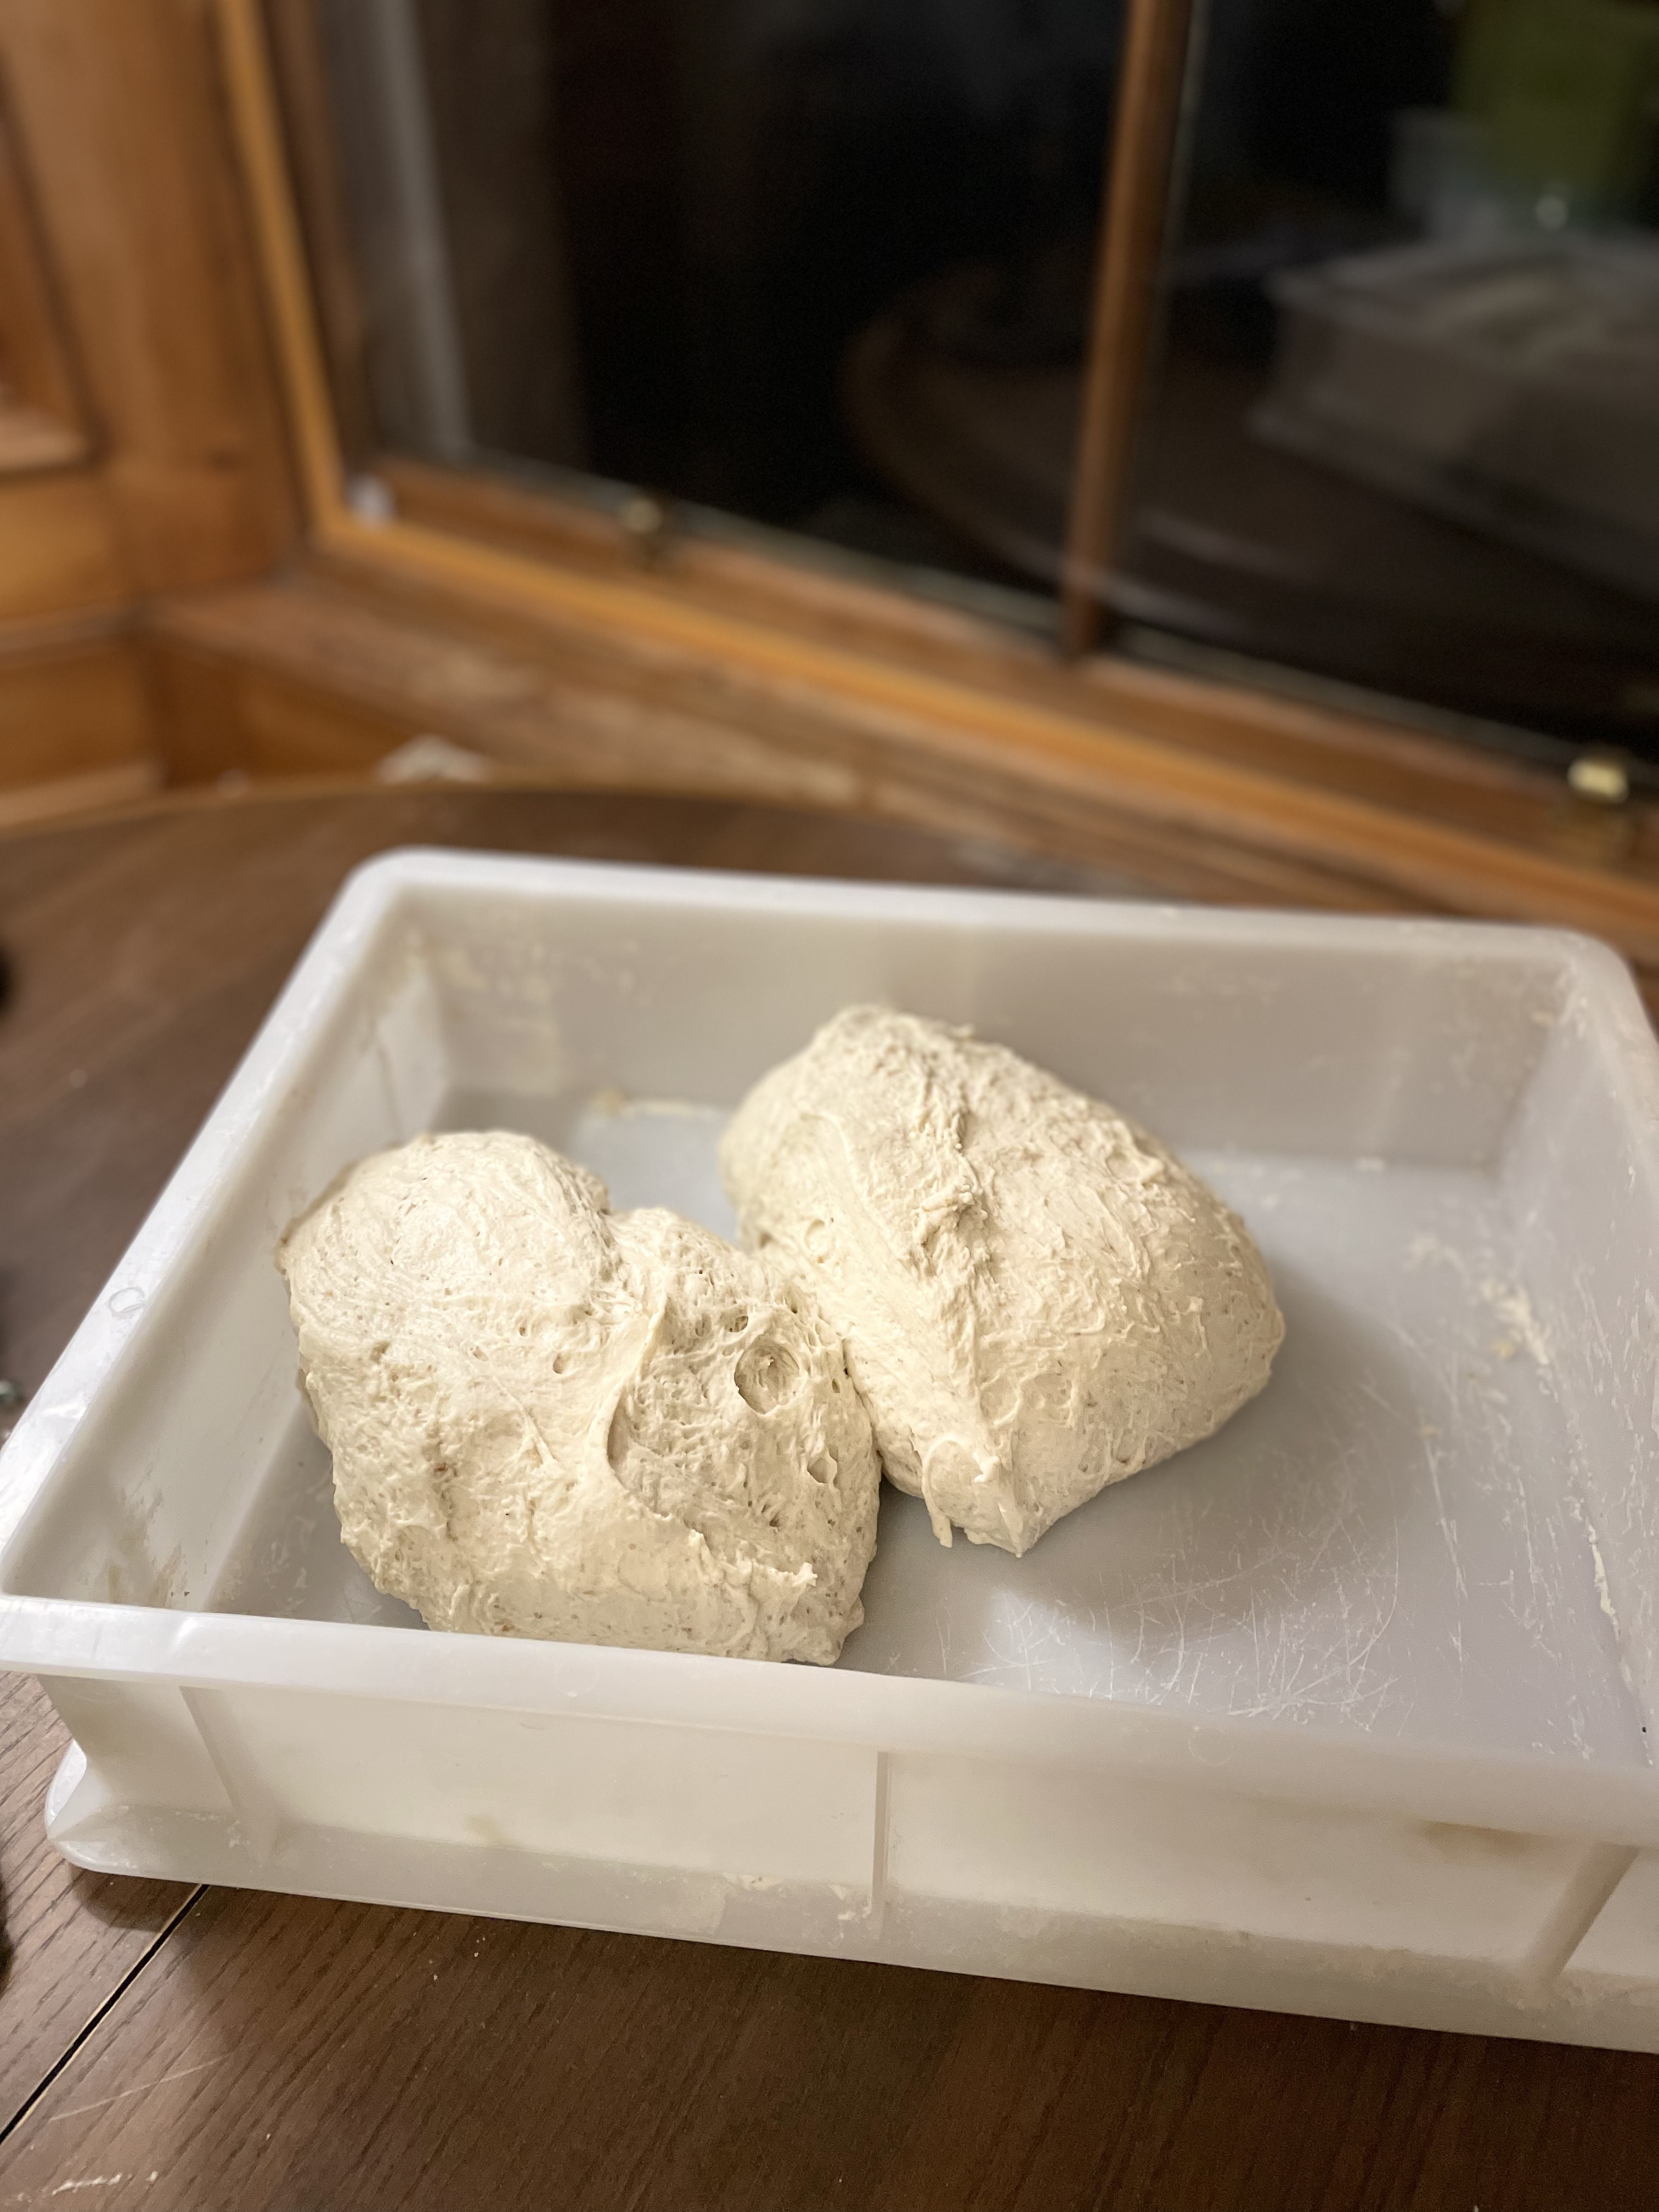
That's what happens when you don't fold enough. Pale patches show unhydrated flour — dry pockets that never develop structure. A couple of rounds and the dough becomes one cohesive mass. Skip them and your crumb's dense and uneven where those clusters sat.
After 30 minutes, switch to coil folds: slide wet hands under the centre, lift, tuck.
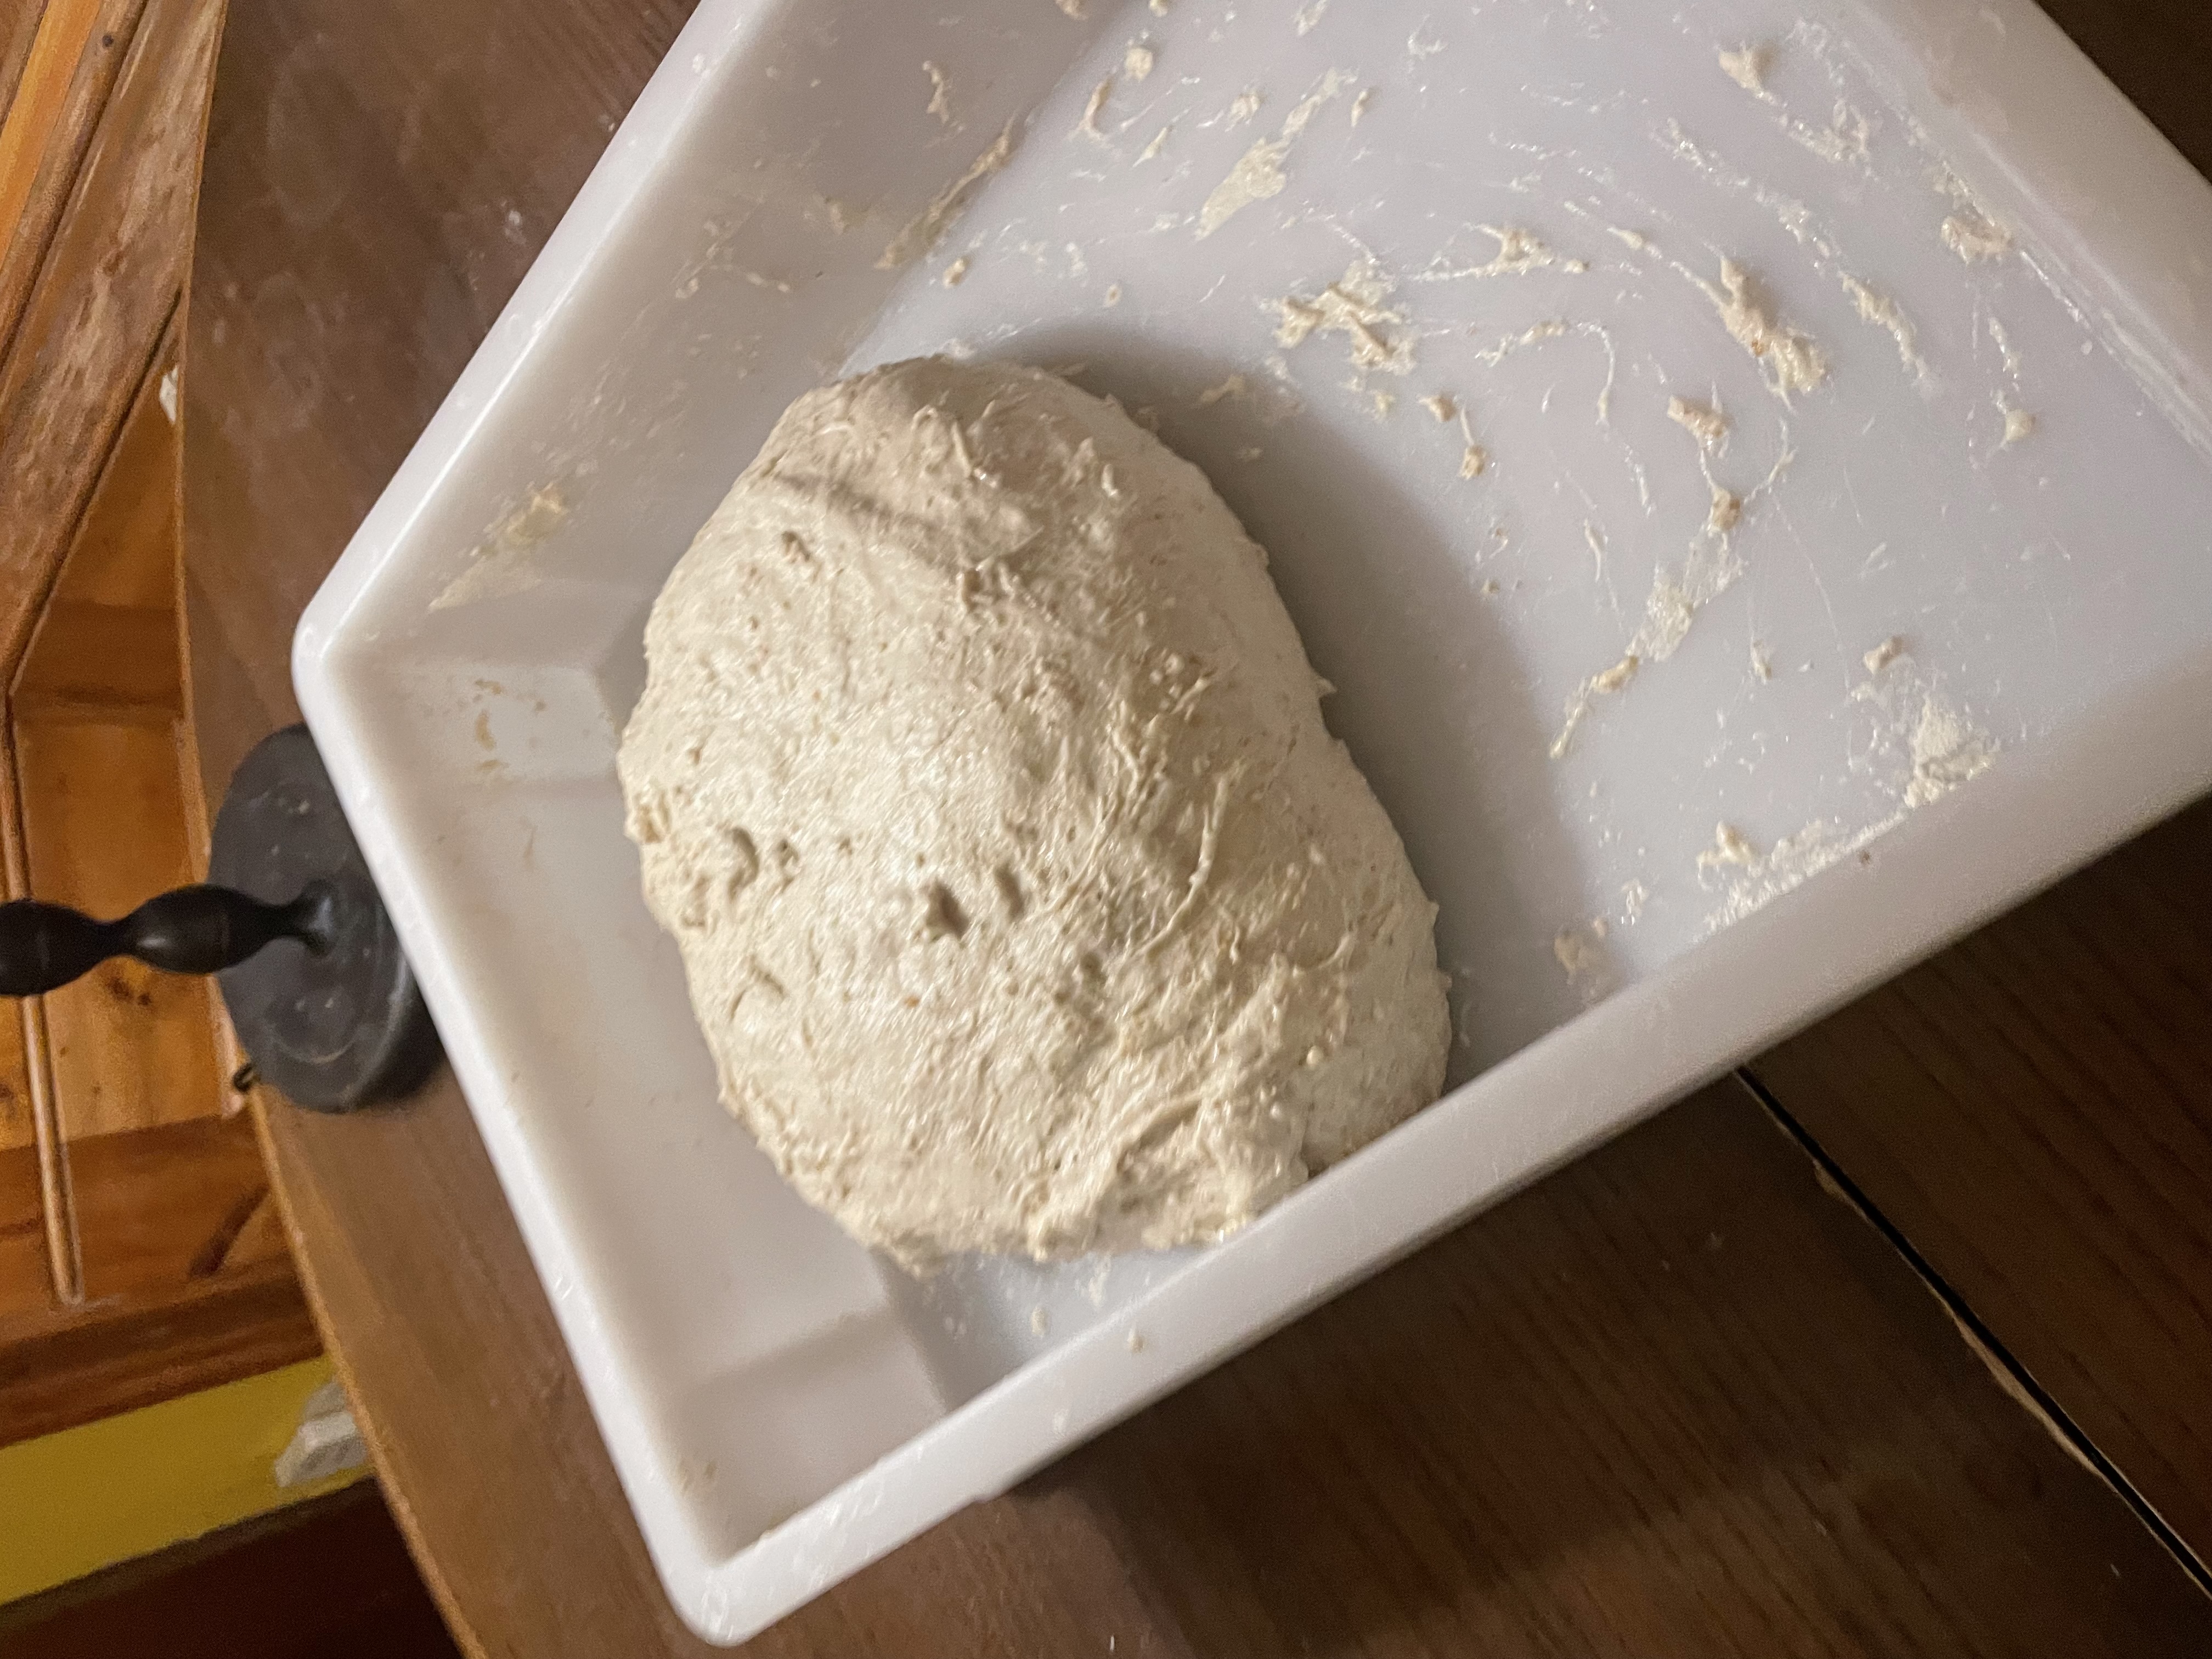
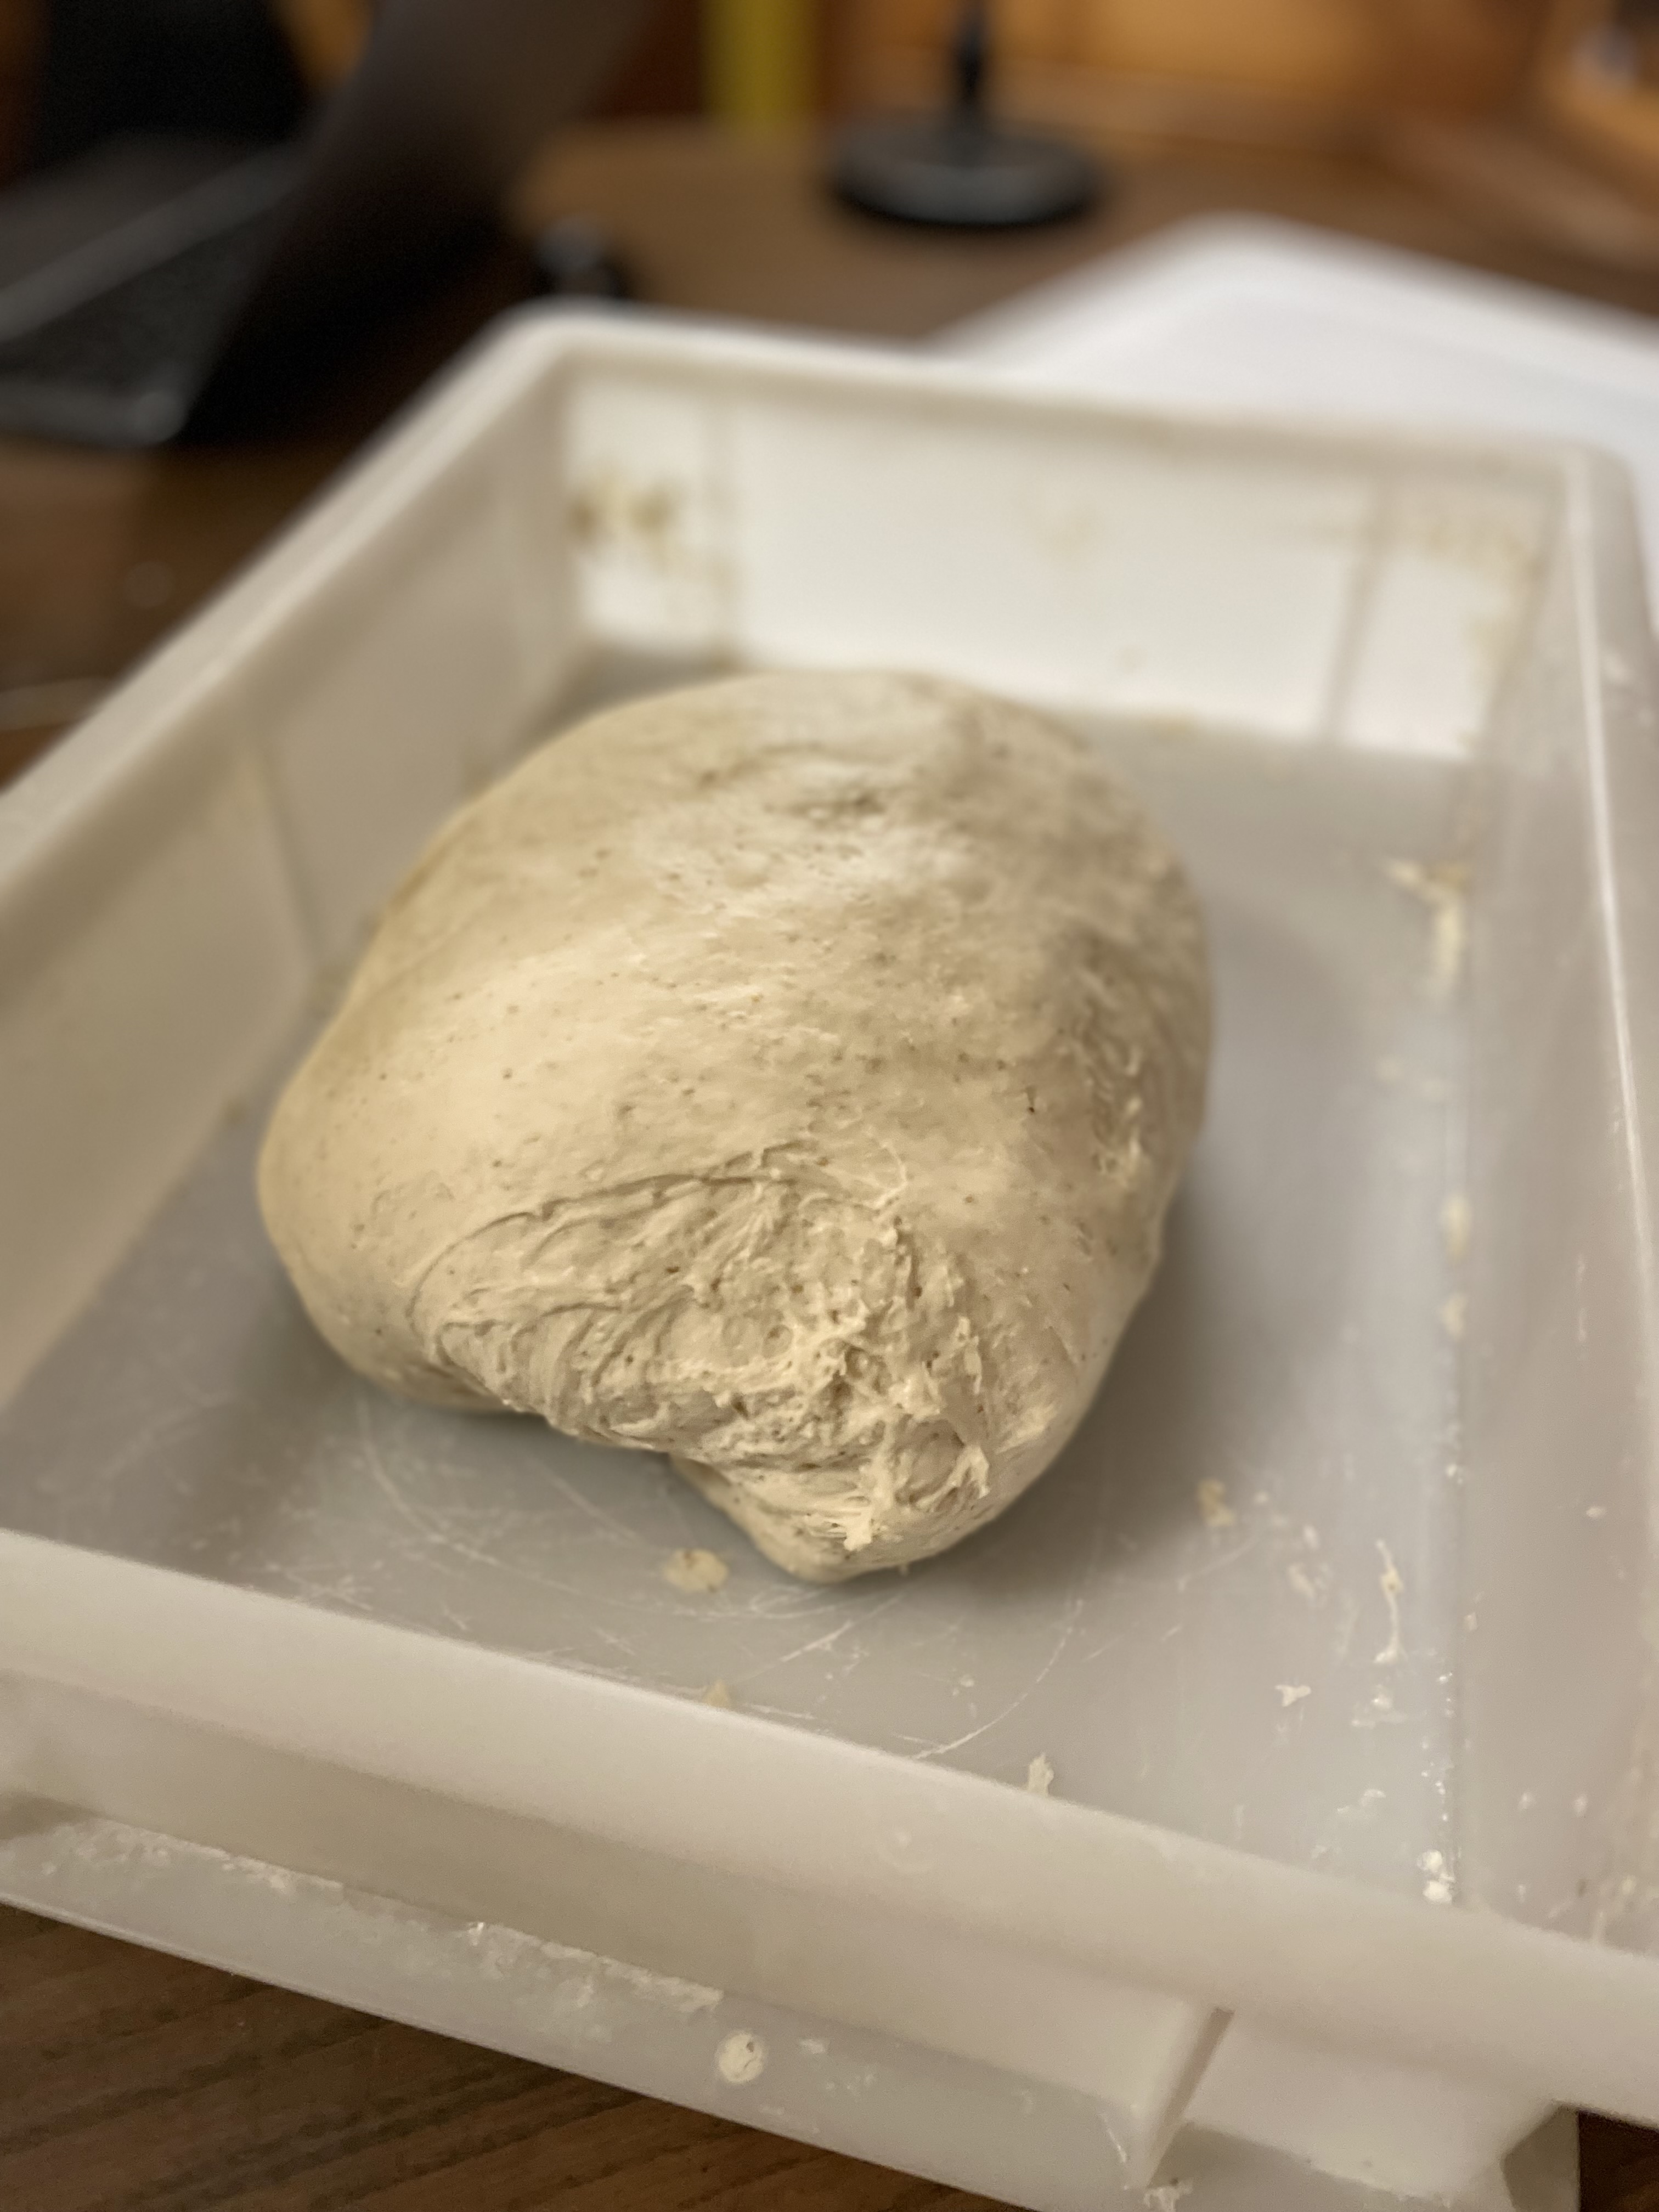
Dough feels cohesive and elastic—adult Play-Doh, eh.
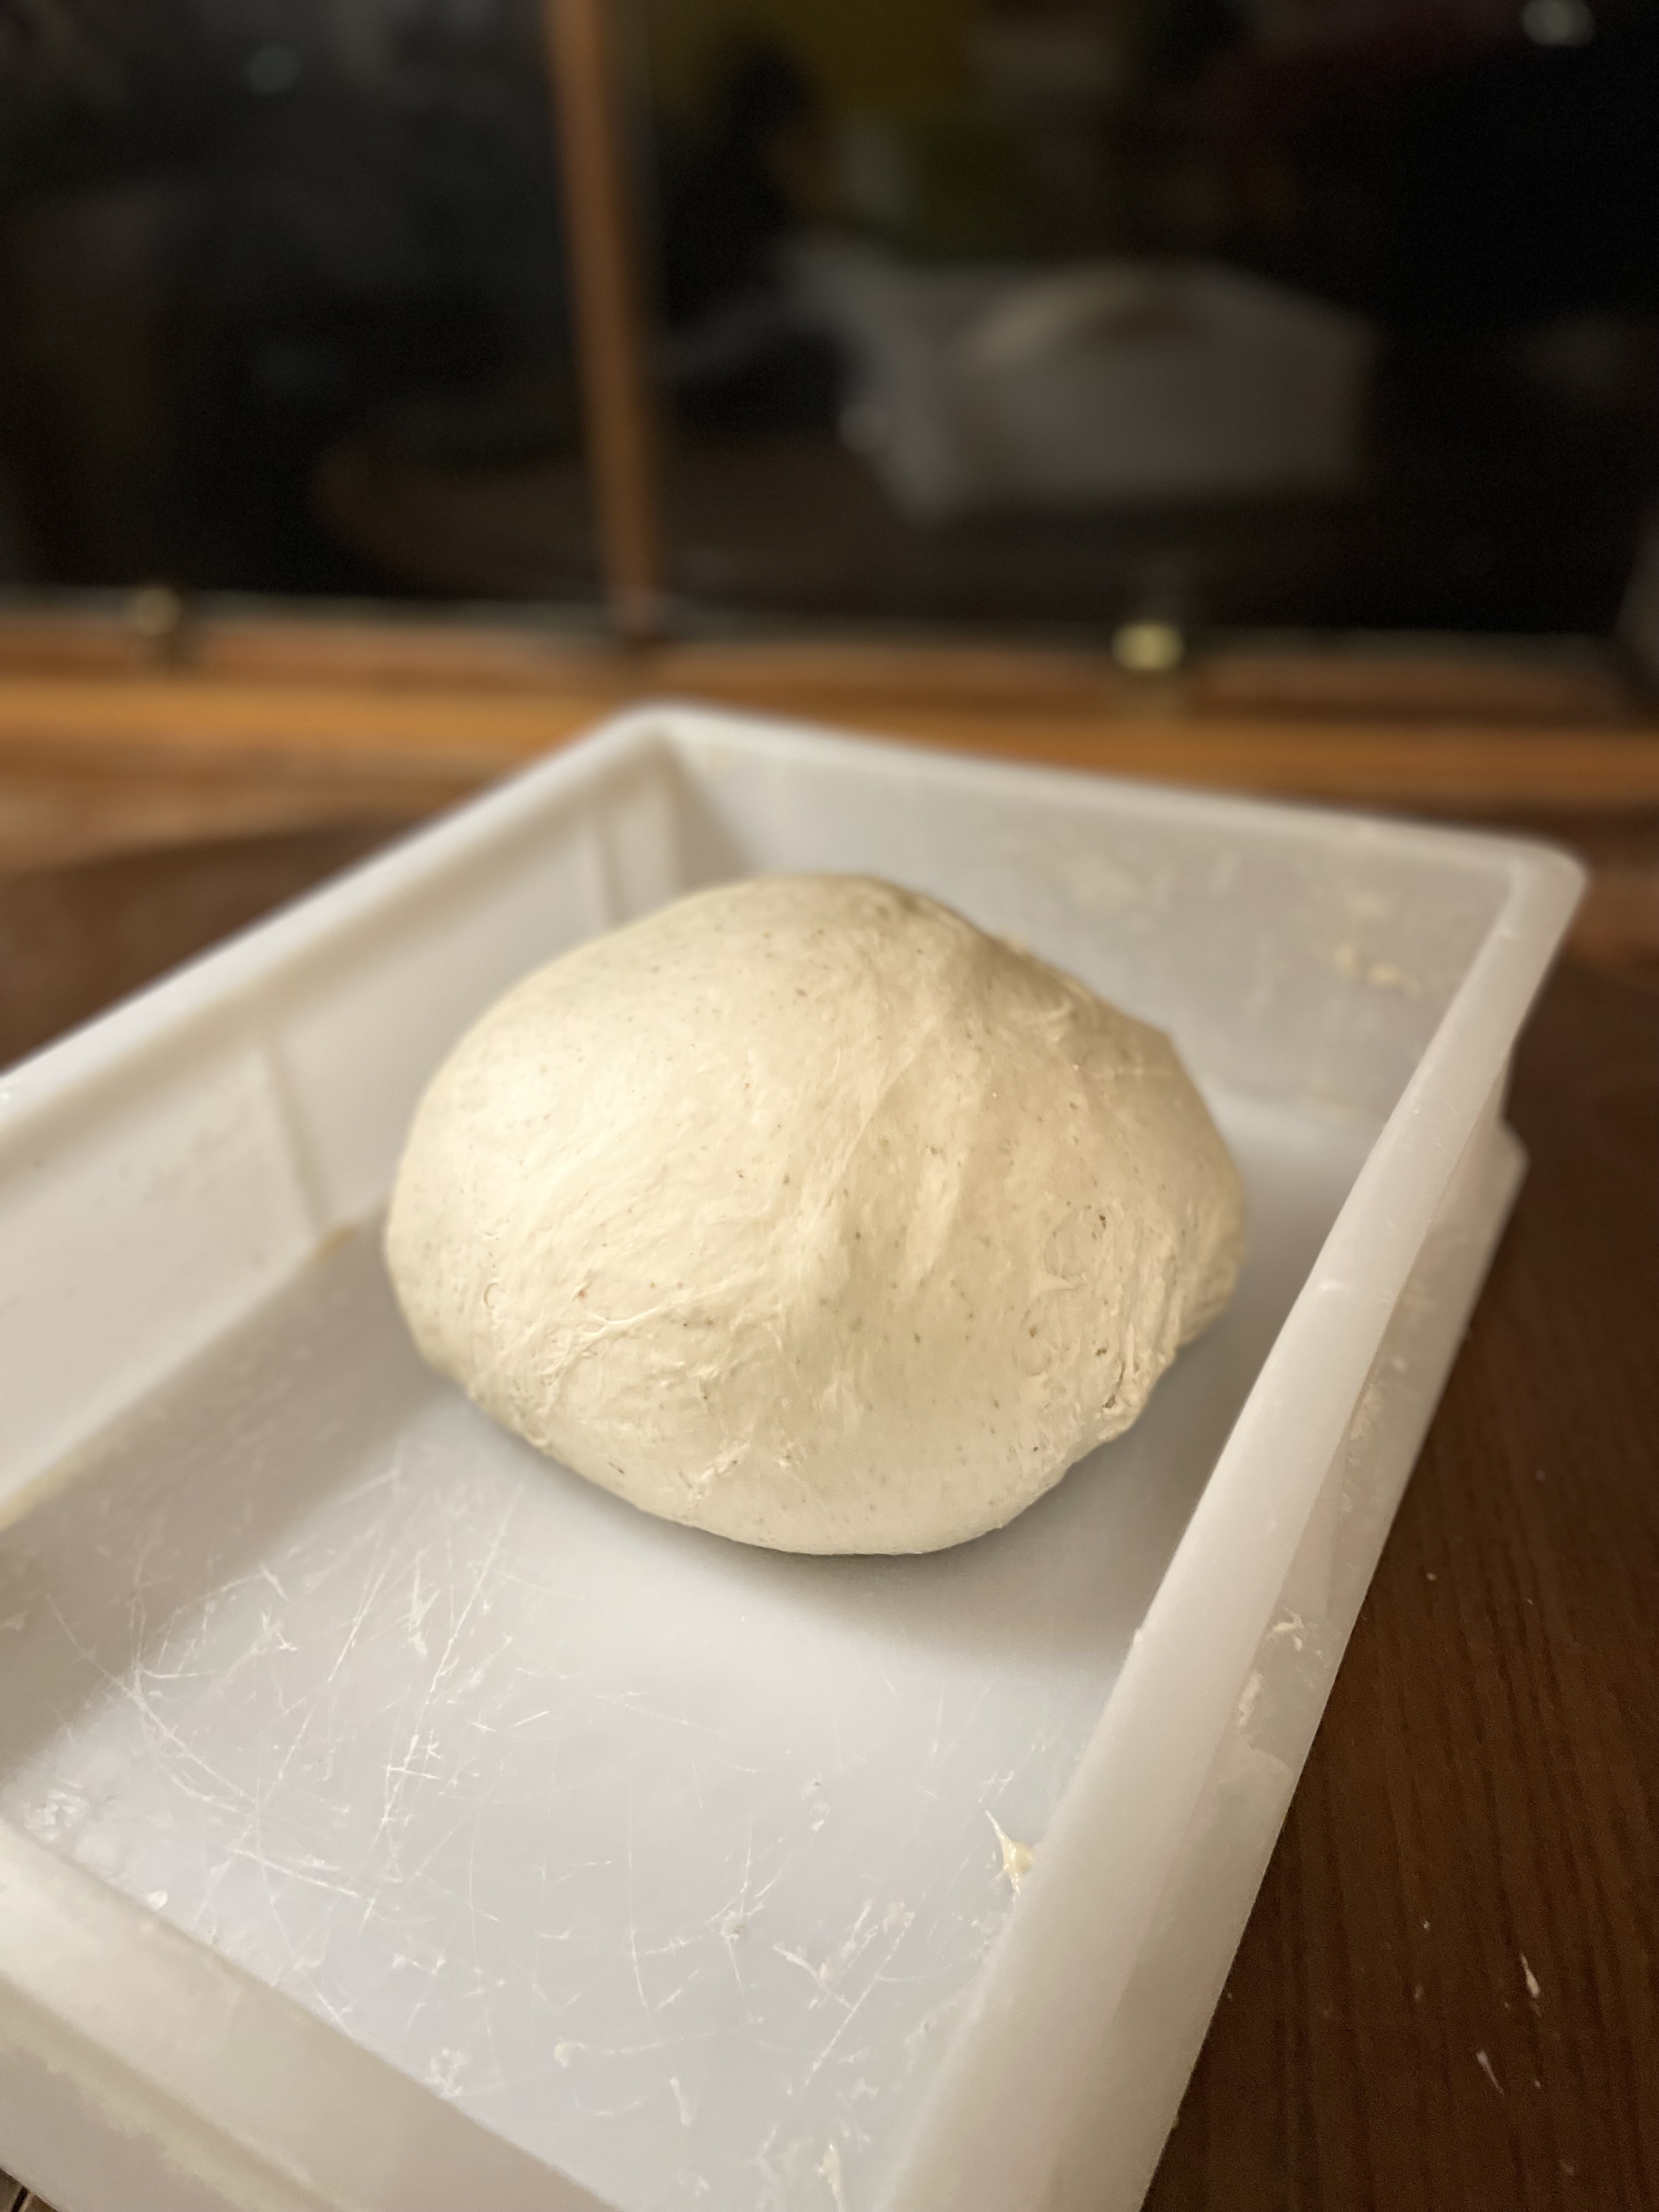
Divide into two, pre-shape into rounds, and rest 30 minutes.
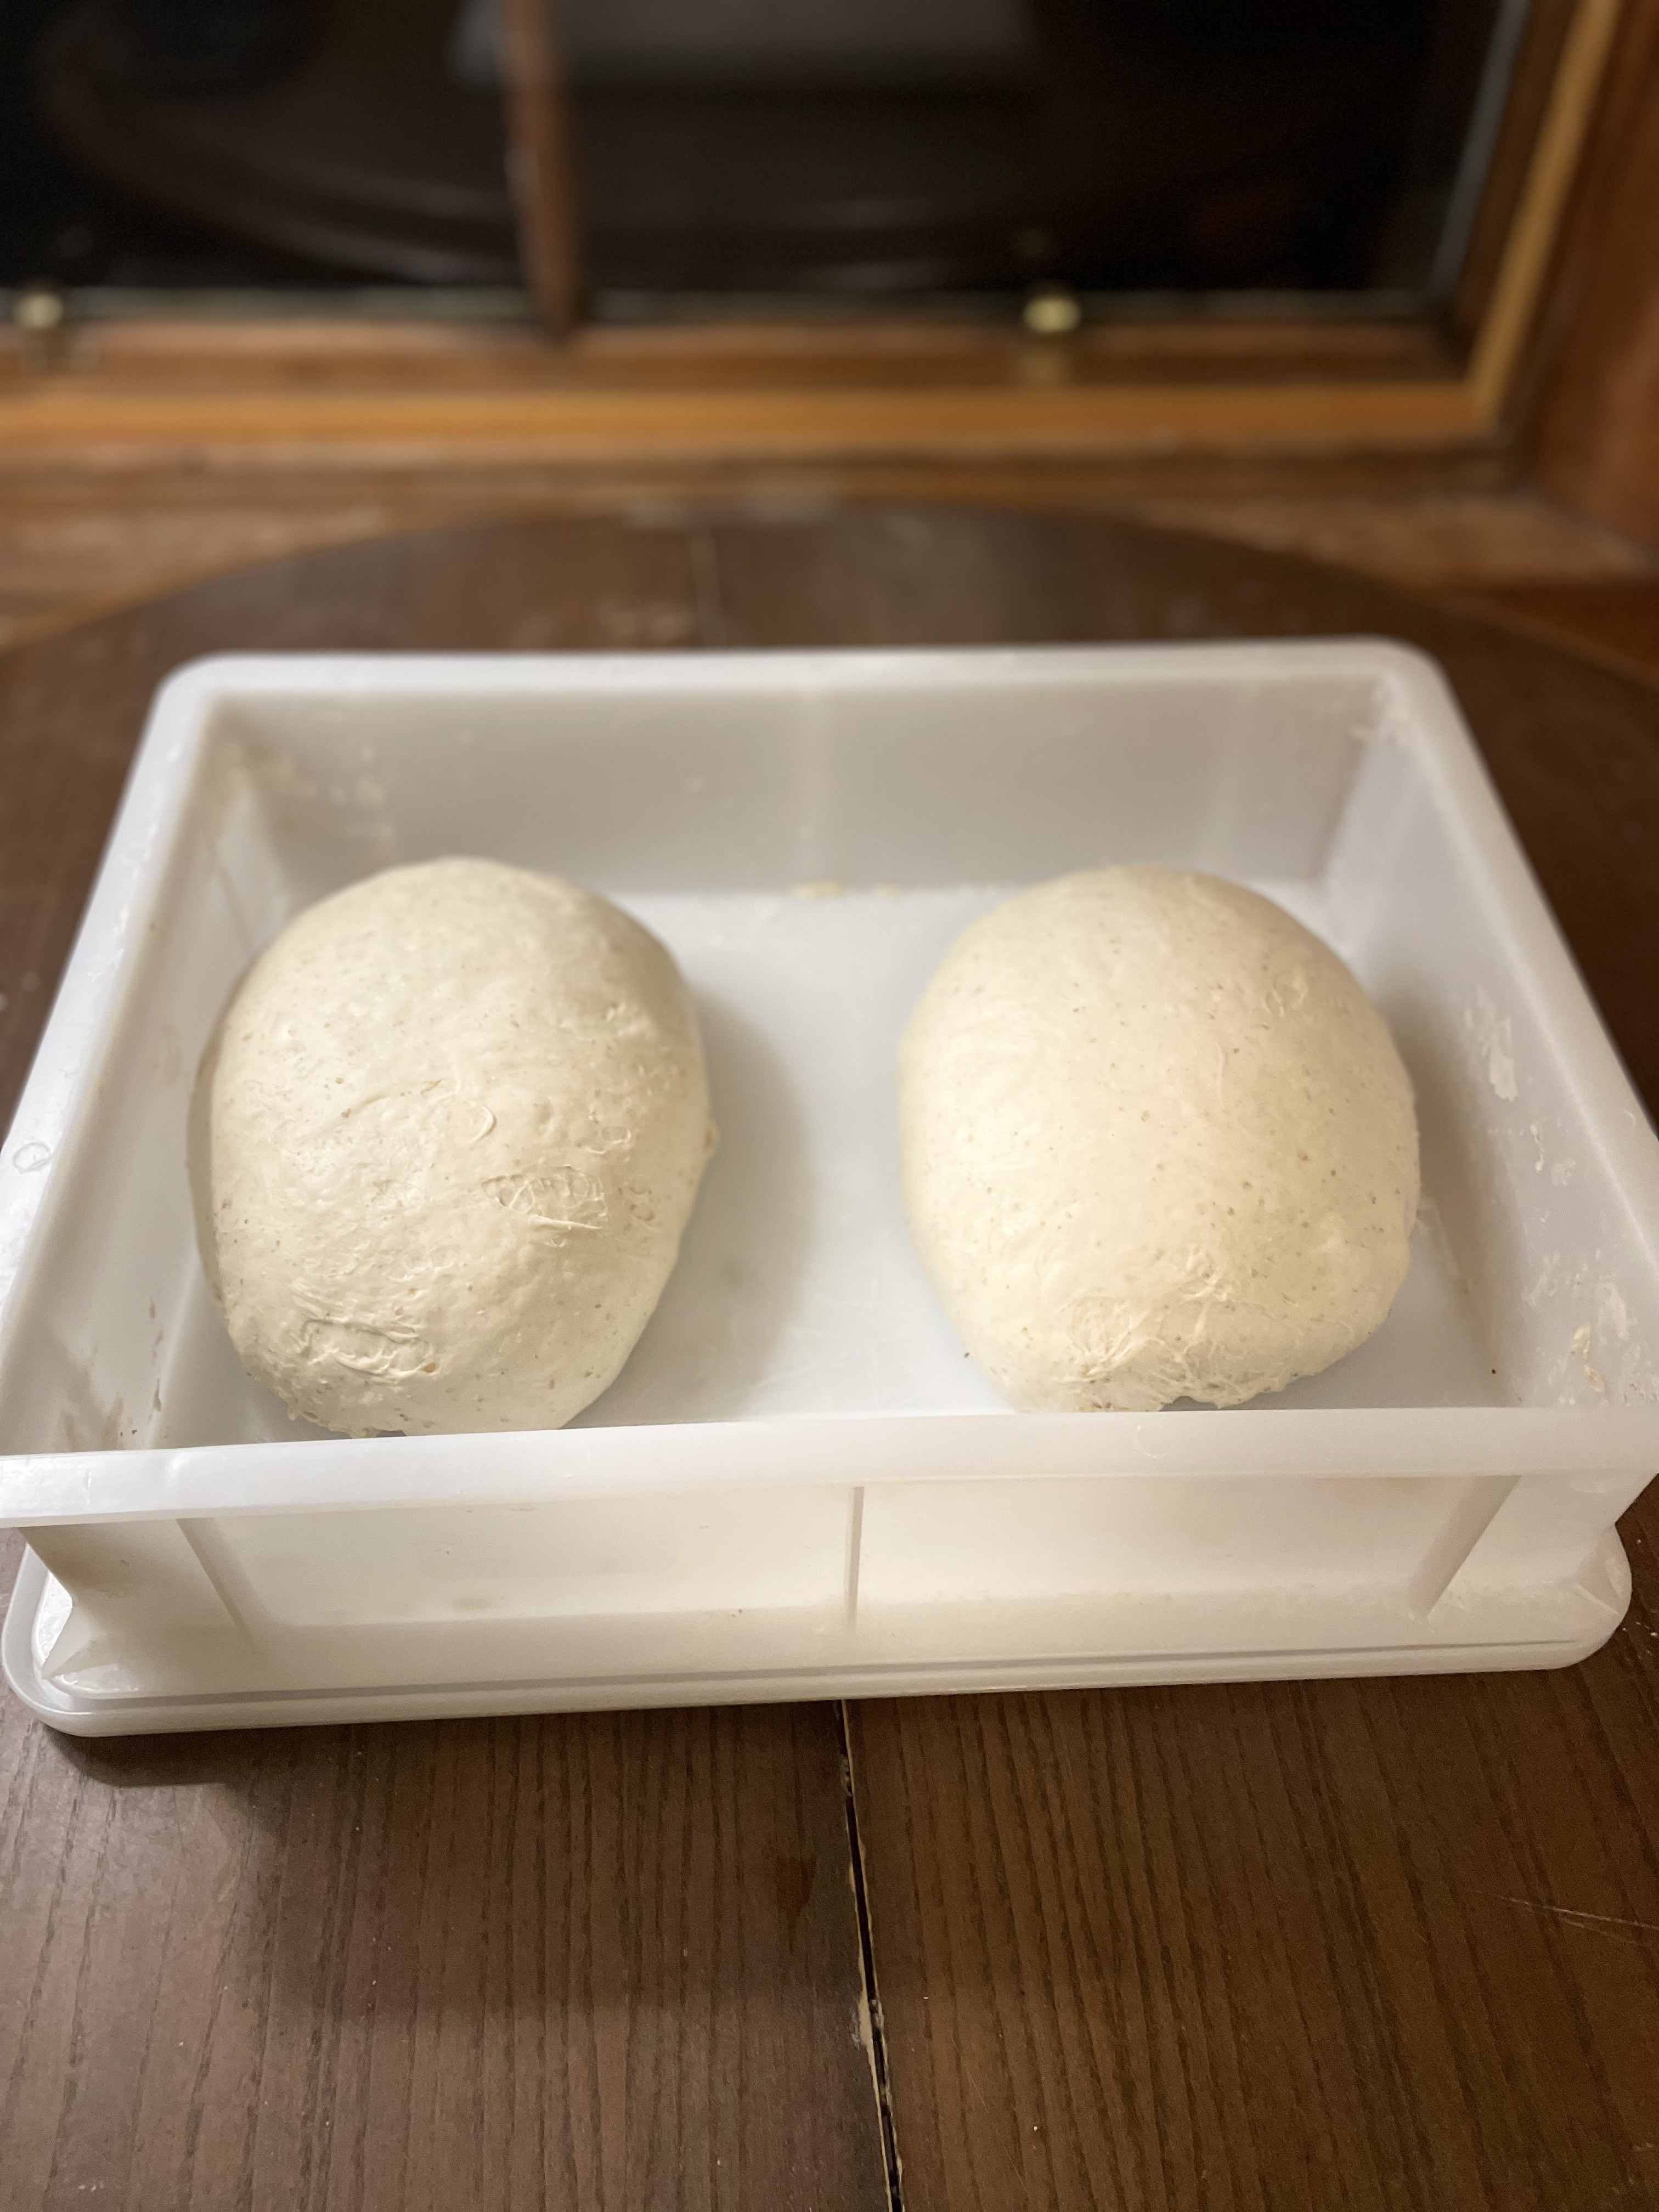
Final Shaping: Building Surface Tension
Dust bannetons with rice flour so gluten doesn't stick.
Create tension without degassing:
- Flip a round onto a lightly floured surface
- Fold the far edge two-thirds toward you
- Fold the near edge over that
- Rotate 90° and repeat
- Flip seam-side down
- Drag toward you to tighten
- Rotate a quarter turn and repeat
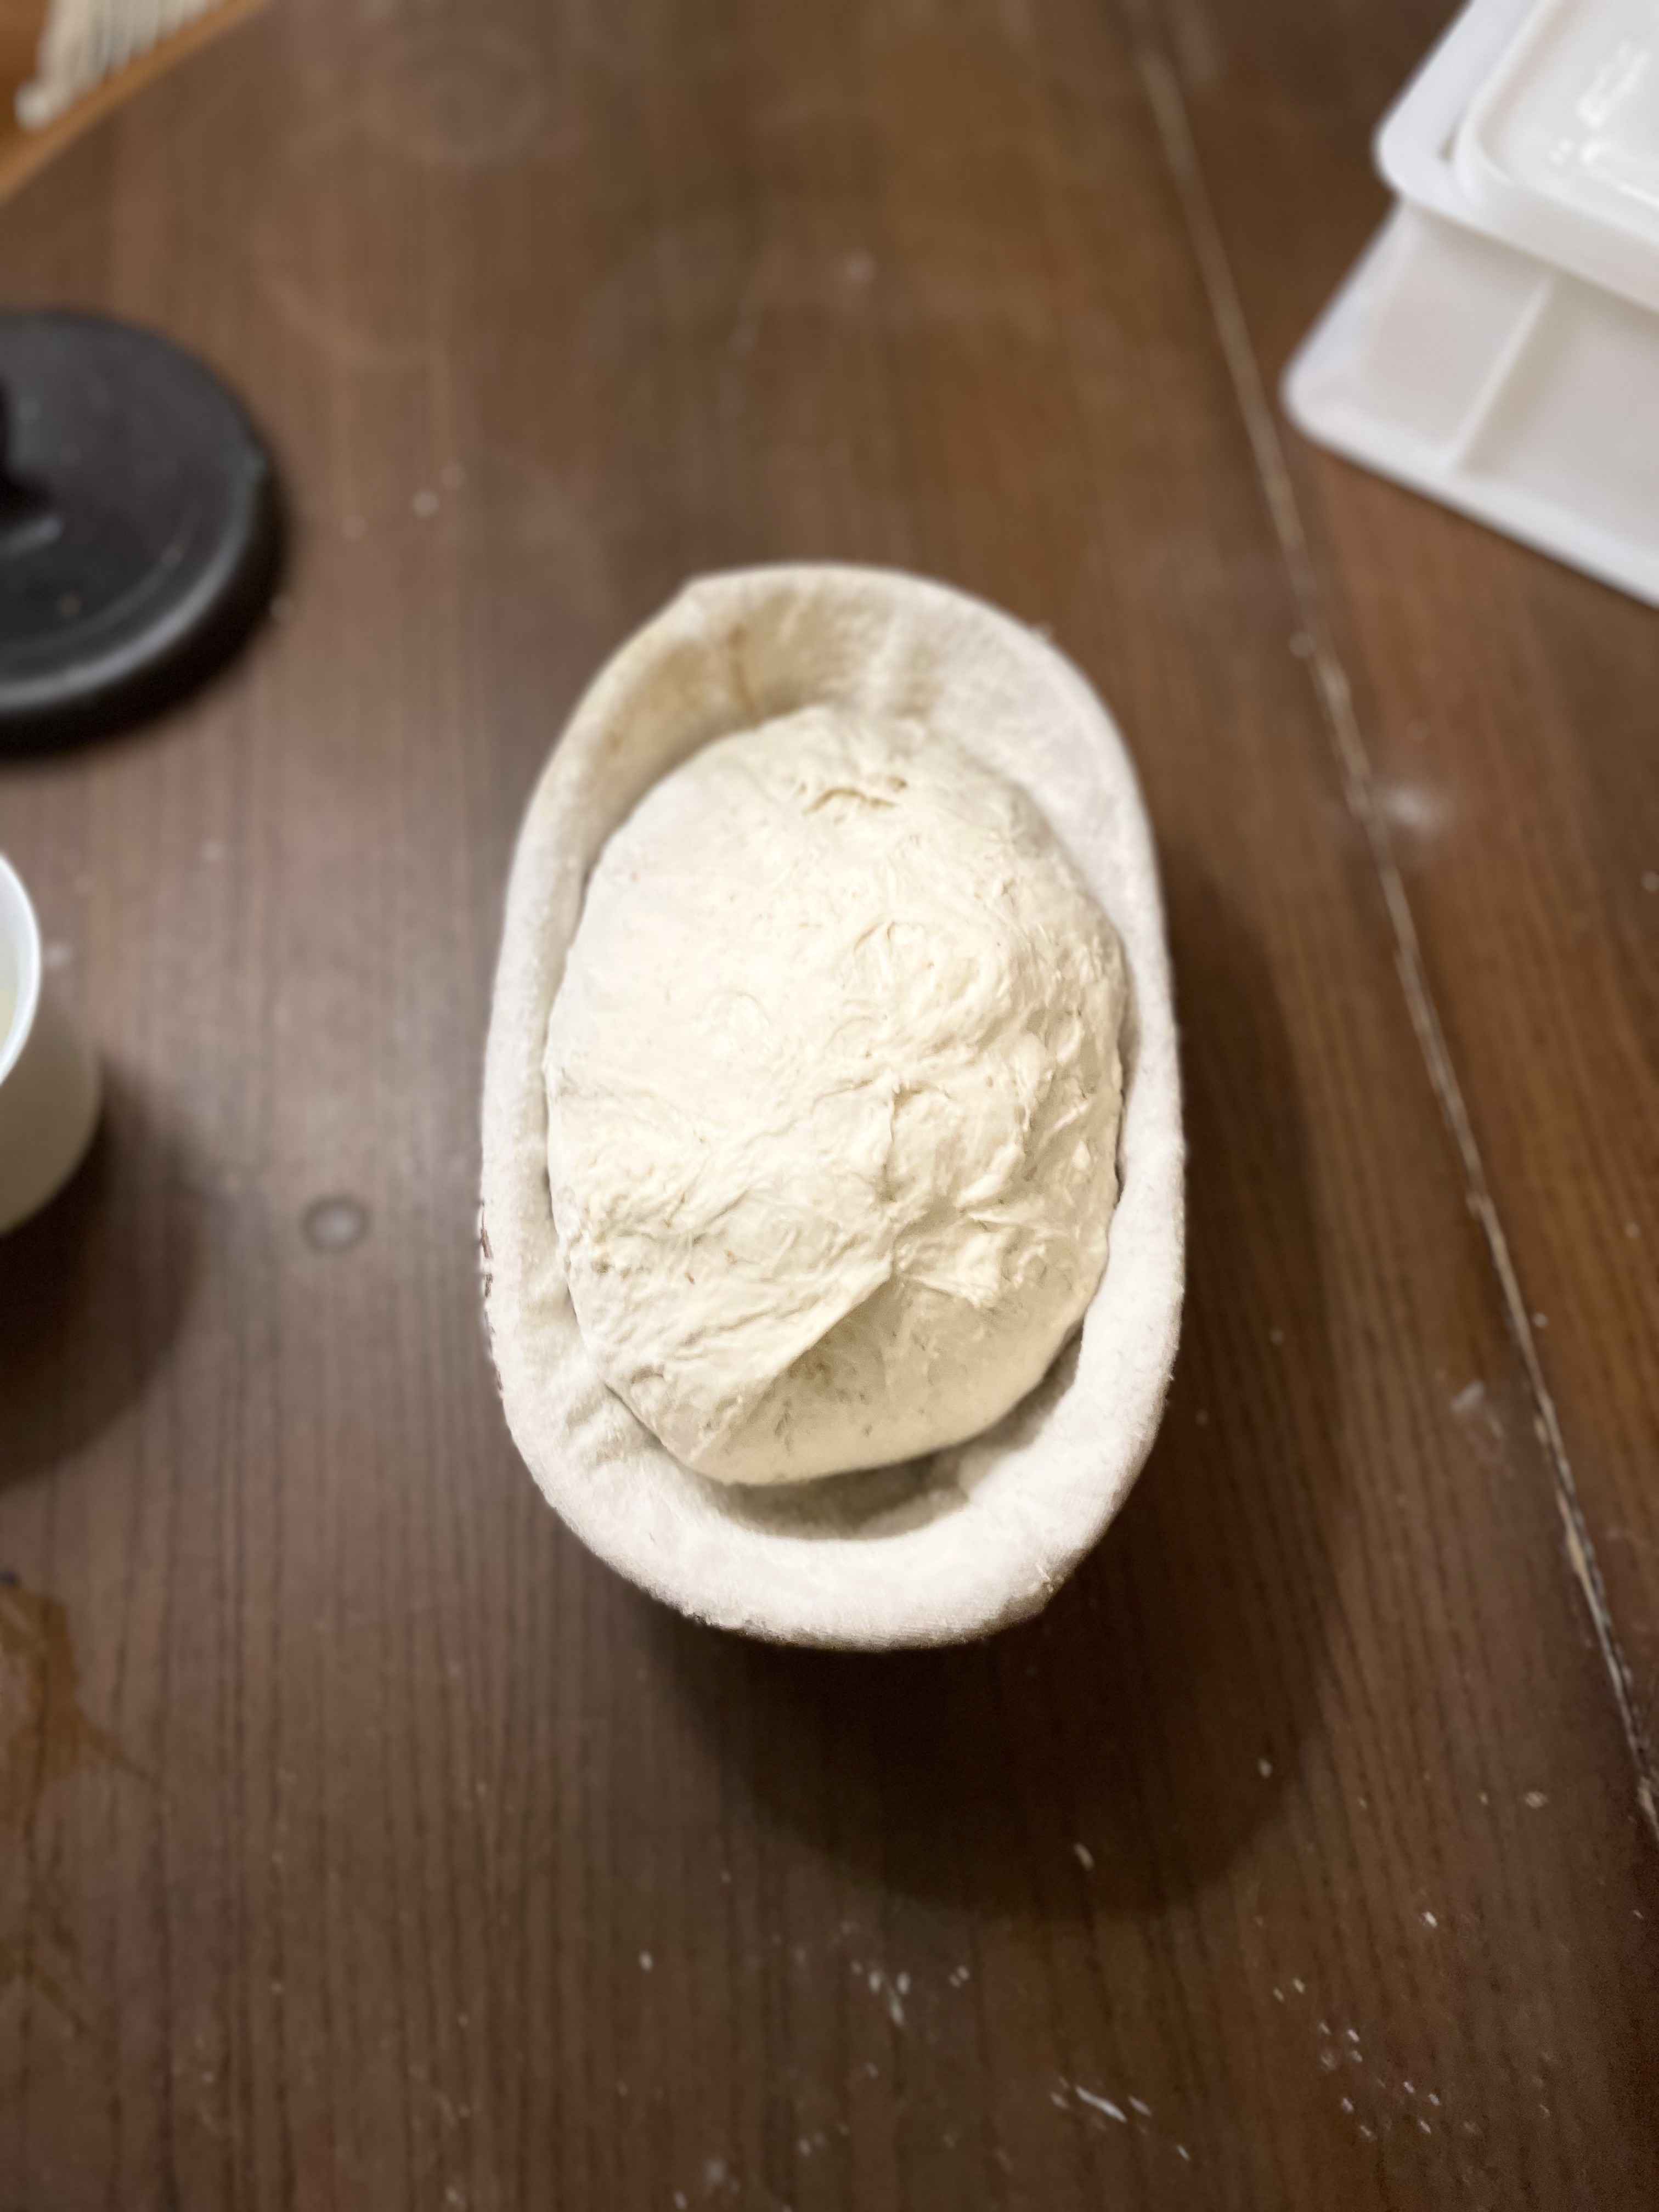
Transfer each loaf, seam-side up, and dust with rice flour. The seam gives a natural weak point for expansion. Cold-proof in the fridge 12–30 hours.
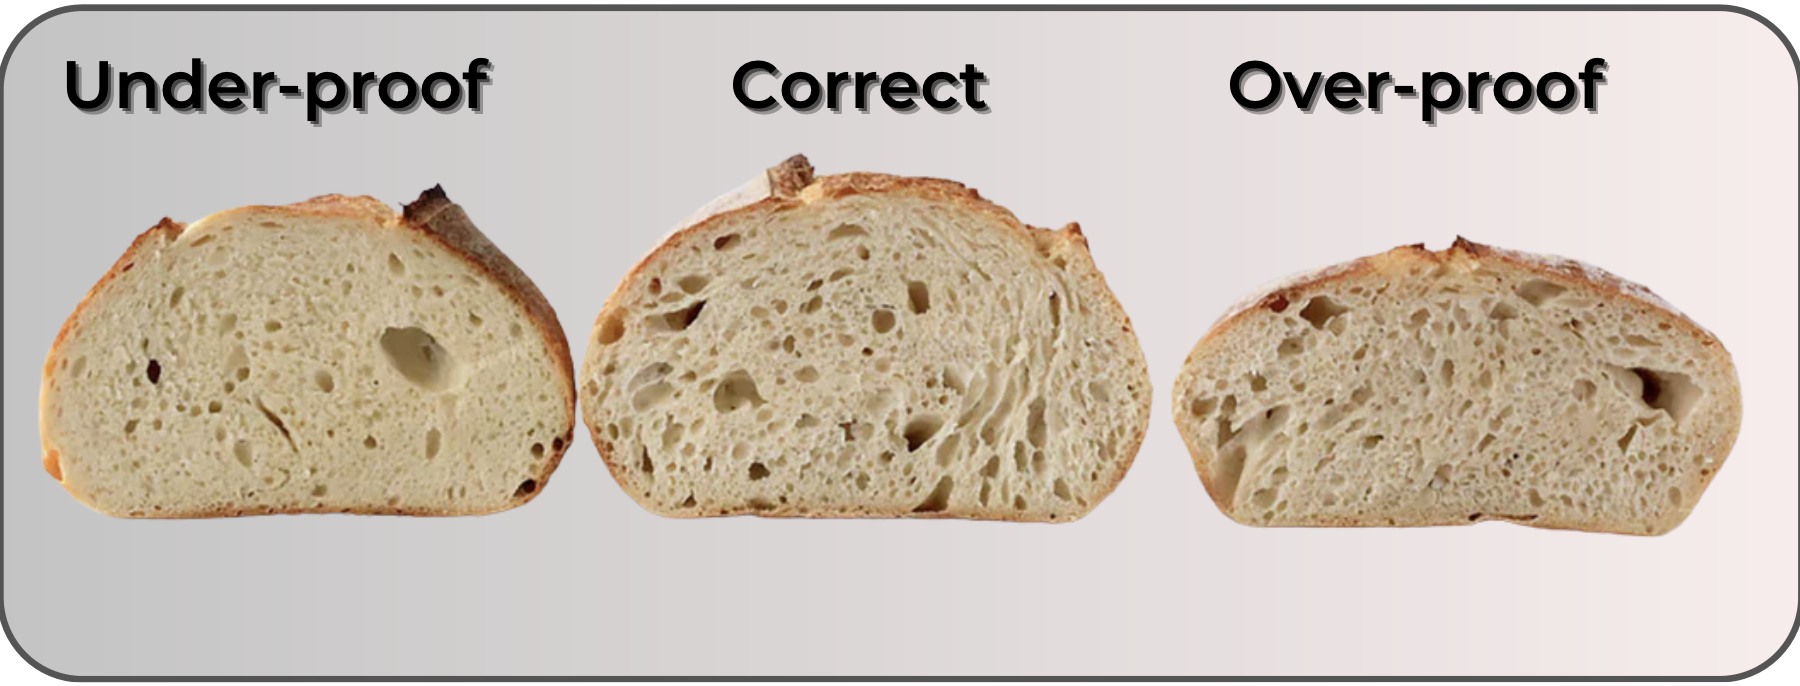
Don't push past 30 hours; too much acidity weakens structure and skews flavour.
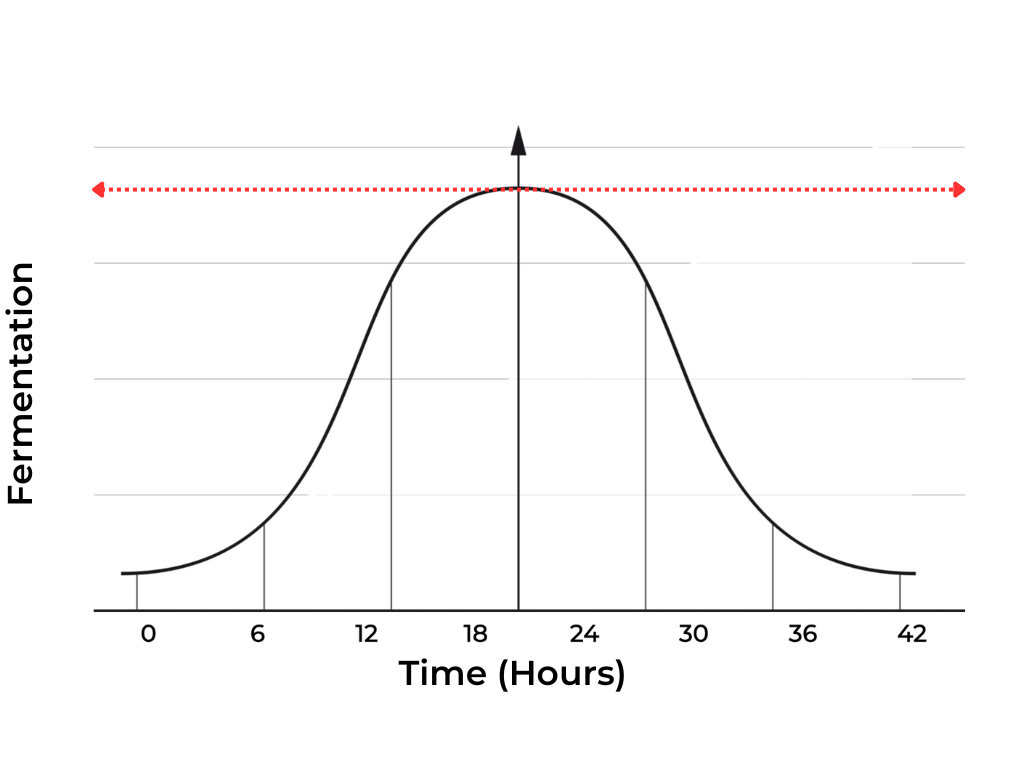
Fermentation peaks, then declines as acids and enzymes break down gluten. Bake too soon: dense, erratic holes. Too late: collapsed, gummy crumb.
Day Three: The End
Dough has flavour and strength. Time to bake.
Creating Your Baking Environment
Skip single-purpose kit. Use the open-bake method: Dutch oven results, home-oven setup.
Set it up:
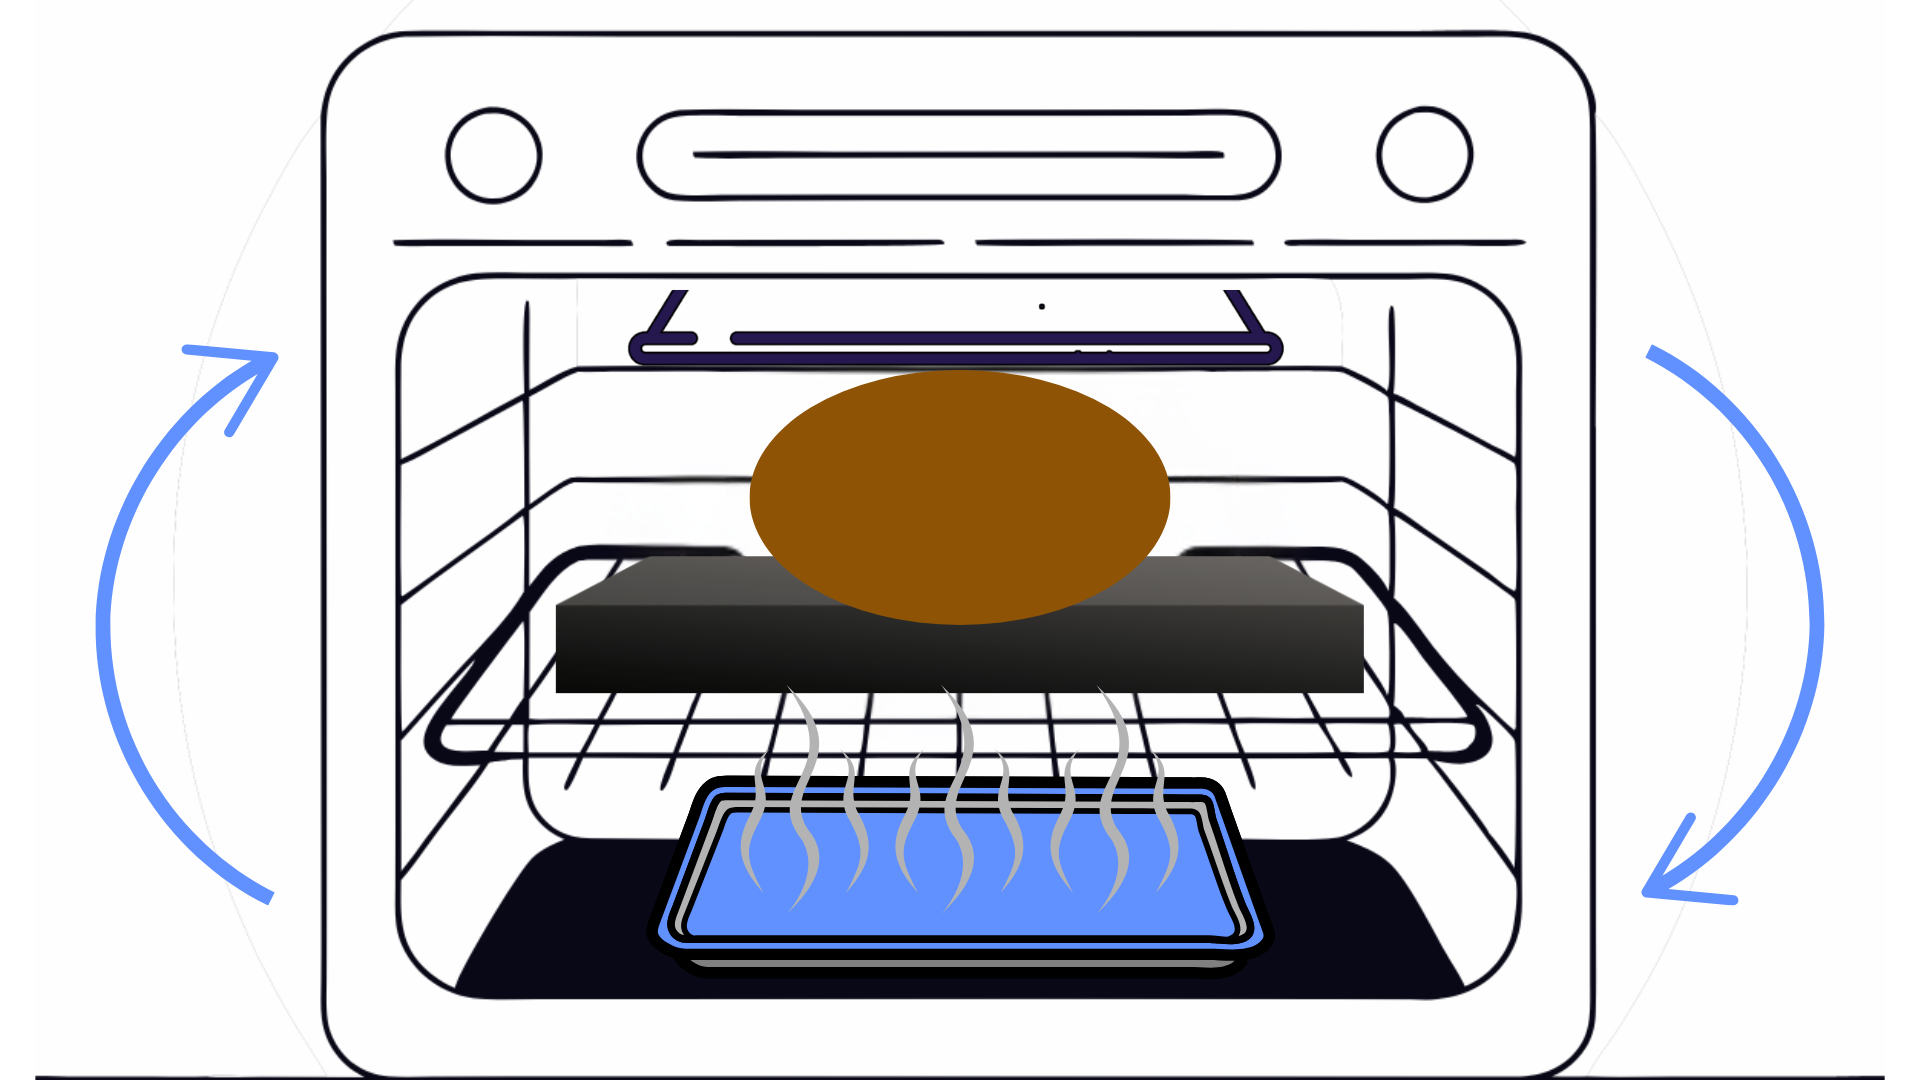
- Baking steel on the middle rack
- Steam pan on the bottom rack
- Inverted tray on the top rack to trap steam
- Heat to 250°C/480°F
- Preheat 40 minutes for full saturation
Before baking, gather:
- Blade or lame
- Peel or board
- Heat-resistant gloves
- Spray bottle of water
- Kettle with boiling water
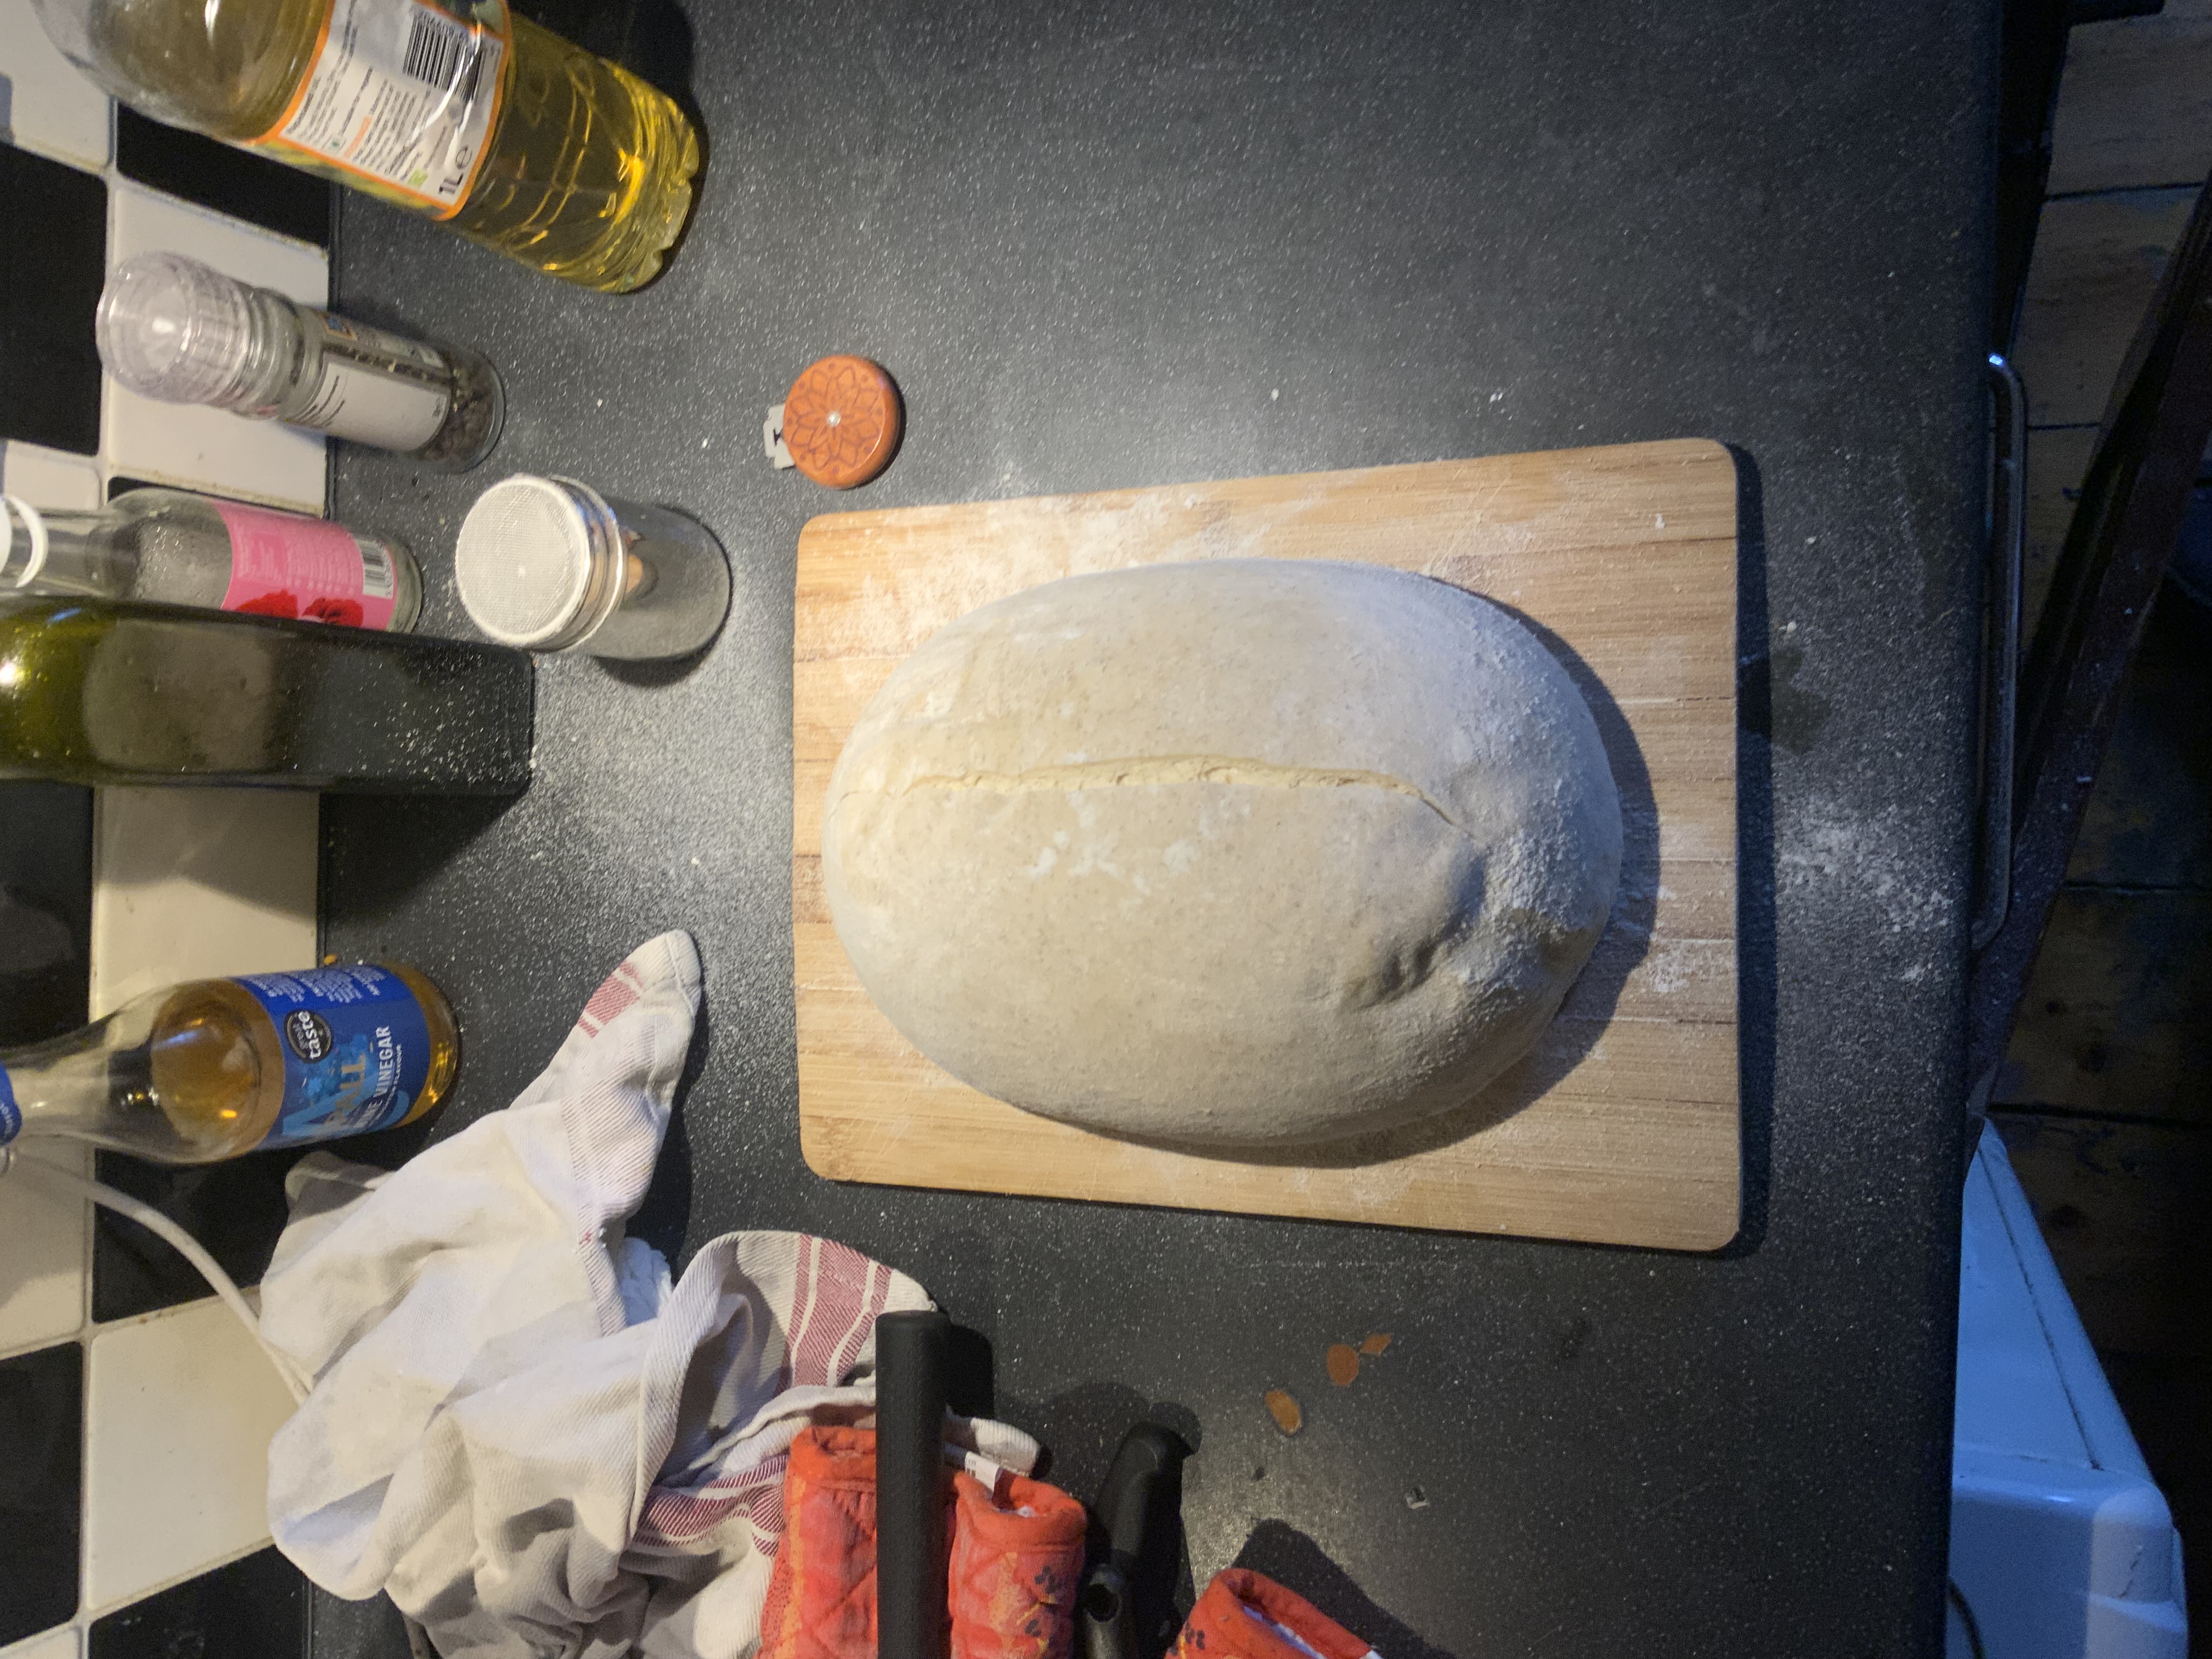
Scoring
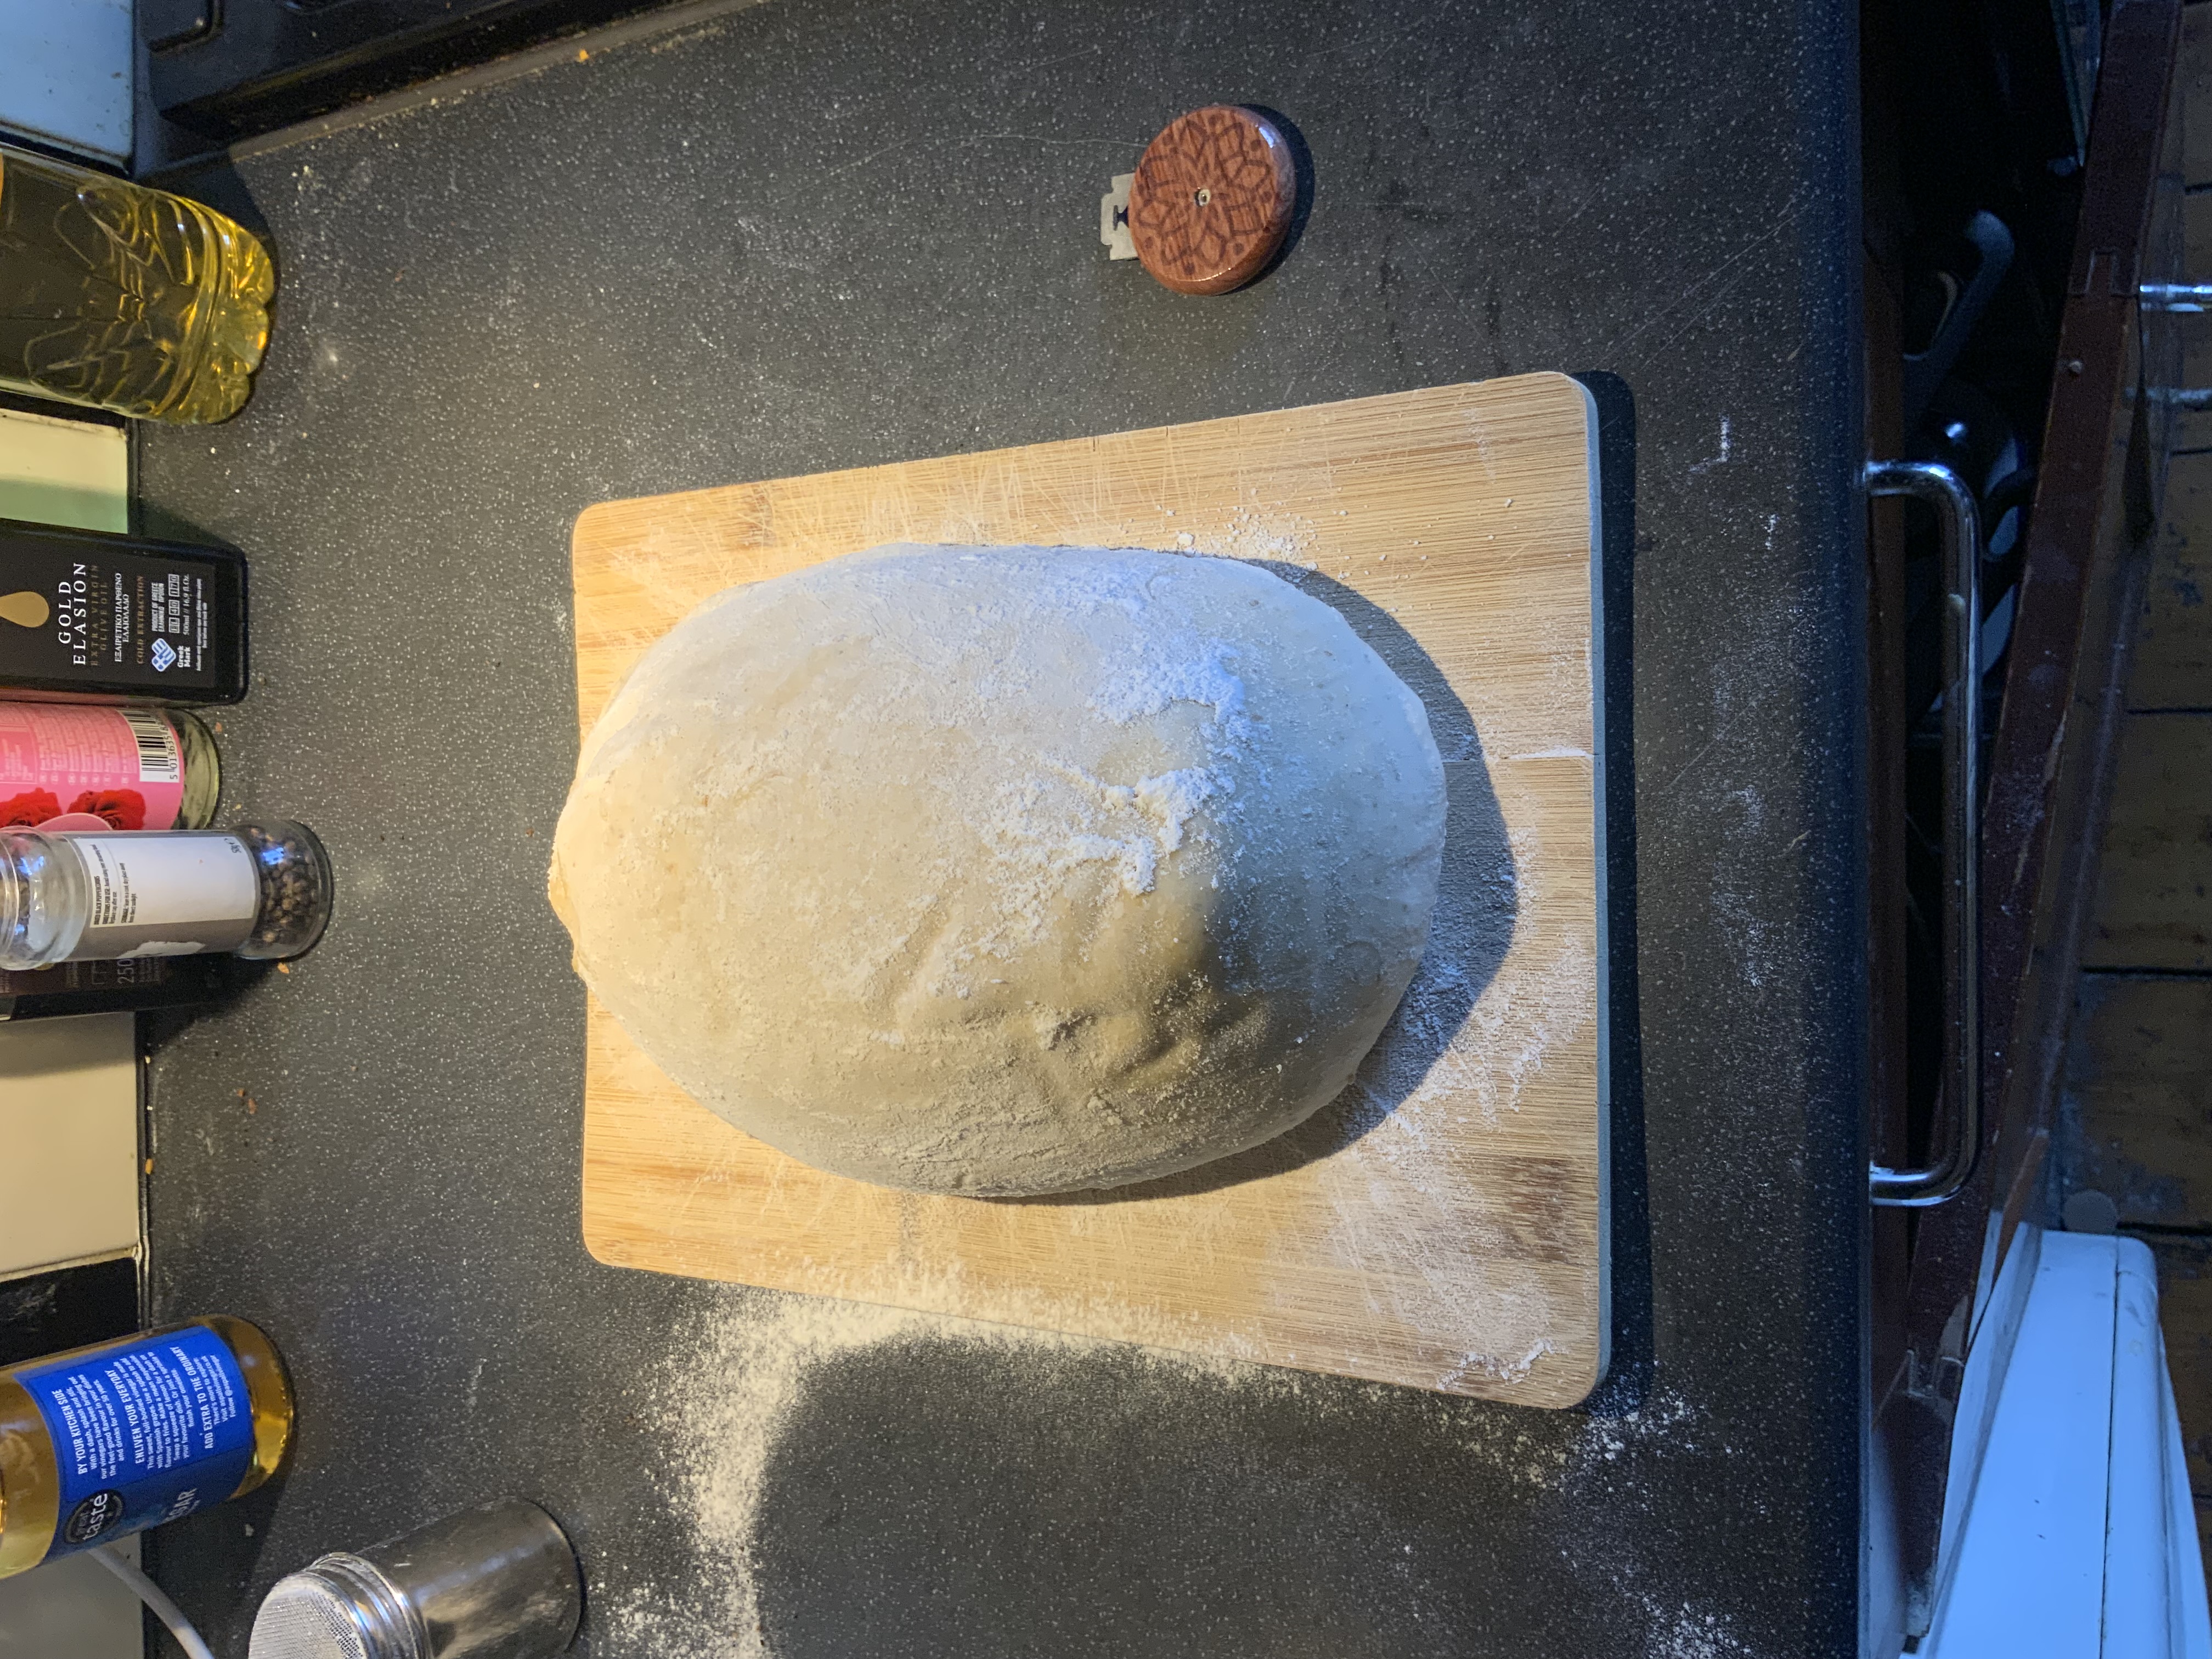
A well-placed score controls expansion and makes the ear.
For clean scores:
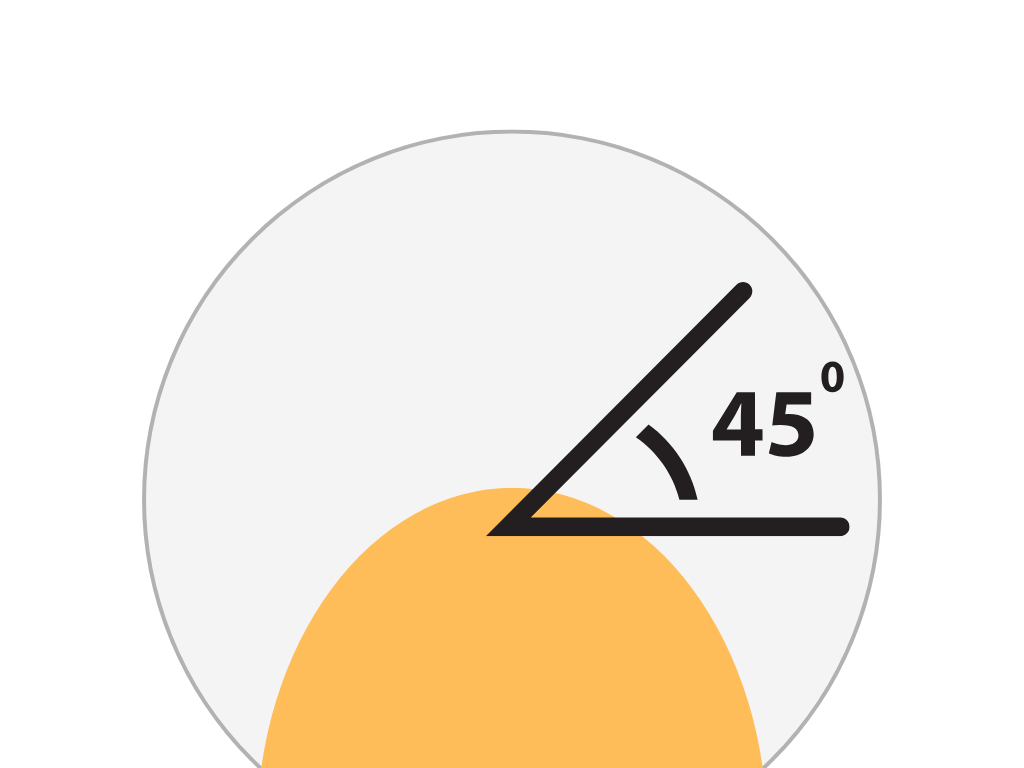
- Hold the blade at ~45°
- Make one confident ¼-inch cut
- Score right before loading
- Keep decorative cuts shallow (⅛-inch)
The Bake
Move fast:
- Load the loaf onto the hot steel
- Pour boiling water into the steam pan
- Mist the oven
- Close the door
Two phases:
- Steam (30 minutes)
- Steam delays crust, maximizes expansion
- Hold 250°C/480°F
- Crust (15–20 minutes)
- Remove steam pan and inverted tray (watch your hands)
- Drop to 230°C/450°F
- Rotate loaf 180°
- Aim for deep caramelisation, not burnt
The Result
You're looking for:
- Deep mahogany crust
- A pronounced ear
- Hollow sound when tapped underneath
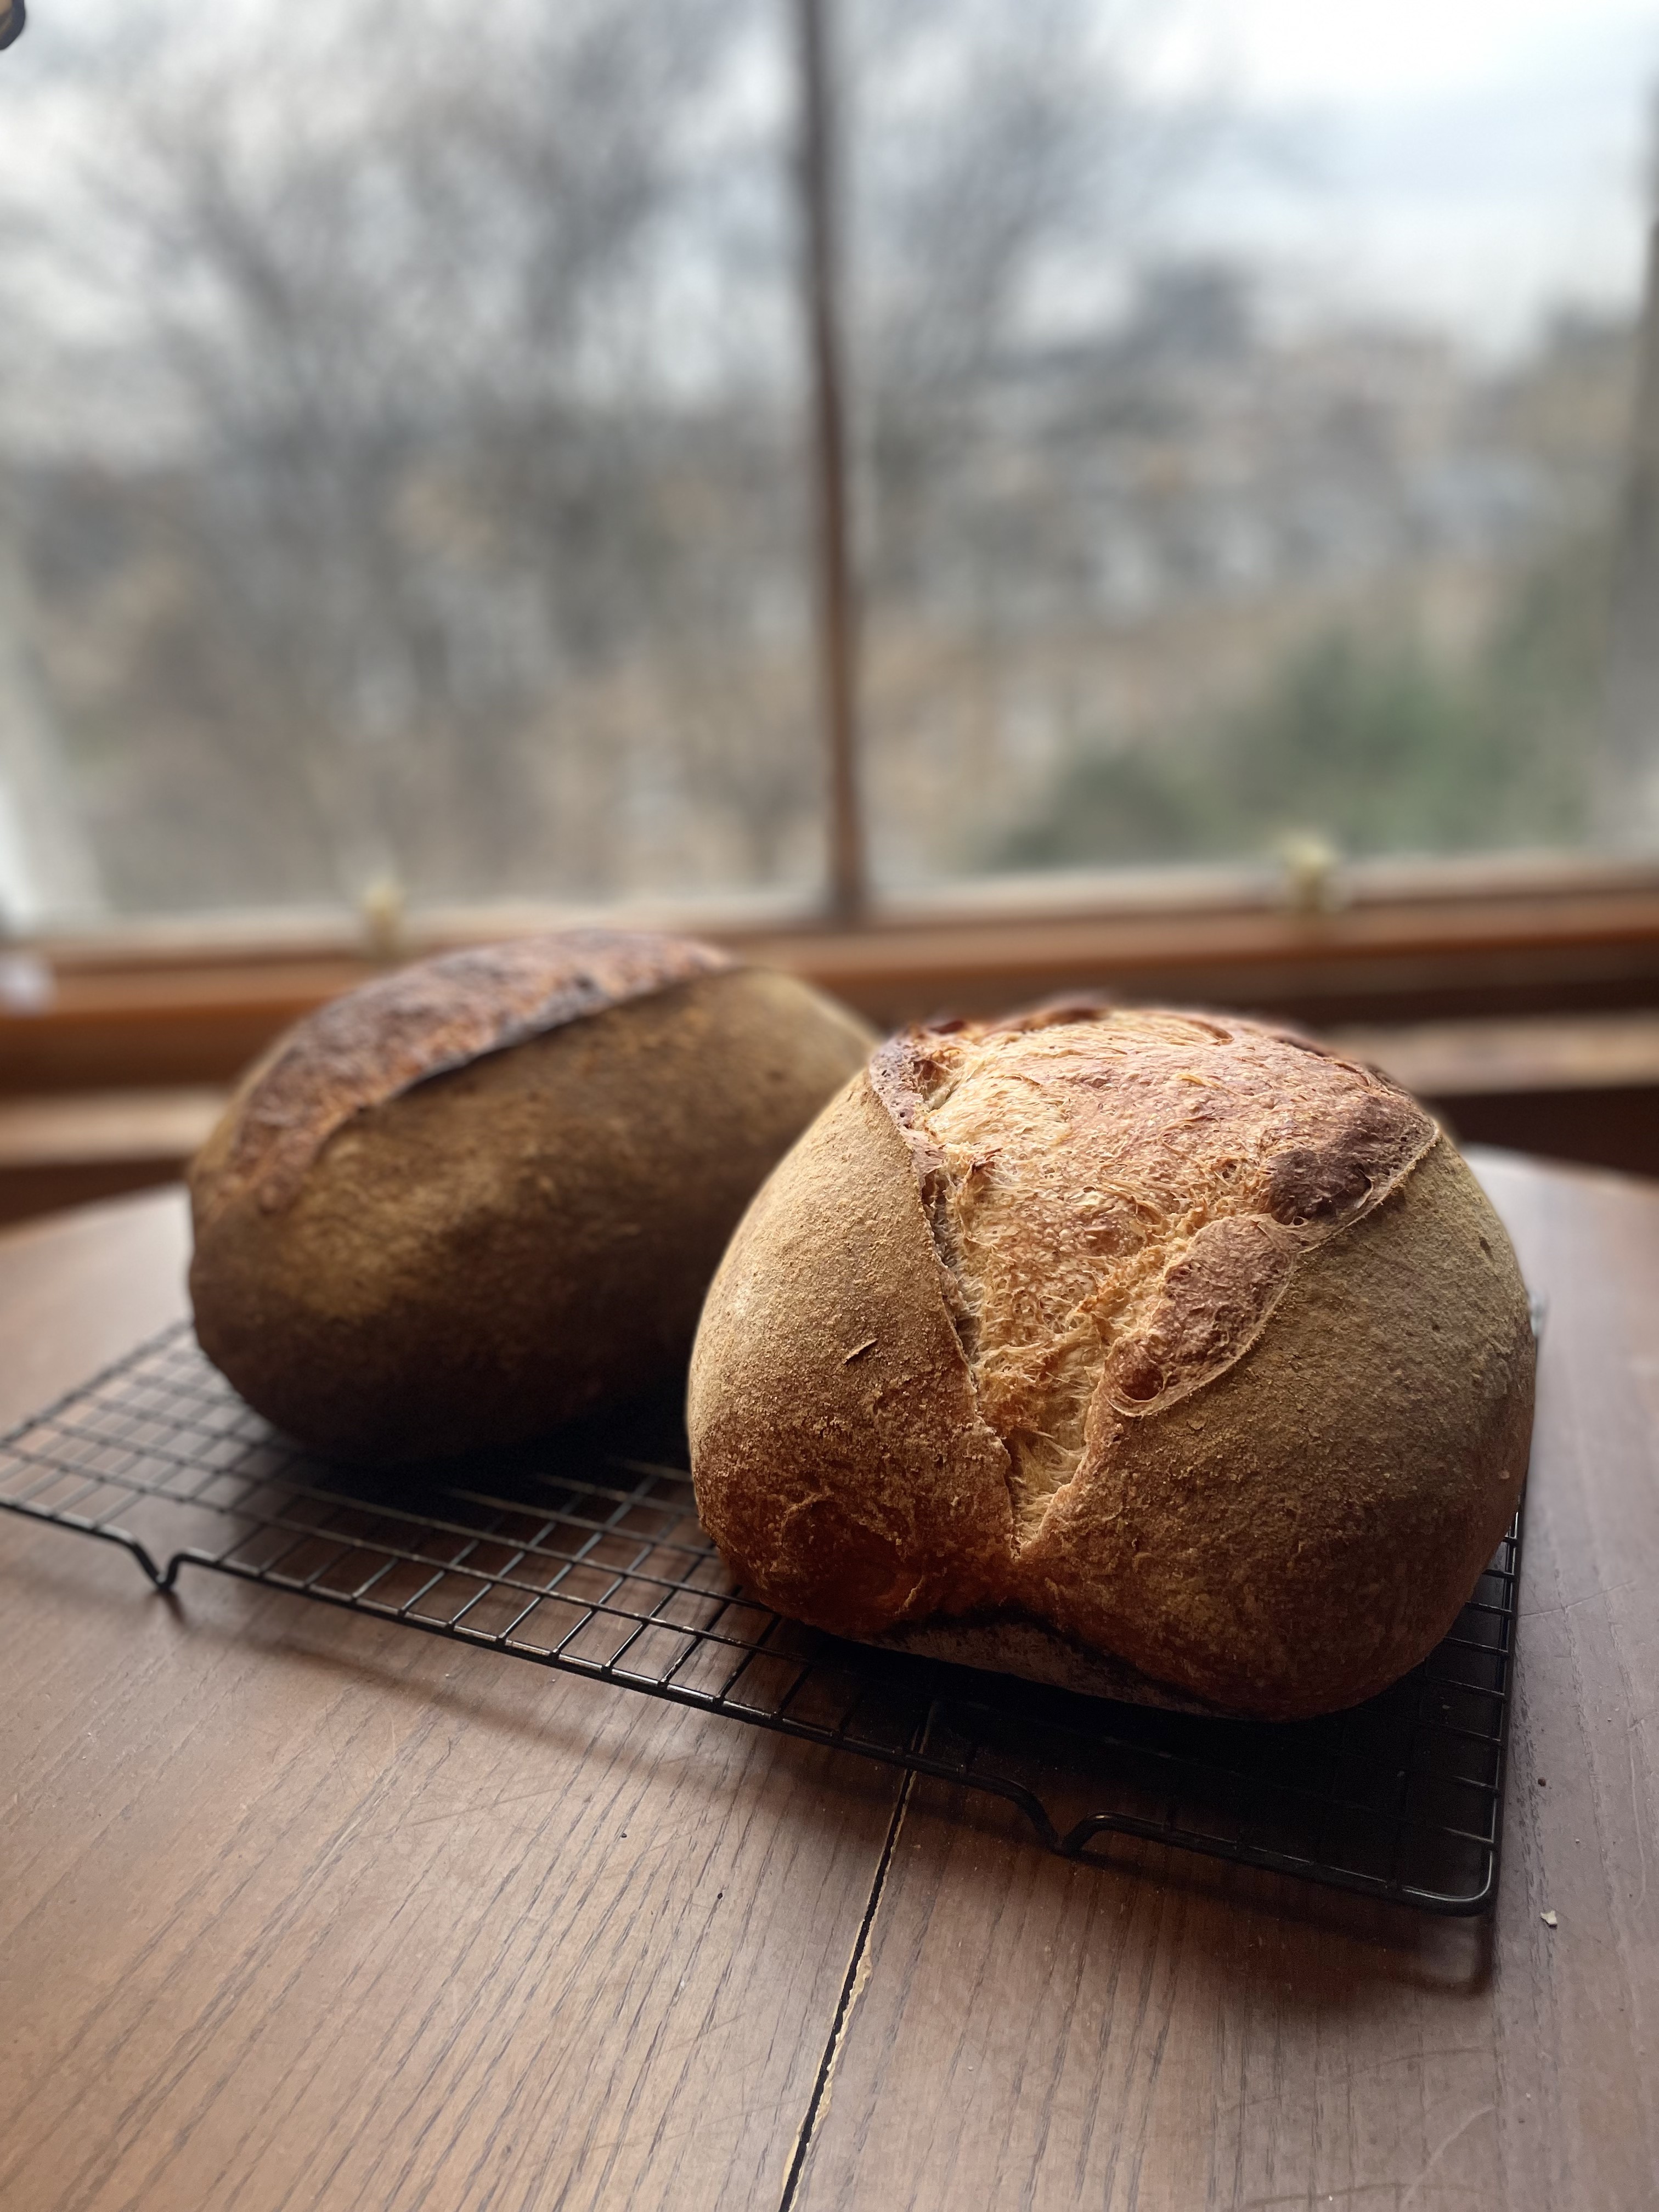
Don't slice warm. Let crumb set and moisture equalize. Crust and flavour improve as it cools.
Keep It Simple
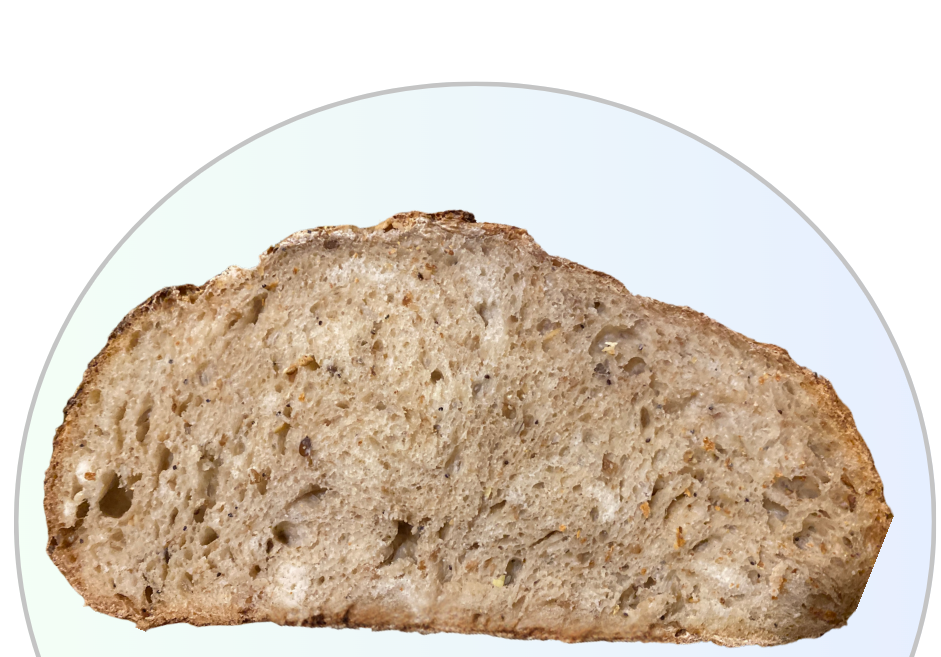
This method will evolve, but the principles don't: patient fermentation, gentle handling, attentive baking. Tweak as you go—hydration, flour, seeds. There's no single right way; bread's oddly personal.
Less fuss, better bread.
Reach out at mail@charliemacnamara.uk